Sand Between Coats for a Flawless Finish
Game-changing products make the job easier and achieve better results.
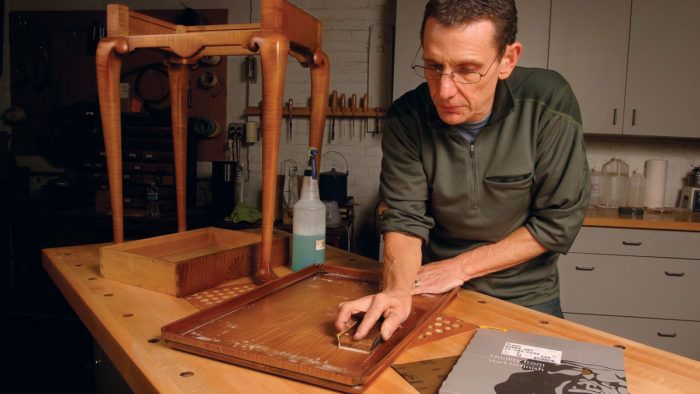
Synopsis: Today’s abrasives are so numerous and versatile that there is really no excuse for not sanding between coats of finish, especially since this technique is the key to a truly great finish. But before you begin, you need advice from an expert to determine which of the many consumer-oriented and industrial abrasives to use, and when. Jeff Jewitt unlocks the door for you, narrowing down what to use for film-forming finishes like lacquer, varnish, and shellac; describing new products to use for dry-sanding between coats; and covering the better use of wet-or-dry paper for sanding the finish coat in preparation for the rubbing-out process.
Whether you spray, brush, or wipe, one of the keys to a great finish is learning to sand between coats. when I began finishing in the 1970s, there weren’t many choices when it came to sanding a finish: Steel wool shed tiny hairs that got embedded in the finish; regular sandpaper (if you could find it above 240 grit) clogged quickly when sanding shellac or lacquer; and if you wanted to flatten defects between coats of finish, you used wet-or-dry paper, which was messy and made it hard to gauge your progress.
Today, not only are there much better choices among consumer-oriented abrasives, but the Internet also has given everyone access to industrial abrasives. I’ll narrow down what to use with film-forming finishes like lacquer, varnish, and shellac (in-the-wood 100% oil finishes and thin applications of oil/varnish mixes typically don’t require sanding). I’ll describe new products to use for dry-sanding between coats, and I’ll cover the better use of wet-or-dry paper for sanding the final coat in preparation for the rubbing-out process.
Fine grits and a light touch
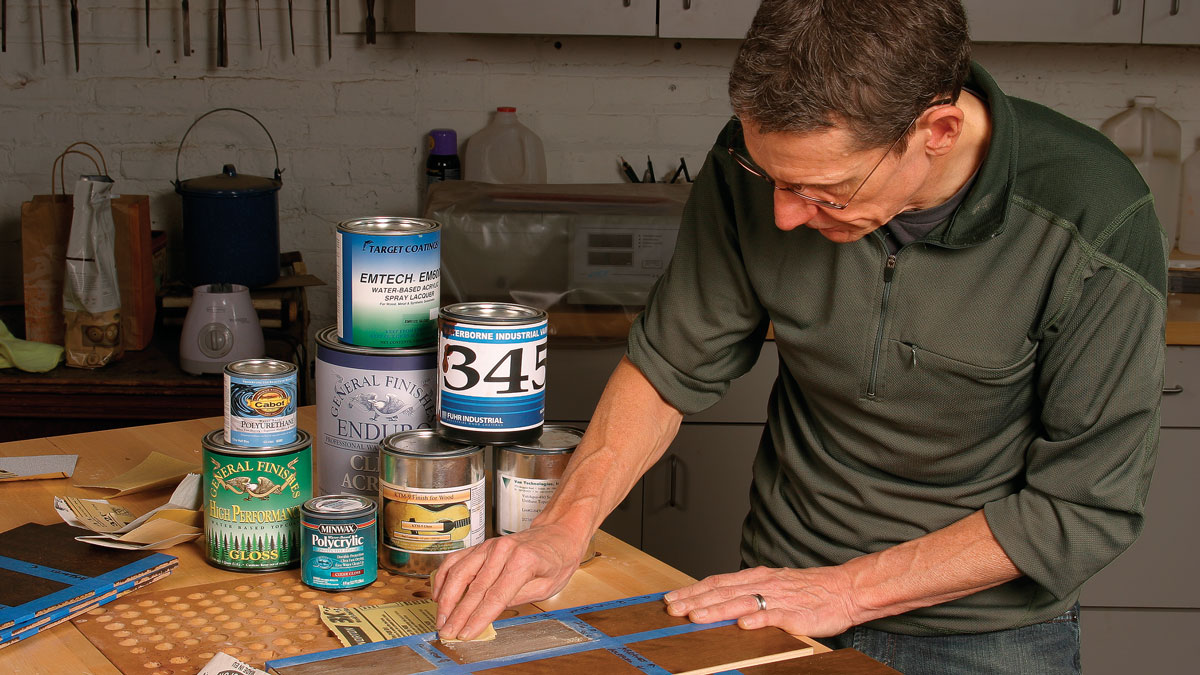
Going from sanding bare wood to sanding a finish involves a change of gears. Instead of power-sanding using grits mostly P220 or coarser, you typically hand-sand using grits P320 and finer.
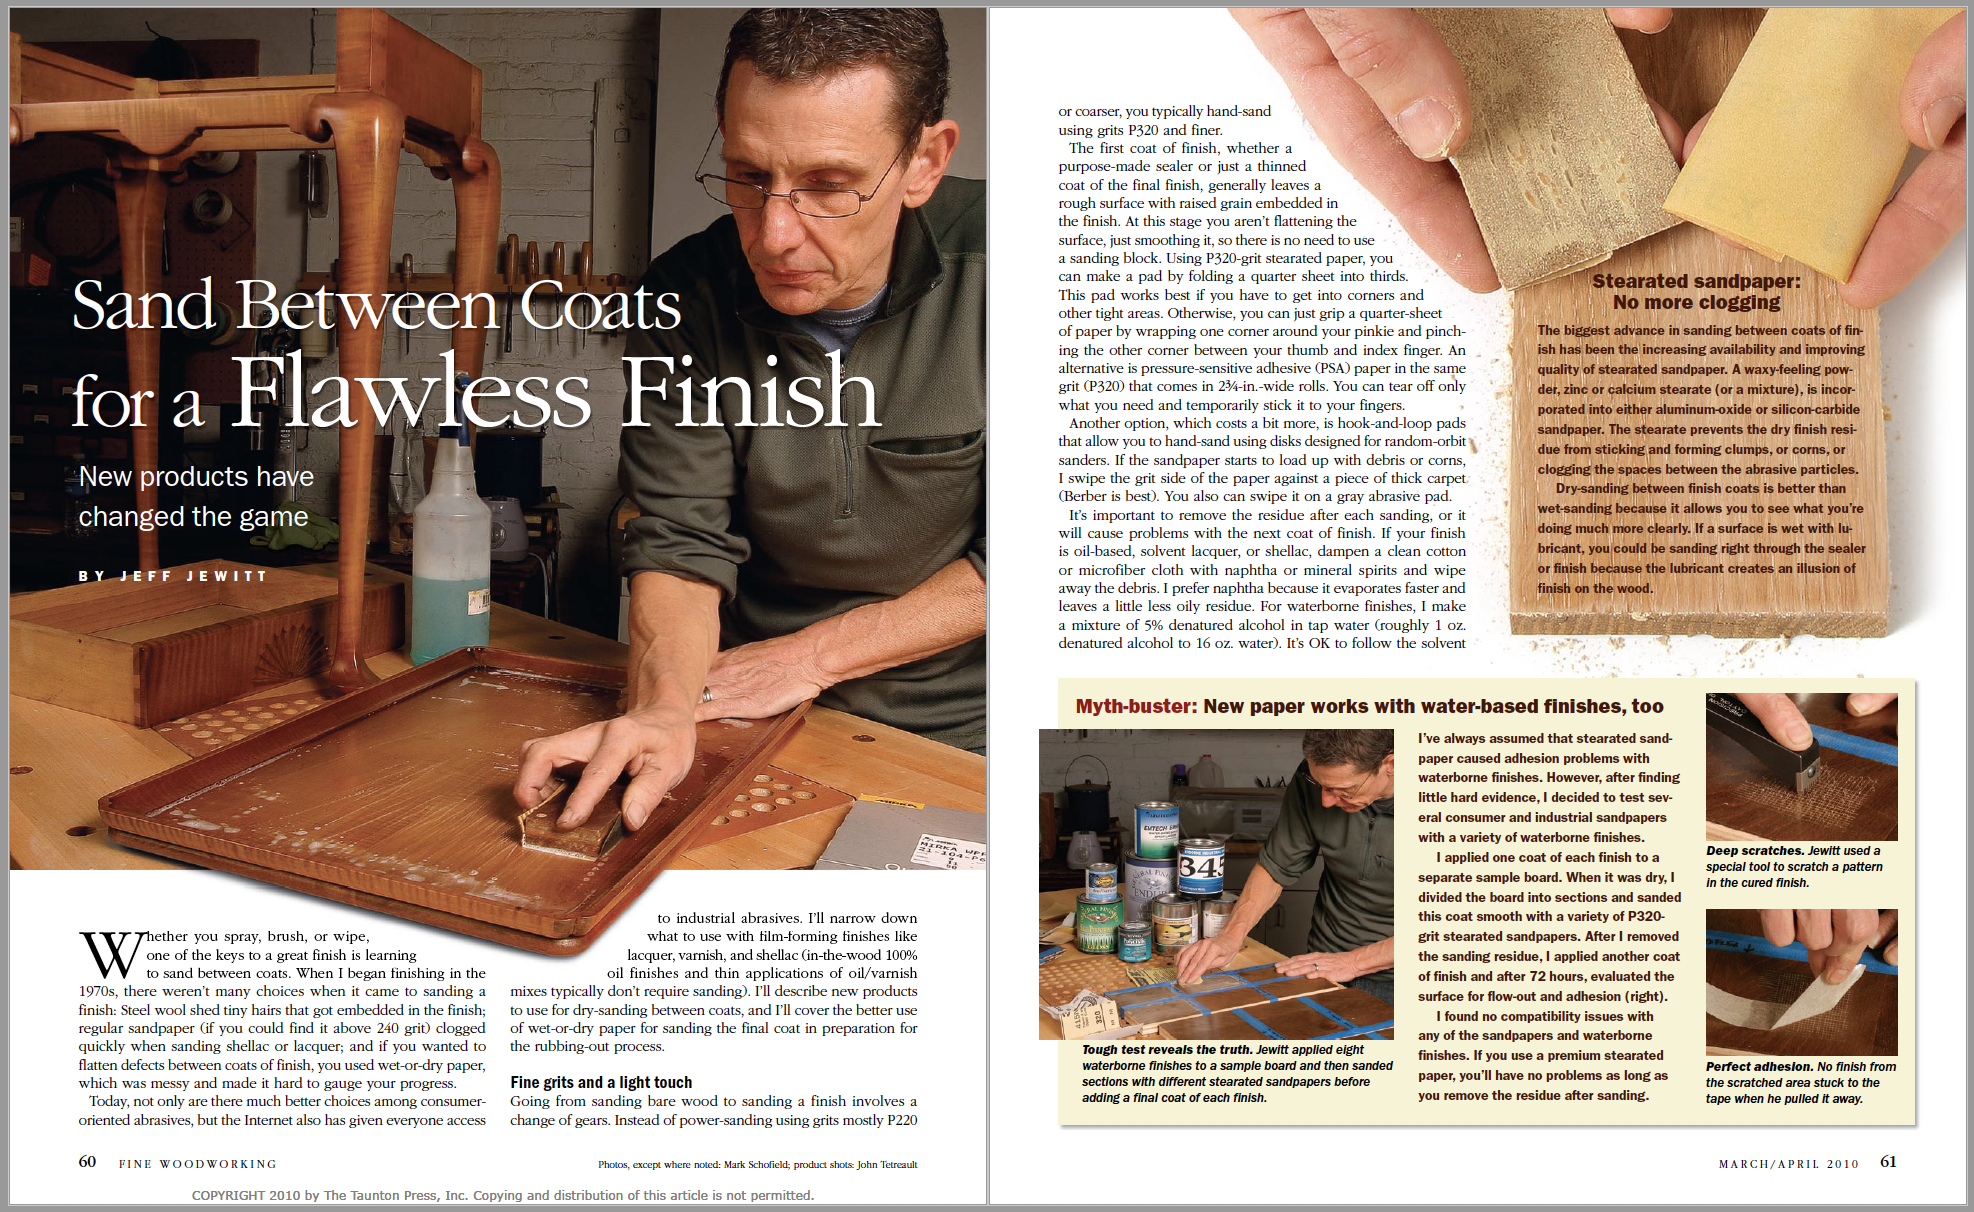
The first coat of finish, whether a purpose-made sealer or just a thinned coat of the final finish, generally leaves a rough surface with raised grain embedded in the finish. At this stage you aren’t flattening the surface, just smoothing it, so there is no need to use a sanding block. Using P320-grit stearated paper, you can make a pad by folding a quarter sheet into thirds. This pad works best if you have to get into corners and other tight areas. Otherwise, you can just grip a quarter-sheet of paper by wrapping one corner around your pinkie and pinching the other corner between your thumb and index finger. An alternative is pressure-sensitive adhesive (PSA) paper in the same grit (P320) that comes in 23⁄4-in.-wide rolls. You can tear off only what you need and temporarily stick it to your fingers.
Another option, which costs a bit more, is hook-and-loop pads that allow you to hand-sand using disks designed for random-orbit sanders. If the sandpaper starts to load up with debris or corns, I swipe the grit side of the paper against a piece of thick carpet (Berber is best). You also can swipe it on a gray abrasive pad.
It’s important to remove the residue after each sanding, or it will cause problems with the next coat of finish. If your finish is oil-based, solvent lacquer, or shellac, dampen a clean cotton or microfiber cloth with naphtha or mineral spirits and wipe away the debris. I prefer naphtha because it evaporates faster and leaves a little less oily residue.
 From Fine Woodworking #211
For the full article, download the PDF below:
Fine Woodworking Recommended Products
Diablo ‘SandNet’ Sanding Discs
Odie's Oil


Log in or create an account to post a comment.
Sign up Log in