Tips for Sanding Basics
Combine power and hand-sanding for good results with no wasted time.
The course of true love never did run smooth, according to Shakespeare, and smoothing wood true rarely causes love to course, it would seem. Boredom and fear are more common feelings among woodworkers when sanding their projects. But proper sanding is a crucial part of woodworking, so please read on for some tips and techniques that will turn your boredom into serenity, and your fear into fun.
I’ll stick my neck out and state that no project should be finished without first being sanded. Even if you are a hero with the handplane or skilled with the scraper, you won’t be able to get a surface that is uniformly smooth and with an even sheen. Inevitably, there will be tiny depth changes from adjoining passes of the blade, while the sole of the plane can burnish strips of wood that may show up after a stain or a clear finish has been applied.
Those who rely solely on power tools will inevitably be left with planer- and jointer-knife marks and fibers crushed by the feed rollers. Router tables can leave gouges and scratches, and assembly often produces some errant glue splotches. All of these blemishes should be removed before a finish is applied, and sanding is the best way to achieve this. The most efficient way to sand a surface is with a combination of power-sanding and hand-sanding
Tools for sanding
Achieving a well-sanded surface in the most efficient way requires a combination of power-sanding and hand-sanding.
Random-orbit sanders
Pad sanders
Hand-sanding tools
Power-sanding comes first
Of course, you could do all of your sanding by hand, but why? Even if you use power sanders wherever practical, there will be enough hand-sanding on almost any project to give you plenty of hand-done satisfaction. Power sanders deliver results with much greater speed, and with minimal practice they’ll also deliver a flatter surface than sanding by hand alone.
The good news is that unlike much of your other shop equipment, quality sanding tools will not cost you much. I strongly suggest you get a random-orbit sander. A pad sander also is useful, and I’ll explain why a detail sander is optional. Don’t forget a dust mask and hearing protection.
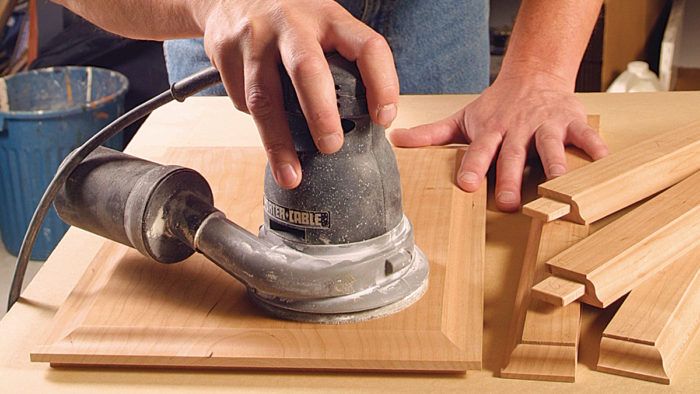
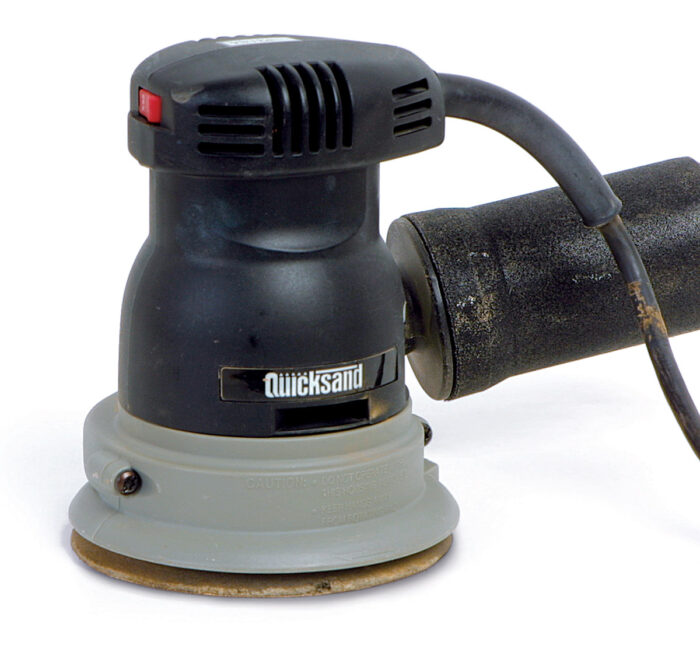
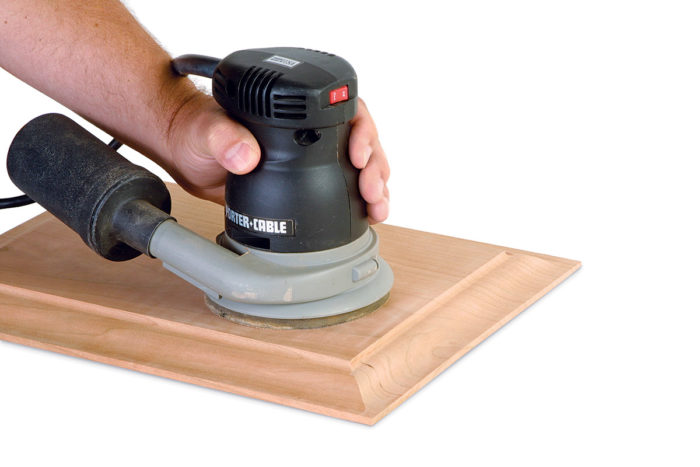
Fast stock removal with a random-orbit sander—Random-orbit sanders are wonderful machines. The pad has dual motion: It spins in a circle as well as in an eccentric orbit. These sanders are great for rapidly smoothing and leveling raw wood. Five-in.-dia., palm-held models are most common, but you also can buy 6-in.-dia., two-handed versions.
Most random-orbit sanders have holes in the pad (and, of course, in the sandpaper) for dust extraction. The sanding disks are backed with either pressure-sensitive adhesive (PSA), which is cheaper, or reusable hook-and-loop systems.
Older sanders need to be switched on when already resting on the surface of the wood, or they will spin too fast and gouge the wood when you try to bring them in for a landing. Most new models have electronic speed control, which allows you to lift the sander to apply it to an adjacent surface without having to turn it off and restart it each time.
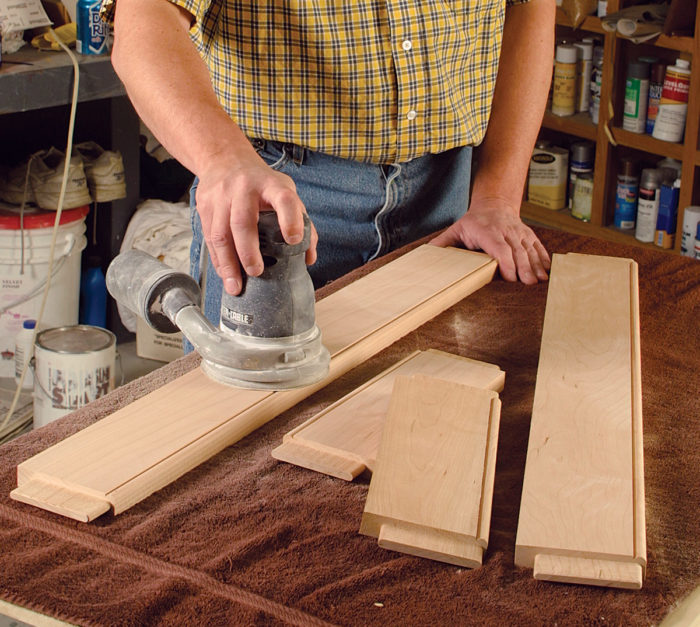
Random-orbit sanders will do a speedy job on large surfaces and bring two pieces of wood into the same plane. However, at the edges of a workpiece, keep the majority of the pad on the wood, or you’ll risk dishing or rounding over the edge. By the same token, keep these sanders moving; don’t concentrate on one spot, or you could create a little bowl.
Orient your project, if you can, so that you’re working horizontally. By letting the weight of the sander work for you, you’ll gain more control with less fatigue. Also, sand subassemblies before glue-up. It’s much easier to sand a frame-and-panel, the aprons of a table, or a drawer’s parts before they’re assembled.
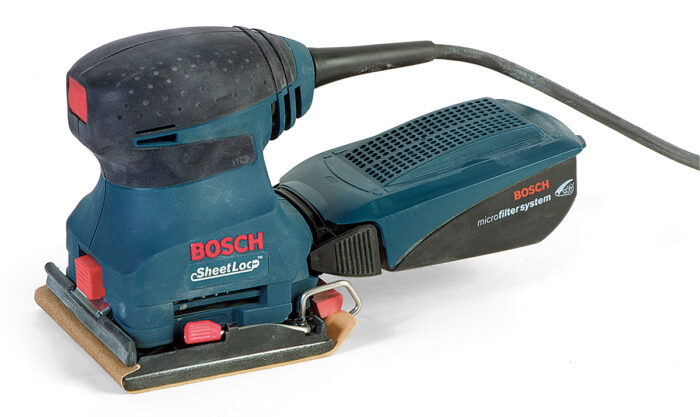
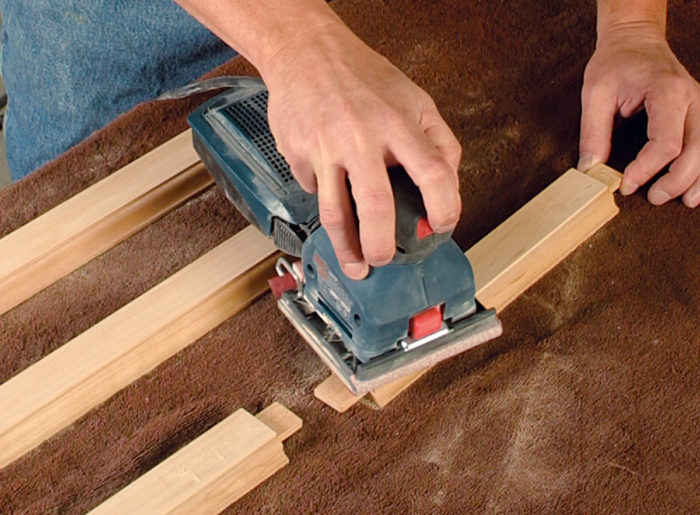
Pad sanders give more control in small areas—Pad sanders, also called palm sanders or finish sanders, use a simple orbital pattern, and the pad does not rotate, giving a much slower sanding action but greater control. The square pad allows the tool to get fairly close to inside corners (but beware getting it too close, where it quickly can chew up the adjacent surface). This type of sander works well on smaller surfaces like the edges of shelves or table legs, as well as on the insides of cabinets and in other confined spaces.
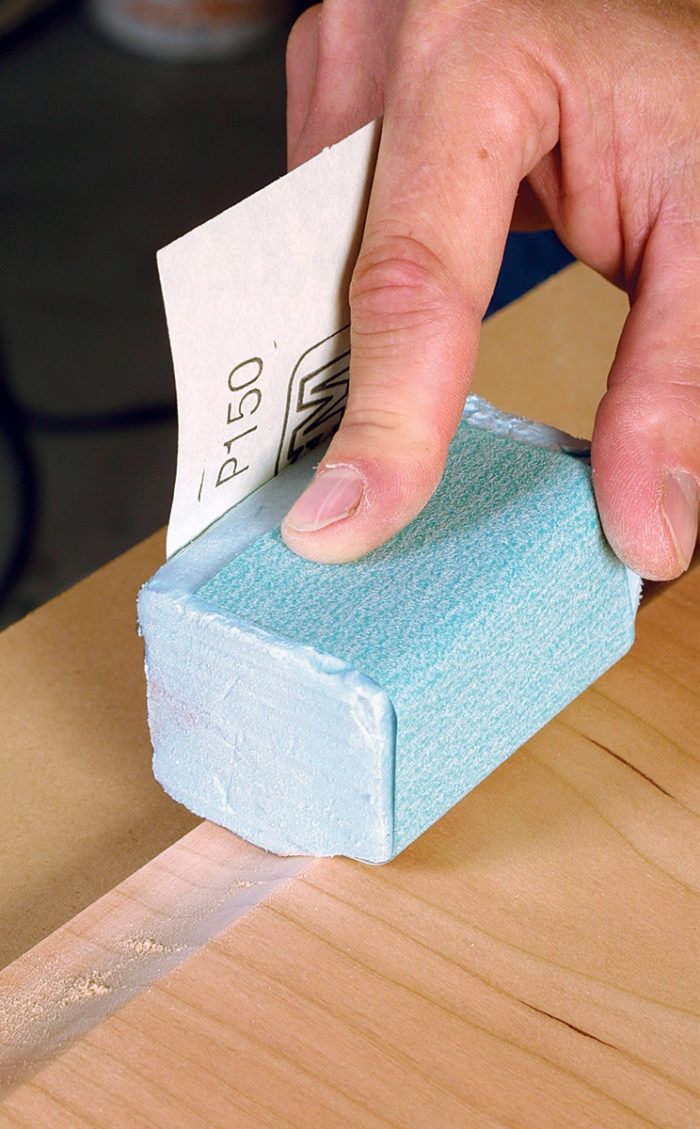
The right grit from start to finish—With either type of sander, I’d rather start with 150-grit than 120-grit paper on most pieces, even though it may take longer to remove some milling marks. For wood that is already in good shape, especially with thin-veneered sheet goods, I start with 180-grit paper.
Note: The grits I refer to here are based on the FEPA scale, which uses the prefix P, rather than the alternate CAMI, or C, scale. In the 150 to 220 range, the grits are nearly equivalent, but it’s best to work with the paper from one scale.
Don’t continue using a piece of sandpaper until the sand is all gone and there isn’t anything left but the paper. That’s a false economy if you’re charging for your time; and if you’re woodworking for fun, well, you’re taking away a bunch of it. Move to a fresh section of sandpaper as soon as you feel it stop cutting or start to clog, or when it requires you to exert more pressure.
Having experienced this the hard way, let me assure you that it’s very important to vacuum and/or blow off the entire piece between grits. I do both, then wipe it with a tack cloth. One piece of 150 grit being swirled around on your 220-grit pad will make you curse when you see the results.
Tips for efficient sanding—With a cabinet, begin sanding on the inside: If you start with the inside while you’re fresh, you’ll take a few extra minutes to do it right instead of skimping on it at the end.
For veneered plywood, you can start and stop with 180-grit paper if the inside will
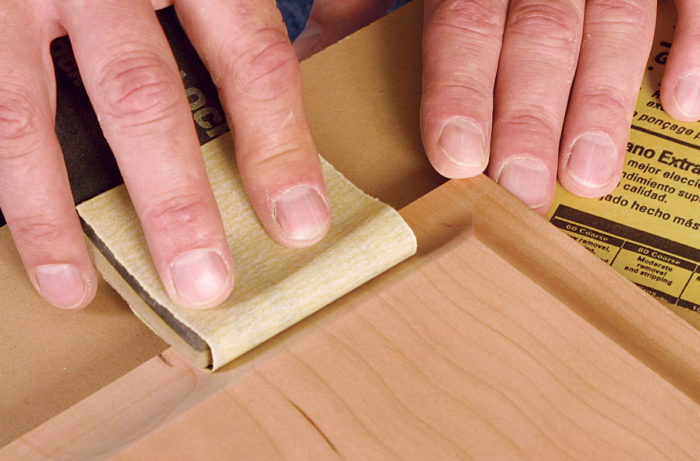
be minimally seen or used. Use a hand-sanding block on the corners and on any more visible areas such solid-wood edging.
Devote more time to visible areas and those likely to be touched. Ending with 180-grit paper is fine for softwoods, but go to 220 grit for hardwoods. On end grain, go one grade finer so that it doesn’t absorb the stain or clear finish as deeply.
How do you know when you’re finished power-sanding? Wipe some mineral spirits on the surface and sight across the wood toward a strong light. Pay no attention to the beautiful color that appears; instead, look at the surface for telltale scratches, especially the ugly orbital kind. You would like to see a uniform appearance with no rough areas or single outstanding scratches. Sometimes it’s easiest to see this right at the moment of evaporation, when the ruts of the scratches will still be shiny with fluid while the top surface is dull with dryness. If you take this step, you’ll avoid the agony that many experience when they apply a stain only to see the scratches jump out.
Sanding details and molding
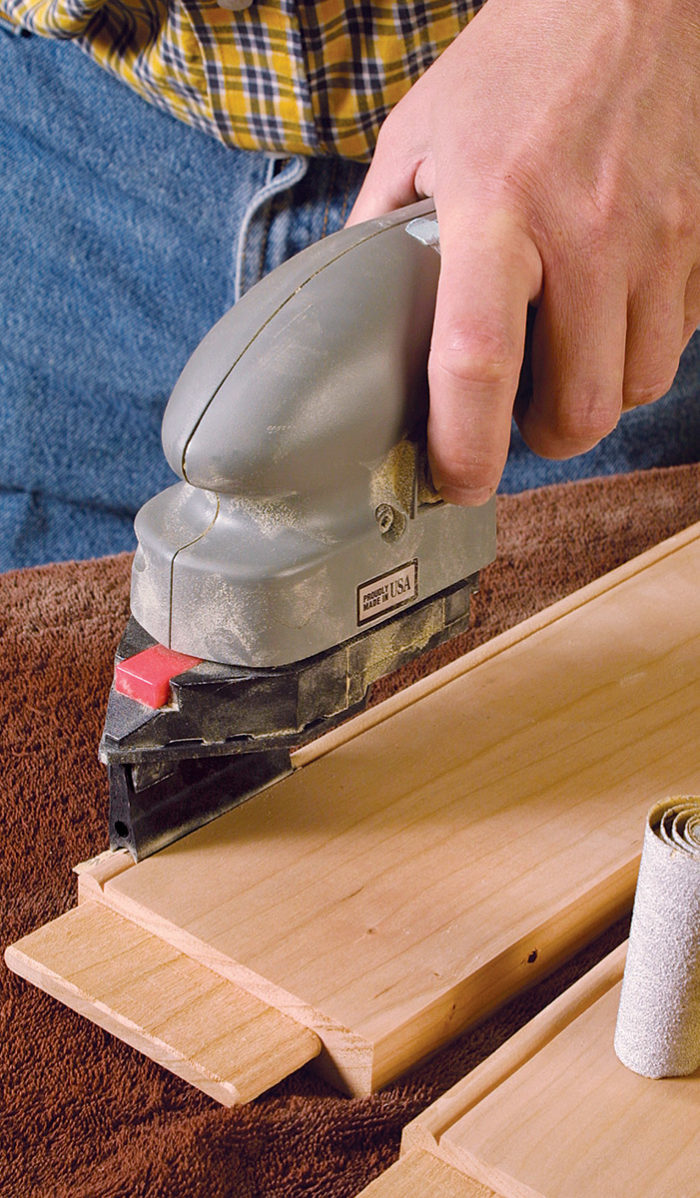
After sanding the wide-open areas, how should you sand profiled areas? Manufacturers advertise detail sanders as the answer to sanding any shape and any confined space. These sanders come with a variety of pads designed to fit different profiles. Although I own a couple of detail sanders, I could live without them, mostly because it’s too much trouble to constantly change the paper on them; by their nature, they put their sanding action into a small area of sandpaper that wears very quickly.
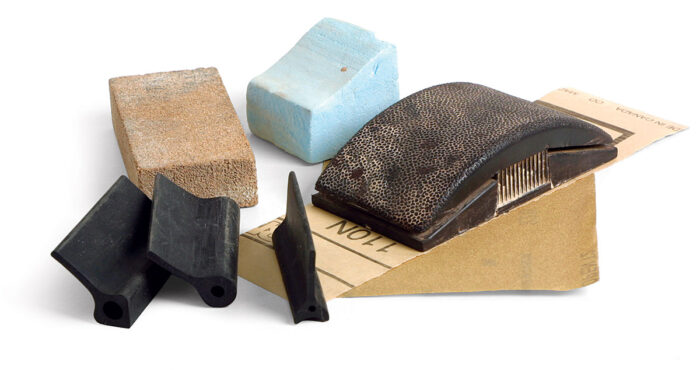
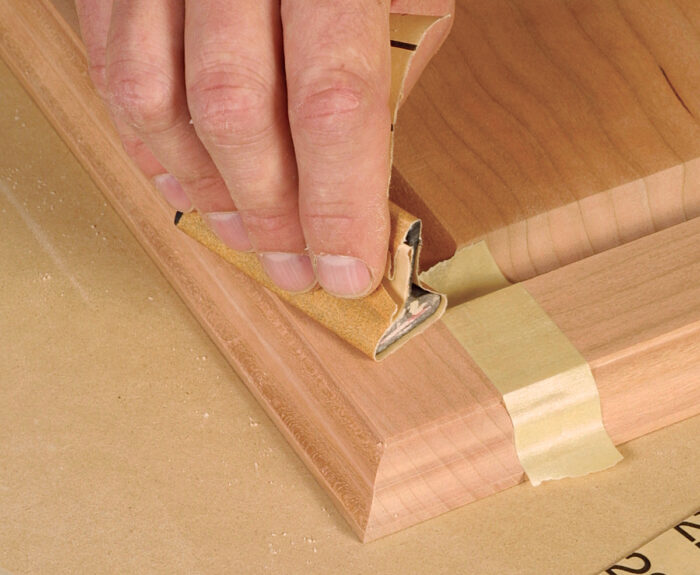
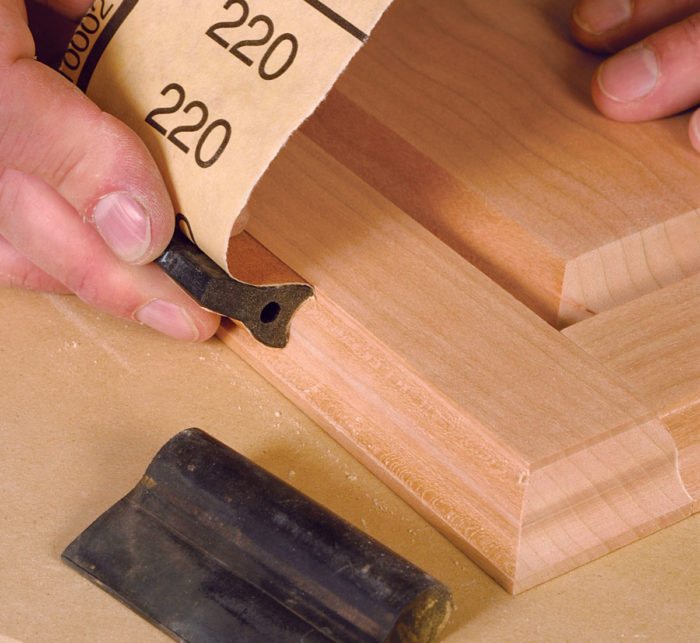
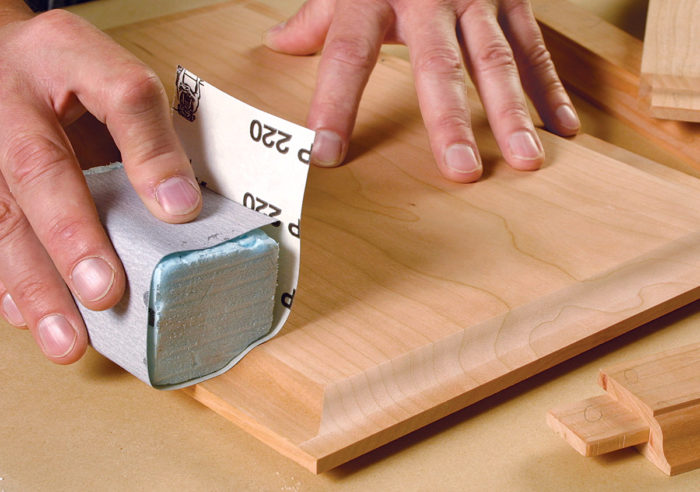
Most of the time I think it’s quicker to do moldings, interior corners, and other small areas by hand. To keep the moldings crisp, use commercial rubber profiles that cover most convex and concave shapes, or you can make your own profile blocks from pieces of foam-insulation panel.
The end grain on raised panels requires a special sanding sequence to tone it into the rest of the panel. Start by sanding across the grain with 150- or 180-grit paper to deal with the rough texture. Then sand the entire profile on all four sides of the panel with 180- or 220-grit paper. Last, sand just the end grain with 320-grit paper, going with the grain in short strokes to eliminate any cross-grain scratches and to lessen the end grain’s ability to absorb finish.
Sanding with power – Power-Sanding flat Surfaces
Large panels
Wide parts
Narrow parts
Sanding with power – Power-Sanding Details
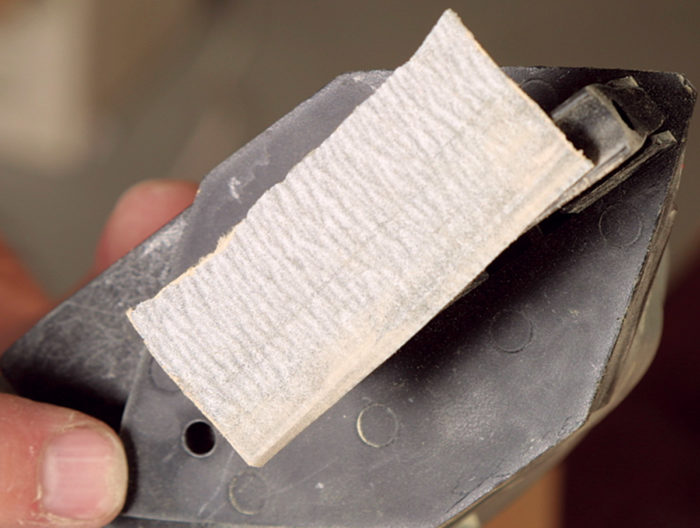
Check your progress
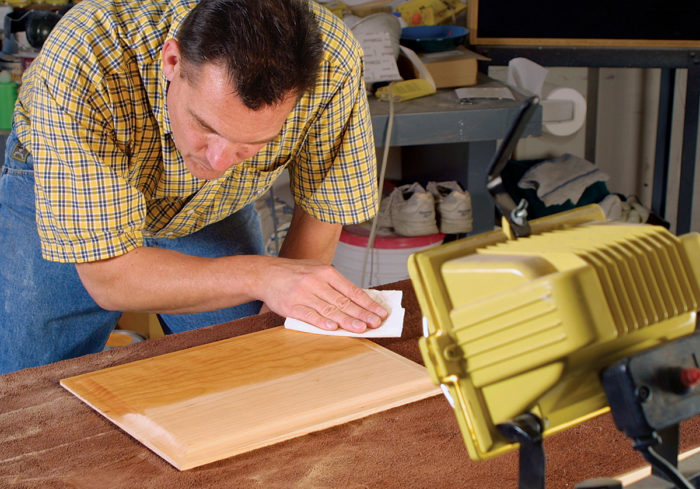
Final hand-sanding gives a finishing touch
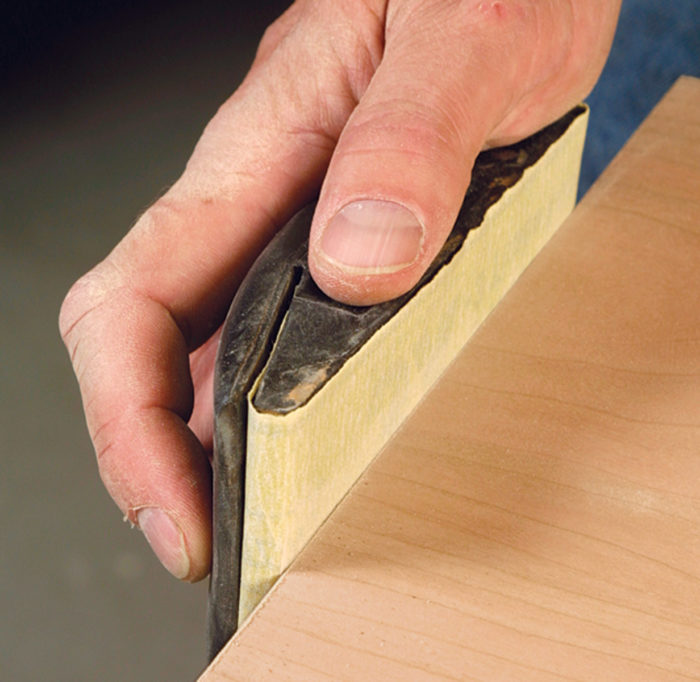
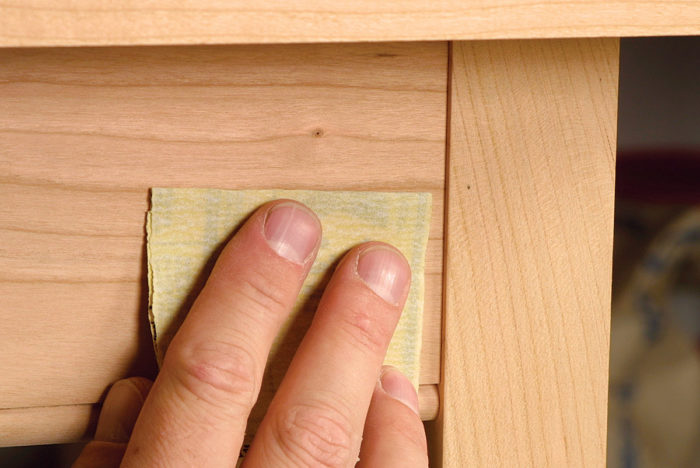
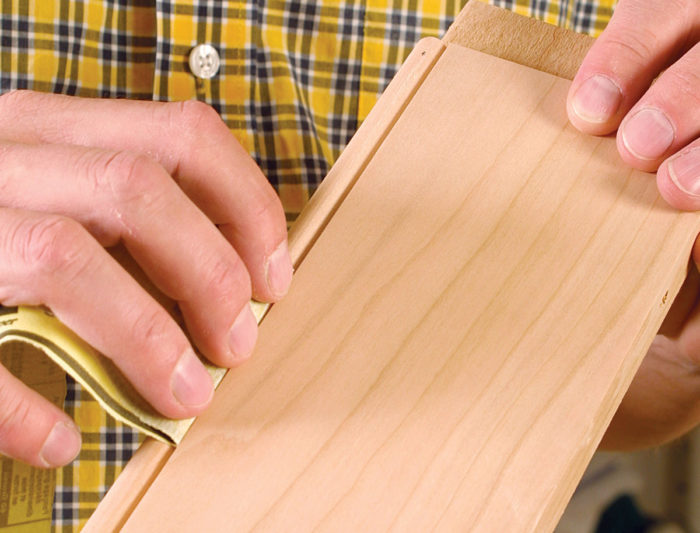
No matter how much you are able to use machines for the initial stages of sanding, you’ll want to give each surface some final sanding by hand. Primarily, this is to get rid of the small orbital scratches left by the machines, replacing them with smaller, finer scratches that are all parallel to the grain of the wood and hence less noticeable.
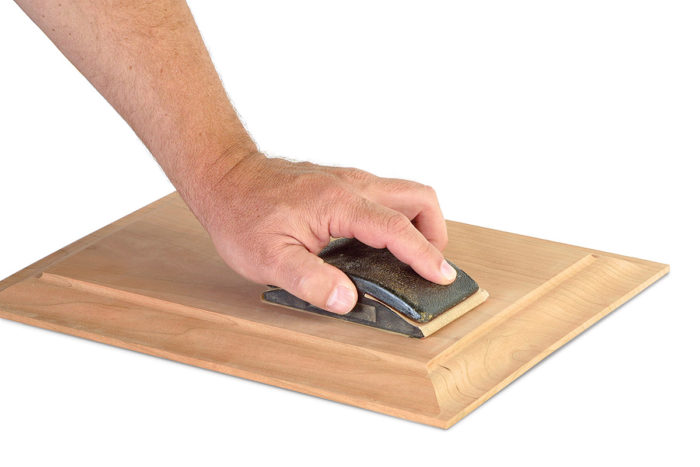
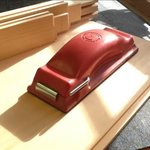
You should back up the sandpaper with a sanding block wherever possible to maintain a flat surface. I find the palm-sized rubber blocks most convenient because they also can be used for wet-sanding between coats of finish. Other choices include cork blocks or wood blocks faced with a sheet of cork.
If you plan to use a water-based stain or clear finish, there are a couple of extra steps. After the final hand-sanding, wipe down the piece with a damp sponge. After the wood dries, very lightly sand with the same-grade paper you finished with, but be careful to remove only the raised grain. Watch out for sandpaper coated with stearates: Although they do a better job at preventing clogging, allowing the sandpaper to last longer and sand more smoothly, stearates are waxy and interfere with many water-based finishes, causing fisheyes on the surface. If you’re planning to use a water-based finish, check with the manufacturer to see whether the finish is compatible with stearated sandpaper. Last, as I recommend for all finishing methods, test each sanding step on a sample board.
Sanding by hand – Hand Sanding Flat Surfaces
Flat areas
Edges
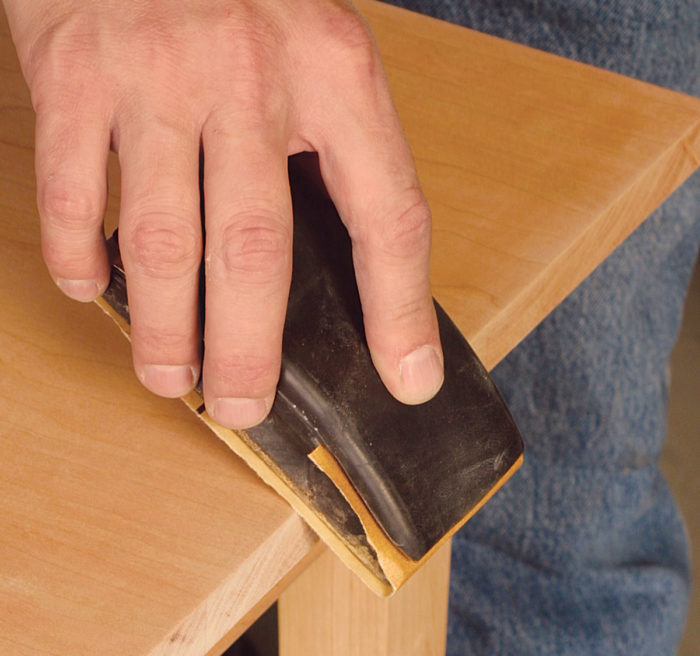
End grain
Sanding after glue-up
Sanding by hand – Hand Sanding Curved Surfaces
Fine Woodworking Recommended Products

Bahco 6-Inch Card Scraper
Preppin' Weapon



Log in or create an account to post a comment.
Sign up Log in