Success with Dyes
Finishing expert Jeff Jewitt explains how to dial in the color and apply it evenly every time.
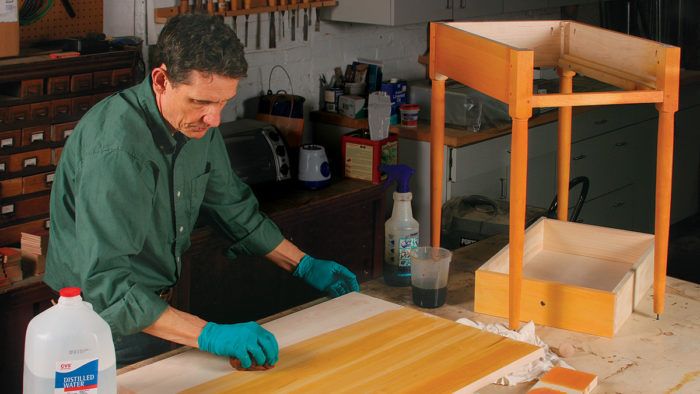
Synopsis: Water-based dye stains have a lot going for them. Not only do they come in a range of colors, but they are transparent enough that they allow eye-catching figure to show through. But newcomers to these products may find them frustrating. If you apply these dyes the same way as pigment stains (wipe on, then wipe off) it’s easy to end up with a streaky surface or uneven color. Here, finishing expert Jeff Jewitt explains the proper way to apply dye stains, from preparing the surface to applying a topcoat. Follow his methods and you will have success with dyes—the first time and every time.
Most woodworkers have read about the benefits of using water-based dye stains to color wood. They are available in a range of colors, from bright primaries to muted wood tones, and their transparency lets the wood’s personality shine, popping the figure in woods like curly or bird’seye maple.
But using dyes for the first time can be a frustrating experience. Newcomers often end up with streaky surfaces or uneven colors, perhaps because they apply the dyes the same way they wipe on pigment stains purchased from the local home center. With a pigment stain, you wipe on a heavy layer in a fairly random manner, wait a few minutes to let it soak in, and then wipe off the surplus. But dyes soak in almost instantly, so the application must be quick and precise to avoid lap marks and streaking.
In this article I’ll explain how to use a water-soluble dye stain, giving you the keys to achieving reliable results the first time and every time.
Prepare the wood, tools, and dye
Dyes don’t emphasize sanding errors as much as pigment stains do, but you still want a well-sanded surface, so sand up to P180 or P220 grit. The last sanding should be done shortly before applying the dye to lessen the chance of getting dirt or hand grease on the wood, which might interfere with the dye. remove the sanding debris with a vacuum or compressed air.
Preemptive raising of the grain is advisable only with woods that really “puff” when water hits them, such as red or white oak. Woods that don’t react to water as severely, such as maple and cherry, can be smoothed easily after the dyeing process. If you do raise the grain, wipe down the wood liberally with distilled water, let it dry, and then sand with the last grit of sandpaper you used.
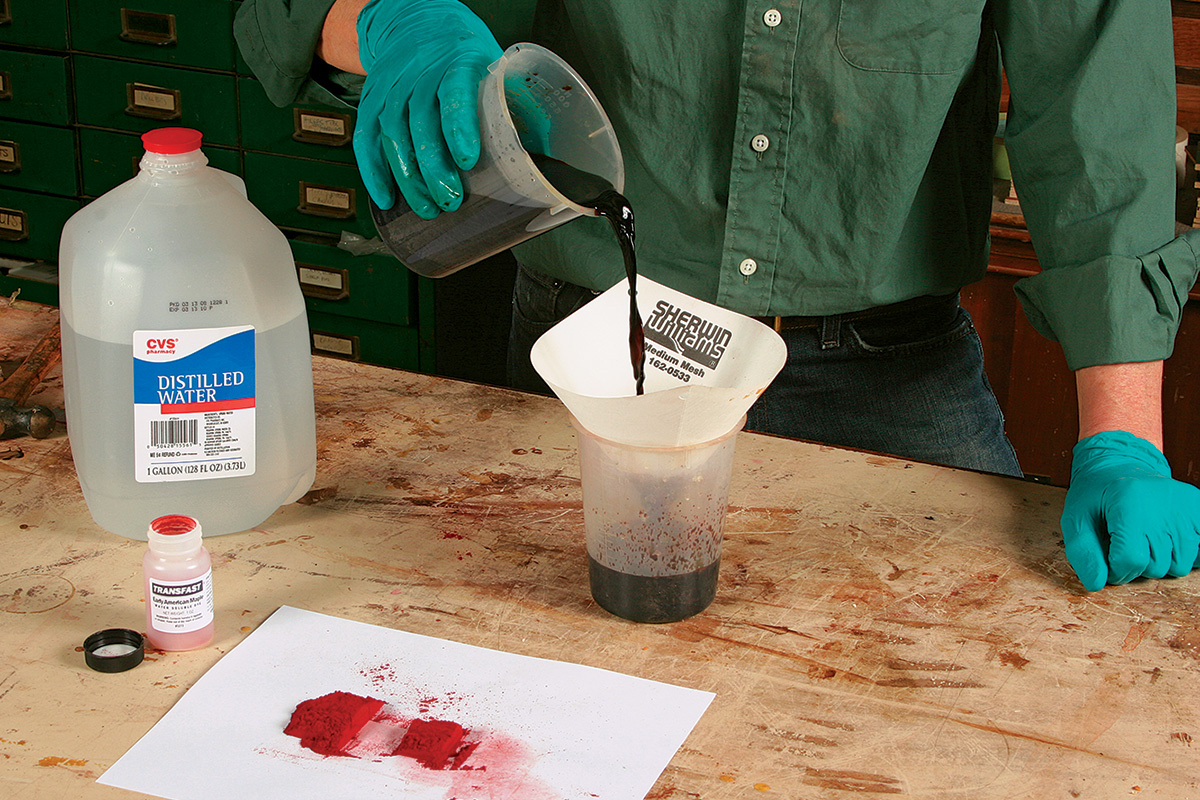
You can apply water-based dyes with a spray gun or by hand. A spray gun will really speed up the process, but it isn’t mandatory. If you do spray, protect your lungs: A standard organic vapor respirator rated for paints will suffice. When applying the dye by hand, I use cotton cloths, which I buy in 5-lb. boxes. These cloths are somewhat water-repellent straight out of the box, so to increase absorption, I soak each one in hot water and then wring out the excess before using it to apply the dye. Be sure to wear gloves.
It’s impossible to keep dye from running over to an adjacent surface, so I always dye all sides at the same time. A nail board made with drywall screws works well because you can dye the underside of an object first, then place it on the nail board and dye the other sides without marring the underside of the project.

From Fine Woodworking #201
To view the entire article, please click the View PDF button below.
Fine Woodworking Recommended Products
Bumblechutes Bee’Nooba Wax
Odie's Oil


Log in or create an account to post a comment.
Sign up Log in