Texture Wood to Highlight the Grain
Modern tools make it easy to mimic an ancient Japanese finish.
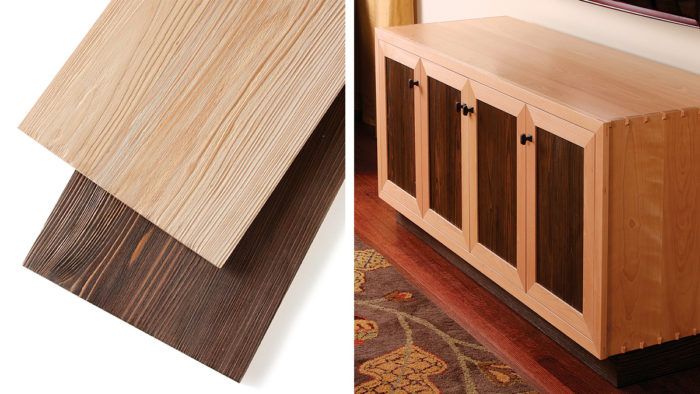
Synopsis: Learn a fast and simple way to replicate the ancient Japanese Jin di sugi finish using an angle grinder fitted with a wire brush, some stain, and this technique. The process works best on boards with a dramatic difference in density between the early and latewood growth rings.
I’ve always liked the textured look of weathered cypress. It reminds me of old playground equipment where the wood’s texture has been polished by thousands of small hands. It turns out that traditional Japanese craftsmen loved this look too. They called it jin-di-sugi and created it by burying the wood in the ground and allowing it to decay for several years. I wasn’t about to invest that much time, but I was determined to incorporate the look in my furniture. after some experimenting, I came up with a fast and simple technique using an angle grinder fitted with a wire brush.
The process works best on boards with a dramatic difference in density between the early and latewood growth rings. you should be able to run your thumbnail across the grain and leave marks in the earlywood but not in the latewood. I’ve seen pine, cedar, and fir boards that pass this test, but I’ve had the best results with cypress. Be sure to test each board individually, however.
Texture the wood in three steps
Dimension the wood in the normal way. It’s not necessary to start with a board that’s thicker than the intended final thickness, because only the softer early wood is removed. The dense latewood remains unchanged.
Begin removing softwood, keeping the brush’s rotation in line with the grain and moving the grinder parallel with the grain. For a less aggressive cut, and to avoid snagging the panel edges, let the brush pull the grinder along the surface.
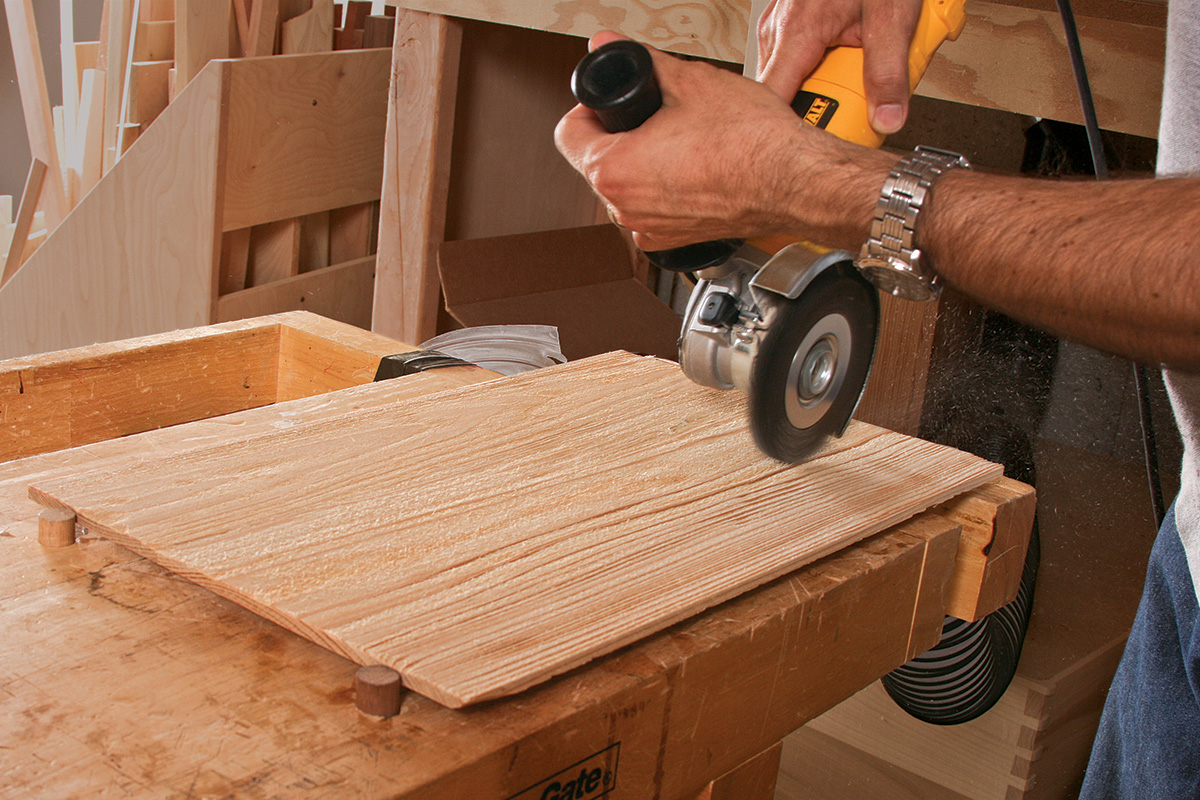
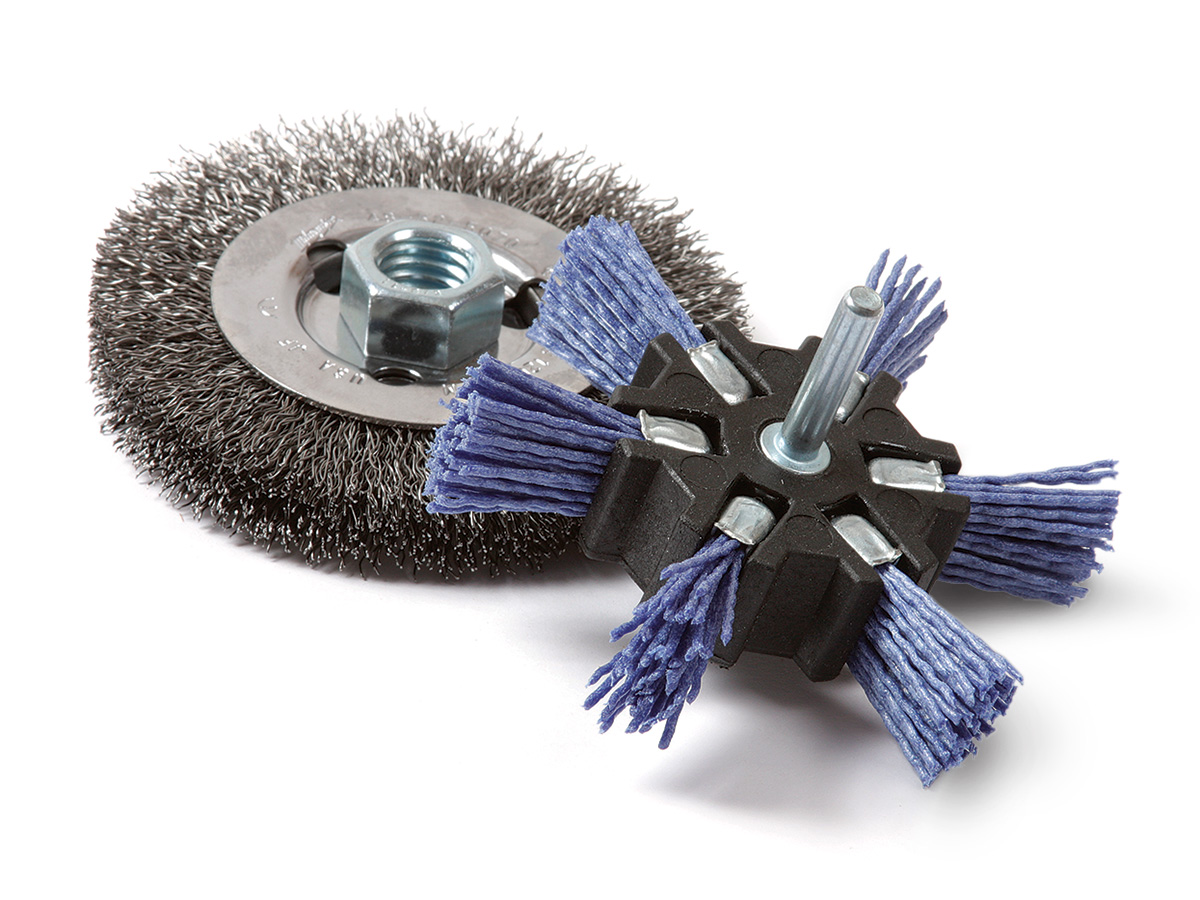
If you’re going to color the wood, the stain mostly penetrates the soft early wood, so you need to adapt your grinding technique to the grain pattern. In areas where the grain is more flatsawn, use a very light touch with the brush or you will get rid of all or almost all of the early wood, and the surface won’t absorb stain later. a panel with a flatsawn area adjacent to a more quartersawn section would then end up with uneven color. after the grinder, hand-brush the surface with a sparse, stiff-bristled wire brush. The final step is to smooth the panel with a nylon flap brush chucked in a drill.
You can stop here and apply the clear finish of your choice. Be careful to keep any film finish thin because a thick finish that fills the grooves looks really bad.
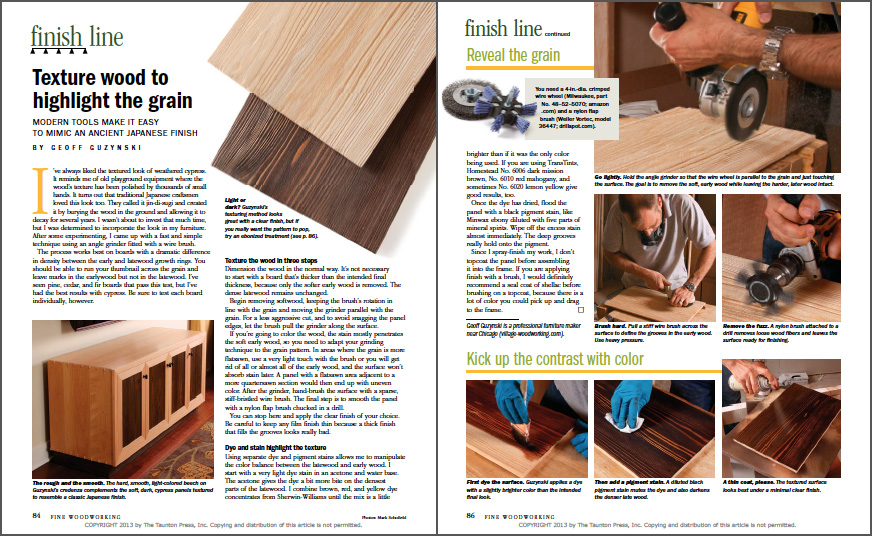
From Fine Woodworking #233
To view the entire article, please click the View PDF button below.
Fine Woodworking Recommended Products

Odie's Oil

Osmo Polyx-Oil


Log in or create an account to post a comment.
Sign up Log in