The Basics of Applying Finishes
These general guidelines pertain to the application of nearly all finishes.

Preparing a Finish
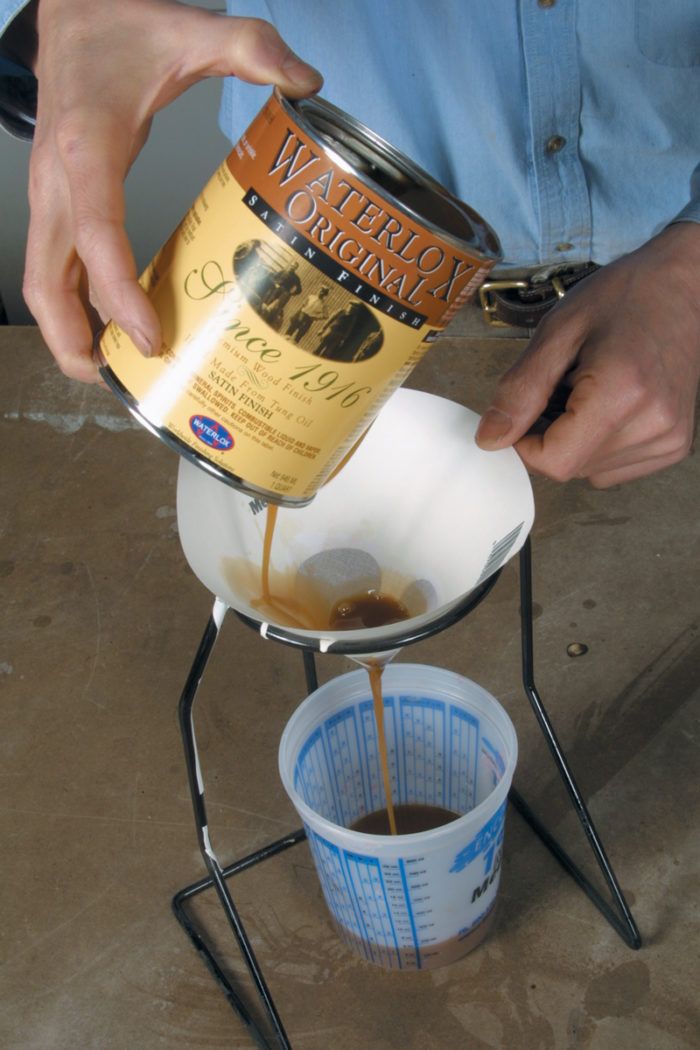
Instead of working directly from the finish can, it’s a good idea to strain all finishes before application and dispense them into smaller containers. Thinning a finish for application is more accurately done using a viscosity cup, which is a small cup with a precisely machined hole in the bottom. To measure for proper viscosity, you time how long it takes a specific finish to drain from a specific cup (such as 16 seconds in a Ford no. 4 cup). Viscosity ratings are typically provided for various industrial coatings.
Applying Multiple Coats
With pure oil finishes and most oil/varnish blends, you can only apply a maximum number of coats before you’re just wiping off what you apply. Film-forming finishes all have a minimum number of coats that should be applied for durability. Low-solids evaporative finishes like shellac and lacquer require four or five coats. With high-solids finishes like varnish, apply at least two coats.
The solids content of a finish may be listed on the can or the technical sheet. There are two references. One notes solids content by weight and the other lists solids content by volume. The volume measurement is what’s most important to the finisher as you can calculate the dry-mil thickness from the wet-mil thickness. Wet-film thickness can be measured with a simple tool.

For example, if the solids content by volume is 35%, you’ll know that three 2-mil thick wet coats will result in a dry-mil thickness of 2.1 mil (3 x 2 x .35).
Finish Sheen
Many finishes are available in various sheens, including gloss, satin, and flat. If you plan to apply more than three coats of finish on a dark wood, it’s advisable to use gloss for the base coats to “build” the finish, then apply satin as the last coat. This prevents the cloudy look that sometimes results from multiple coats of a satin or flat finish. When working with nongloss finishes like semigloss, satin, and flat, stir the product well to disperse the flatting agent. I use flat stir sticks because they’ll scrape the flatting agent off the bottom of the can to redisperse it.

Finishing Insides
Never apply any finish made with a drying oil to the insides of drawers, chests, or armoires where food or clothes will be stored. This includes all oils, varnishes, modified oils, and oil/varnish blends. The smell of the product seems to linger forever. It’s better to use shellac or lacquer. Reactive two-component finishes are also fine.
Finishing Resinous Hardwoods
Rosewood, cocobolo, and many rosewood substitutes contain natural oils that impede the ability of oxygen to enter the oil and begin the curing process. Avoid applying any drying oil products directly to the wood. If you wish to apply a varnish, seal the bare wood first with shellac or vinyl sealer.
Sanding between Coats
Sanding between coats removes blemishes, smoothes the surface, and improves intercoat adhesion of finishes. It generally isn’t required unless directed by the manufacturer, provided the finishes are applied within four to six hours of each other and the prior coat is clean. Reactive finishes need a certain amount of drying time before sanding is mandatory. (Check the product label.) Because most evaporative finishes remelt the prior coat, sanding between coats is only done to correct defects, which can typically be sanded out using 240- or 320-grit sandpaper. Sanding reactive finishes requires using finer grits like 400 to avoid visible sanding scratches. If you’re not sure, 400- or 600-grit sandpaper is always a safe bet for sanding a finish. When sanding complicated profiles, use a cushioned abrasive.
Finishing Parts
Dismantle large items as much as you can. Finish backs and drawer bottoms separately whenever possible. If you have a complicated project with a lot of slats, for example, consider finishing the various parts before assembly. You can dip small parts or attach them to a strip of wood for brushing. If you spray small parts, build a screen box or stabilize them by taping them to a piece of plywood.

Finishing Both Sides
It’s always a good idea to finish both sides of parts at the same time. This speeds things up and prevents the possibility of warping and cupping during an abrupt change in humidity.
When spraying a top, I like to place it on two lengths of pipe insulation, with iron pipe inserted to weigh them down and keep them in place. Place the pipes between the screws for your nail board, making sure the screw tips sit at least an inch below the insulation. Place the show side down on the insulation-covered pipe to support the top, and then spray the bottom. Don’t spray the edges so you have something unfinished to grab onto to flip it over. After flipping it over, spray the show side and edges.
Finishing Carvings
To maintain the crispness of carvings, apply as little finish as possible and avoid sanding between coats if you can help it. Spraying is generally the best application technique. I personally like the look of low-solids lacquer or shellac on carvings.


Log in or create an account to post a comment.
Sign up Log in