Three Steps to a Flawless Painted Finish
Pro finisher Paul Snyder explains how to prepare, prime, and apply paint.
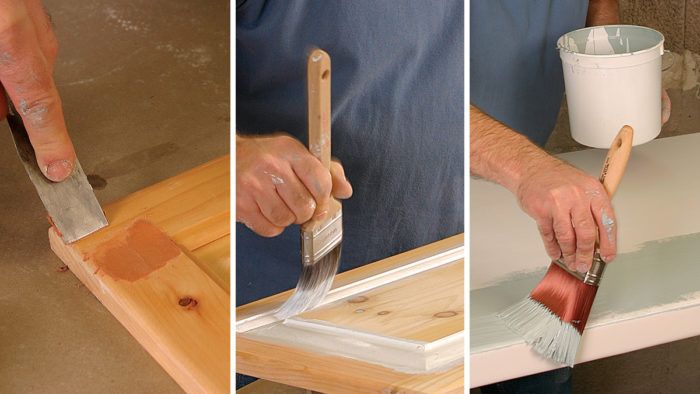
Synopsis: Painted cabinets, bookcases, wall units, and other furniture are as popular today as they have ever been. But there’s more to a quality painted finish than meets the eye. First, you need a perfectly flat, smooth surface. Next, you need to select the right primer and sealer. And finally you need to choose the right topcoat. Professional finisher Paul Snyder gives step-by-step application instructions for getting the best painted finish possible.
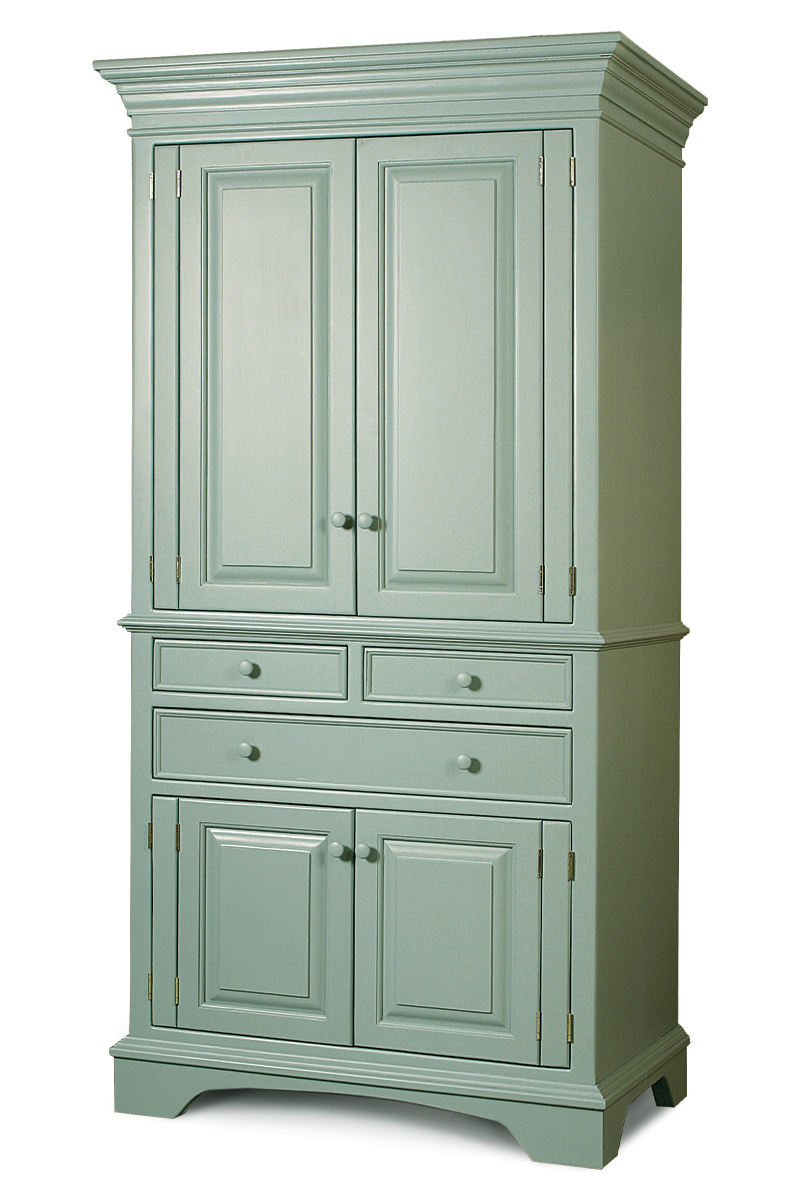
If you associate the word “paint” with images of a pail of house paint, a roller, and a brush, you may have difficulty linking it to fine furniture. However, painted built-in cabinets, bookcases, wall units, and furniture are as popular today as they have ever been, and a great paint job stands comparison with the best clear finish.
There is more to achieving a quality painted finish than meets the eye, and the process is different than obtaining a clear finish. Much of the effort centers on the need for a perfectly flat, smooth base for the paint. To get this base, I work through a series of preparation and priming steps that get the surface of the piece progressively smoother.
Because the wood will be hidden under paint, it doesn’t make sense to use expensive furniture-grade hardwoods, such as oak, ash, walnut, and mahogany. Poplar, medium-density fiberboard (MDF), birch plywood, pine, and paint-grade alder and maple are more suitable for painting. Paint grade just means the wood has grain or color variations that make it unsuitable for a clear or stained finish.
Surface preparation is critical
Getting the wood ready for painting is even more important than preparing it for a clear finish, despite the fact that any repairs will be hidden under the paint. The first step is to inspect all of the surfaces and fill any holes, cracks, and gaps, and remove any glue runs or drips.
Once the filler is dry (for more on the different types of fillers, see the story above), sand the wood with P150-grit paper. This grade of paper levels the surface and makes it uniform, but leaves it relatively rough so that the primer still has some “tooth” to latch onto. As you sand each surface, start with any areas that were filled; excess filler will create a high spot that will show up later in the finish. However, filler used in large holes might shrink, leaving a recess that will need to be filled and sanded again.
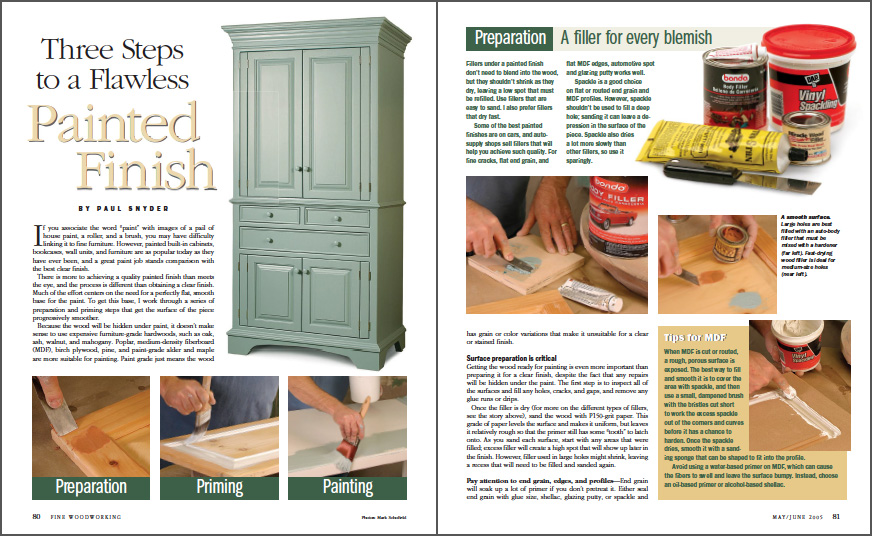
From Fine Woodworking #177
To view the entire article, please click the View PDF button below.
Fine Woodworking Recommended Products
Waterlox Original

Odie's Oil



Log in or create an account to post a comment.
Sign up Log in