Varnishing Secrets
A highly polished, durable finish can be achieved with a brush.
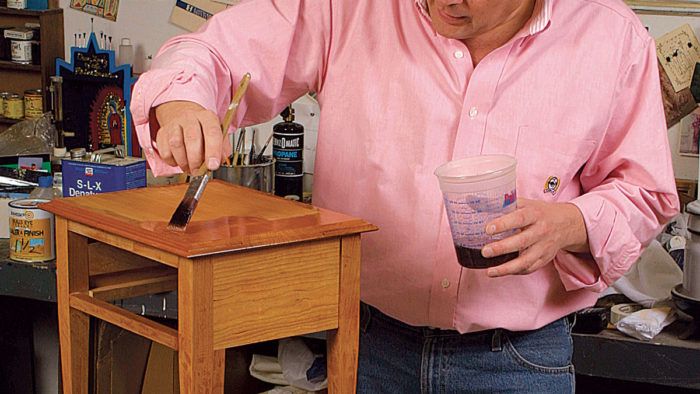
Synopsis: If you’ve never tried a rubbed and polished finish because you feared the hours of work required or experience needed, you’ll be surprised at how easy David Sorg shows it to be. There are a lot of steps, but according to Sorg, they’re fast and don’t require talent. He explains the differences among brittle and rubbery products and which varnishes to use. Sorg tells you when to sand and how to apply each coat of varnish, showing cross-sections of the wood and build-up to help you understand why and how his steps help.
To bring out the full color, depth, and figure in wood, a finish must be as clear and level as possible. Traditionally, this has been achieved in one of two ways: either by the slow build of French polishing or by the much easier and faster brushing, sanding, rubbing, and polishing of a film finish such as varnish, lacquer, or shellac.
If you’ve never tried a rubbed and polished finish because you thought it required hours of work or years of experience, please keep reading. You’ll be surprised at how easy it is to impress yourself and your friends with a gorgeous finish. Though there are many steps, they’re fast and don’t require a lot of talent.
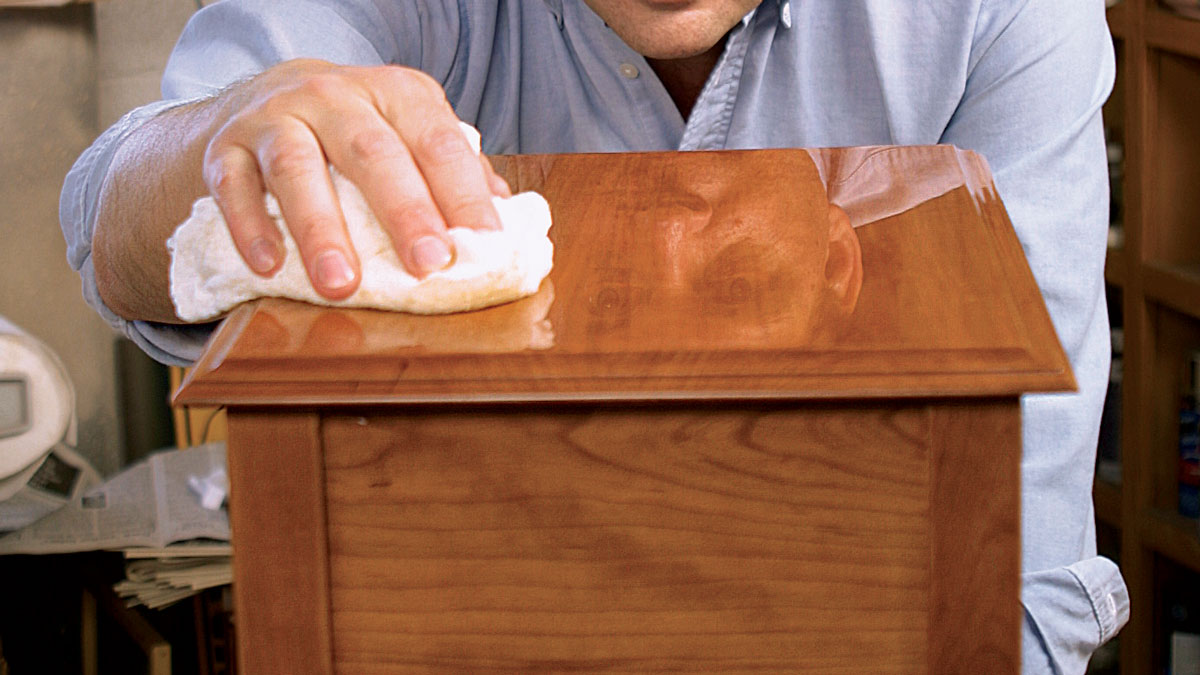
To achieve these impressive results requires using a product that can be polished and that has a brittle hardness as opposed to a rubbery hardness. One product that fits the bill is alkyd varnish, a short-oil varnish that has less oil and more resin, which makes it harder and more brittle. Don’t use a spar varnish, which is formulated for outdoor use and contains a lot of oil to keep it from cracking due to wide temperature swings. Don’t use a nongloss finish because it will obscure the full beauty of the wood. For a brush-applied finish, I like varnish because of its filmbuilding ability and forgiveness of brush marks. If you prefer lacquer or shellac, the application steps are the same, but you’ll have to adjust the number of coats (more than varnish) and the drying time (less than varnish). And with shellac, wet-sanding is done with mineral spirits, not water, which is used with varnish.
The table I finished for this article (built by Mark Schofield) is made of cherry, a relatively tight-grained wood, so its pores did not need to be filled other than with the varnish itself. With other, more open-grain woods, such as mahogany and walnut, you’ll need to use filler or plan on an extra couple of coats of clear finish to level the surface. The wood can be stained before topcoating, but for this table I liked the subtle coloring of an initial coat of orange shellac. The varnish also will color the wood slightly, so make a sample of any and all steps you’ll be taking with filler, stain, and finish coats to make sure you’re getting the color you want. This sample will give you an idea of how much finish build you’re getting and how long you can sand at each step without cutting through the finish.
After a final sanding with 220-grit paper, remove the dust using either a vacuum or a tack cloth. Now you’re ready to apply the coat of orange shellac (a 1-1⁄2-lb. or 2-lb. cut is suitable).
From Fine Woodworking #168
 For the full article, download the PDF below.
Fine Woodworking Recommended Products
Diablo ‘SandNet’ Sanding Discs
Foam Brushes

Jorgensen 6 inch Bar Clamp Set, 4 Pack


Log in or create an account to post a comment.
Sign up Log in