Wiping Varnish: The Only Finish You’ll Ever Need
Wipe it on for a low-luster look or brush it on for a higher sheen.
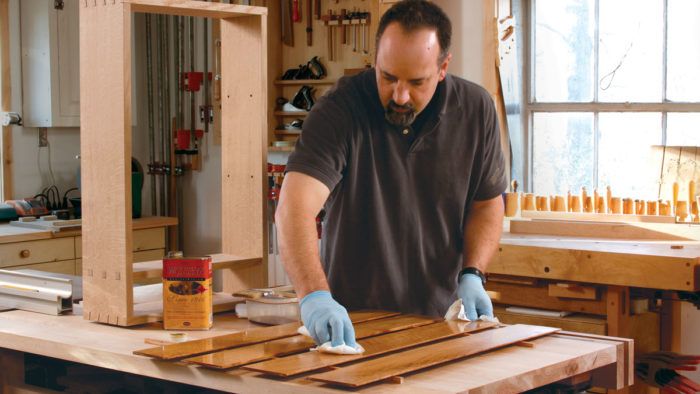
Synopsis: Searching for a silky smooth, low-luster finish that lets the beauty of the wood shine through? Try wiping varnish. Michael Pekovich says it gives the durability and flawless look he wants, along with easy application. This versatile finish is thin enough to wipe on, but dries hard even when applied in thicker coats. Start here to learn which brand he prefers, and follow his simple steps for fast, dependable results.
For me, the ideal finish for handmade furniture is a silky smooth, low-luster finish that lets the beauty of the wood shine through. Over the years, I’ve tried countless products and techniques trying to achieve this look. Some required elbow grease and homemade concoctions. Some took weeks to apply. Some looked great at first only to fade over time.
Finally, I’ve found a finish that gives me the durability and flawless look I want along with easy application. The answer is wiping varnish. It’s a versatile finish that is thin enough to wipe on, but dries hard even when applied in thicker coats. This allows me to build the finish quickly, then end with thin coats that give me just the look I want. My brand of choice is Waterlox, a tung-oil-based varnish. It builds quickly, levels well when brushed on, and adds a beautiful amber tone to the work.
In finishing, the technique is just as important as the product, and the directions on the back of the can just don’t cut it. I’ll share the simple steps I’ve discovered for fast, dependable results. I’ll also show you how to apply wiping varnish for a high-luster look, suitable for high-style furniture.
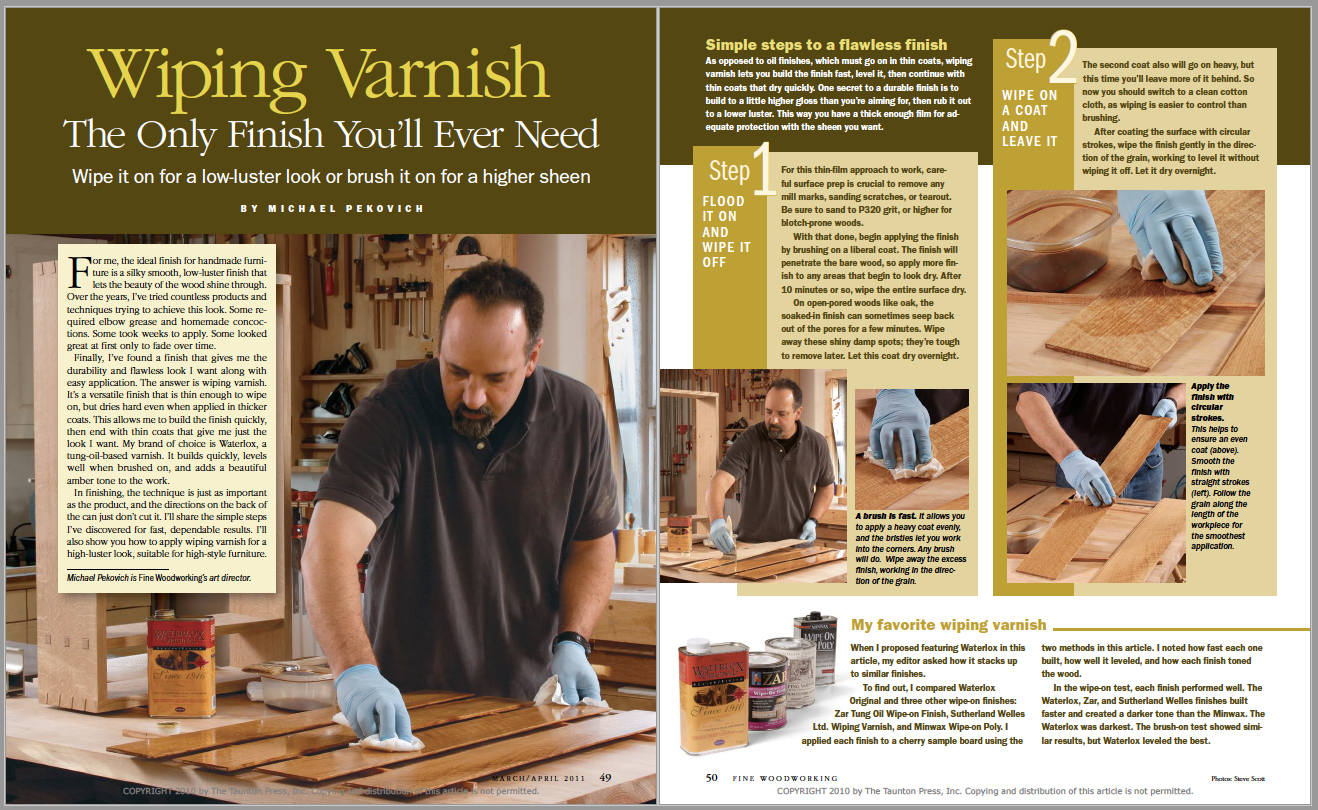
Simple steps to a flawless finish As opposed to oil finishes, which must go on in thin coats, wiping varnish lets you build the finish fast, level it, then continue with thin coats that dry quickly. One secret to a durable finish is to build to a little higher gloss than you’re aiming for, then rub it out to a lower luster. This way you have a thick enough film for adequate protection with the sheen you want.
Step 1 – Flood it on and wipe it off
For this thin-film approach to work, careful surface prep is crucial to remove any mill marks, sanding scratches, or tearout. Be sure to sand to P320 grit, or higher for blotch-prone woods.
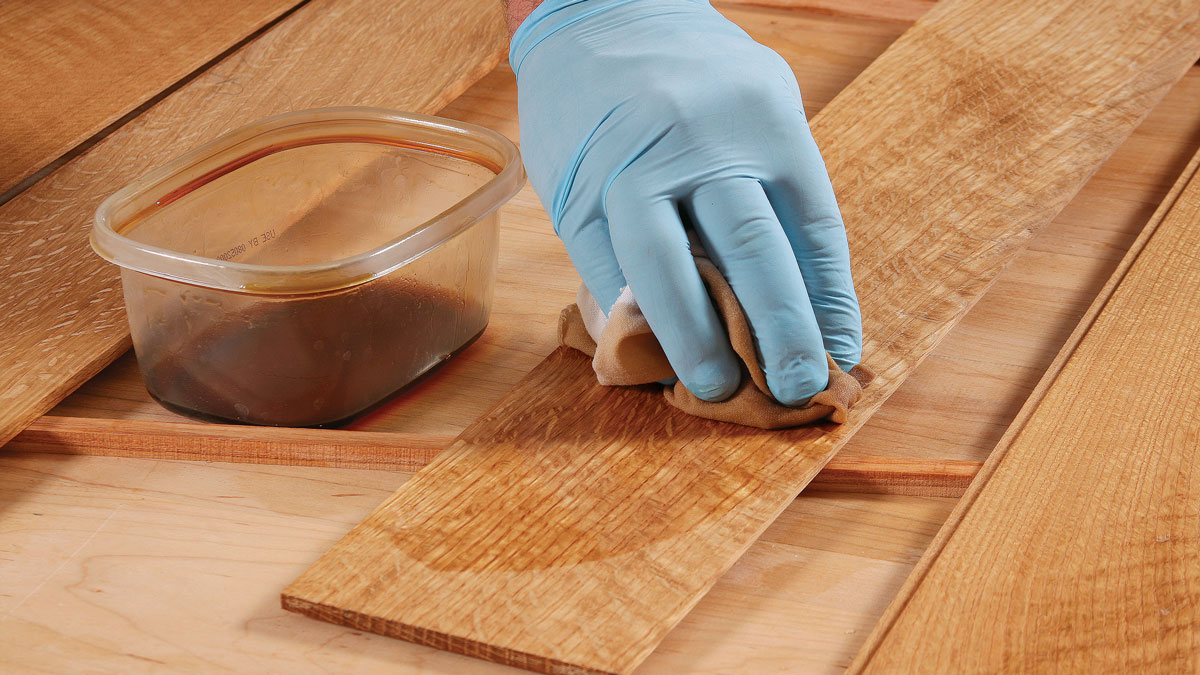
With that done, begin applying the finish by brushing on a liberal coat. The finish will penetrate the bare wood, so apply more finish to any areas that begin to look dry. After 10 minutes or so, wipe the entire surface dry.
On open-pored woods like oak, the soaked-in finish can sometimes seep back out of the pores for a few minutes. Wipe away these shiny damp spots; they’re tough to remove later. Let this coat dry overnight.
 From Fine Woodworking #218
For the full article, download the PDF below:
Fine Woodworking Recommended Products
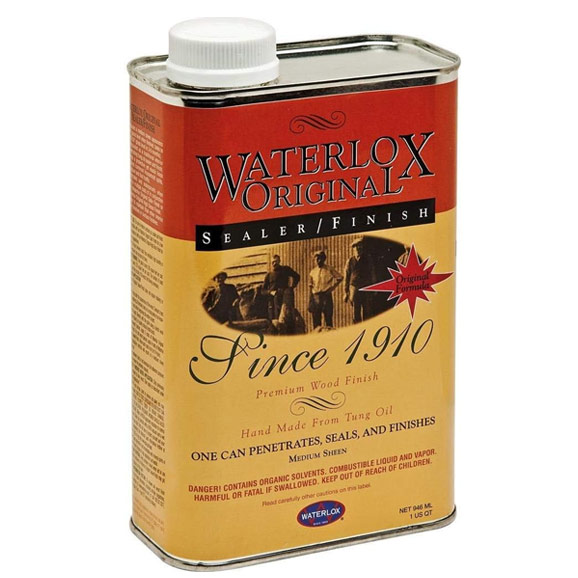
Waterlox Original
Bumblechutes Bee’Nooba Wax


Log in or create an account to post a comment.
Sign up Log in