Carving a Ball-and-Claw Foot
Tracing the techniques of an 18th-century cabinetmaker, Mack Headley, Jr., explains how to carve, shape, and smooth ball-and-claw feet.

Synopsis: Mack Headley, Jr., studied the furniture and carving of Peter Scott, a cabinetmaker who worked in Williamsburg, Virginia, from the early 1720s to the mid-1770s. Headley explains how he copied chair legs to make a pattern without damaging the chair. He used an excavated, unfinished table leg to see how Scott roughed them out, and matched gouges to the original sculpted ankle to start carving. He explains how to determine the dimensions of ball-and-claw feet and how to carve, shape and smooth them out. He closes with information on how 18th-century woodworkers sanded their pieces.
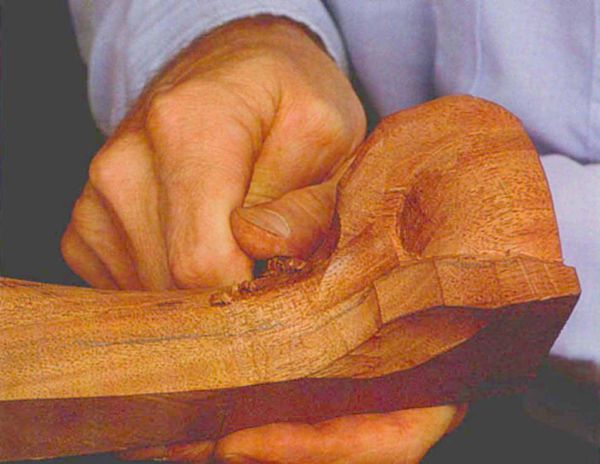
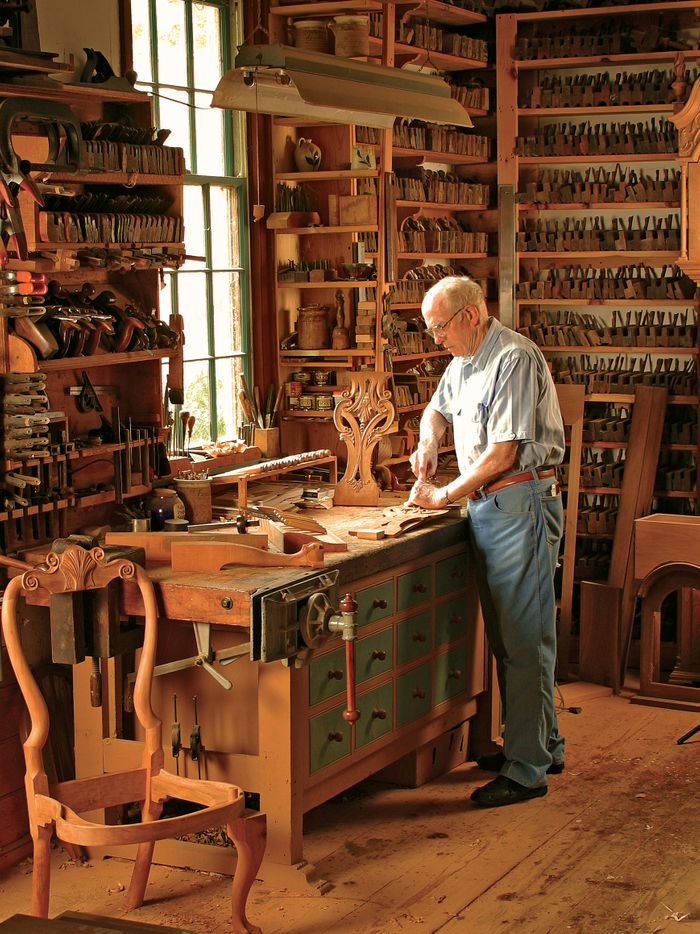
Recently I “studied under” Peter Scott, a cabinetmaker who worked in Williamsburg, Va., from the early 1720s to the mid-1770s. Although he’s been gone for more than two centuries, he left a legacy of furniture that provides a fairly comprehensive training program for contemporary woodworkers. Scott himself was probably educated in Scotland before arriving in Virginia, where he built furniture for the state’s most demanding customers. During his time, furniture design emphasized strength and bold sculpture with broad reflective surfaces, which created a sense of weight. As pan of my study of regional styles of cabriole legs, I carved a reproduction of one of his chair’s legs, using the simple tools and methods common during that time.
I’ll tell you how I made a pattern and sawed the leg from a blank and how I carved Scott’s version of a ball-and-claw foot. I’ll demonstrate the gouges I used to duplicate the sculpture below the shell carving at the knee. For more on this, see “Cabriole Knees”. Although this foot is a reproduction of a Williamsburg design of the 1740s, you’ll find that my tool techniques and procedures for executing this foot will be helpful when carving other feet.
I couldn’t rip one of Scott’s chair legs in half to trace the sawn section and make a pattern. Instead, I projected imaginary lines past the leg onto a blank in much the same way you would shine a beam of light past the leg and trace its shadow. I held a straightedge parallel to the floor and across both front chair legs so that it met my carving blank at a right angle. I aligned the front of the Honduras mahogany blank parallel with the right front leg of the chair. Then I held the straightedge against the widest points on the front of the two legs (at the knees and feet) and I marked those points on the blank. Next, I marked the blank for the widest points on the back of the legs (at the ankles and where the curves at the back of the knees intersect the edge). Holding the straightedge across the inside curves (the front of the ankle, top of the foot and back of the knee), I marked the blank where the end of the straightedge touched each of these places. I also marked the blank at a number of places along the curves, and carefully outlined the foot in the same manner. Finally, I drew a fair line connecting the marks on the blank, and then I traced this profile and cut out a paper pattern. Since the lines of the original leg and foot are the same when viewed from the front and outside, one pattern can be used for both sides.
From Fine Woodworking #84
For the full article, download the PDF below:
Fine Woodworking Recommended Products

Veritas Wheel Marking Gauge

Bessey EKH Trigger Clamps

Veritas Precision Square


Log in or create an account to post a comment.
Sign up Log in