How to Turn Chisel Handles that Fit Your Grip
Transform your old chisels with homegrown handles.

Synopsis: Making handles for your chisels is a great way to bring together a mismatched set and to customize the fit to your own hand. All you need is a few scraps of hardwood and some leather, a lathe, and a bit of time. John Tetreault shows how to lay out the handle’s dimensions whether you have an old handle to use as a guide or not, how to shape the handle to fit your hand, how to get the tenon dimensions perfect, and how to add optional leather washers for increased durability. The easiest finish in the world completes the project.
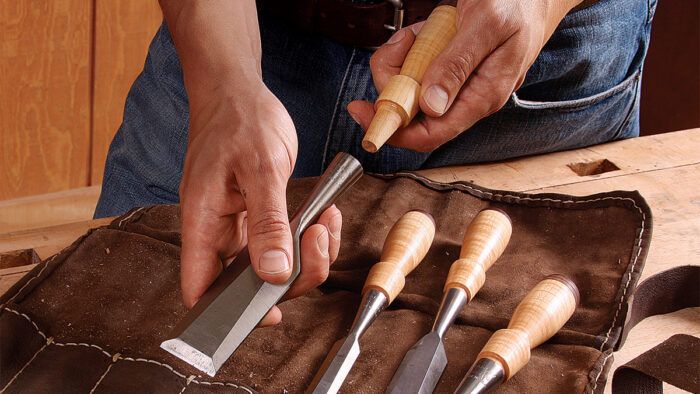
The first chisel I remember buying was an old Buck Brothers socket chisel. I’ve since added a few vintage stanley 750s and other tag-sale finds, all of them socket style. some of them had handles that were damaged or just missing, but they were all made from good old tool steel. They sure didn’t look like a set, but after I spent some time at the lathe and used some repurposed materials, they do now.
Making handles for your chisels is a simple task and a great way to bring together a mismatched set. It’s also a chance to customize the fit to your own hand. A few small scraps of any dense hardwood will do the trick. For my handles, I dove into my firewood pile, home to an abundance of local hardwoods that work well for handles, such as locust, maple, or beech. You just have to be sure the wood is dry enough to use. The firewood I chose had been air-drying in the stack for about a year. I brought the logs into the shop for a few weeks to let them acclimate before turning.
Shape the stock and cut the tenons
I roughly squared two adjacent sides of the log at the bandsaw using a shopmade sled, jointed those sides, and then cut blanks to rough size at the bandsaw. I let the blanks sit for a day or two before milling them to about 11⁄4 in. square. I cut the stock just long enough to make two handles. A longer blank can result in excessive vibration of the spindle, especially when you’re turning the tapered tenon.
Turn each blank into a cylinder at the lathe using a roughing gouge, keeping the 11⁄4 in. diameter. You can use an old chisel handle as a model or create an entirely new shape as you mark the transition points on the blank.
Now turn the tenons for the leather washers. The washers help to absorb shock and direct the mallet blow down the center of the chisel, as well as preventing the end from “mushrooming” or chipping out. This is probably more of an aesthetic preference than a necessity, since a rounded end on a good, dense hardwood will go a long way. Use a parting tool to turn a tenon on each handle, about 5 ⁄8 in. long and a hair over 1 ⁄2 in. dia. This will allow the washers to stretch over the tenon to ensure a tight, no-gap glue-up.
The toughest part of making a socket chisel handle is fitting the tapered tenon snugly. If you’re using an old handle as a model, use calipers to take dimensions directly from that tapered tenon. If the handle is missing, simply push a piece of clay or plumber’s putty into the socket, gently twist it out, and take dimensions from that. Make a quick sketch and jot down the length of the tenon and the diameters at both ends of the taper.
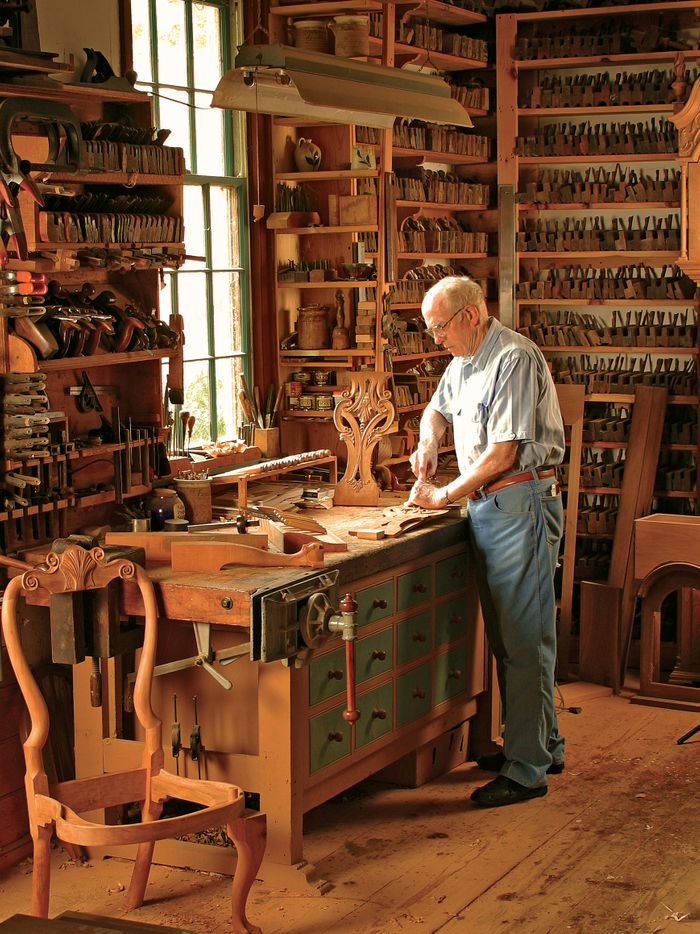
Video web extra: Romancing the Shop
Photos: Dillon Ryan
For the full article, download the PDF below:
Fine Woodworking Recommended Products

Tite-Mark Marking Gauge

Veritas Precision Square

Lie-Nielsen No. 102 Low Angle Block Plane


Log in or create an account to post a comment.
Sign up Log in