Japanese Chisel Tuneup: Flattening the Back
Learn how to flatten the back of the chisel, make any adjustments to the bevel angle, and hone the bevel flat.
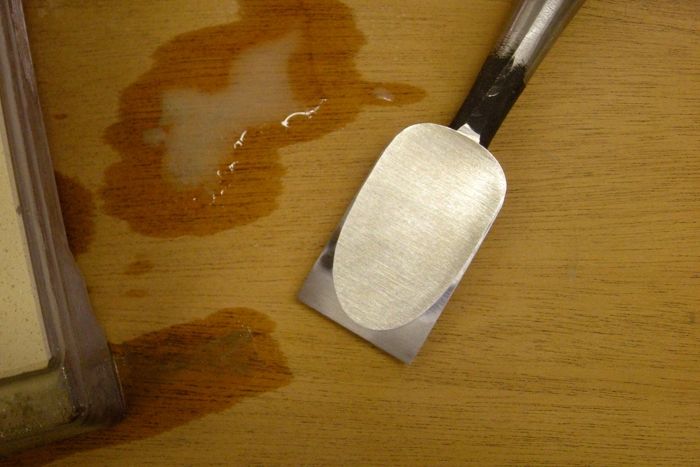
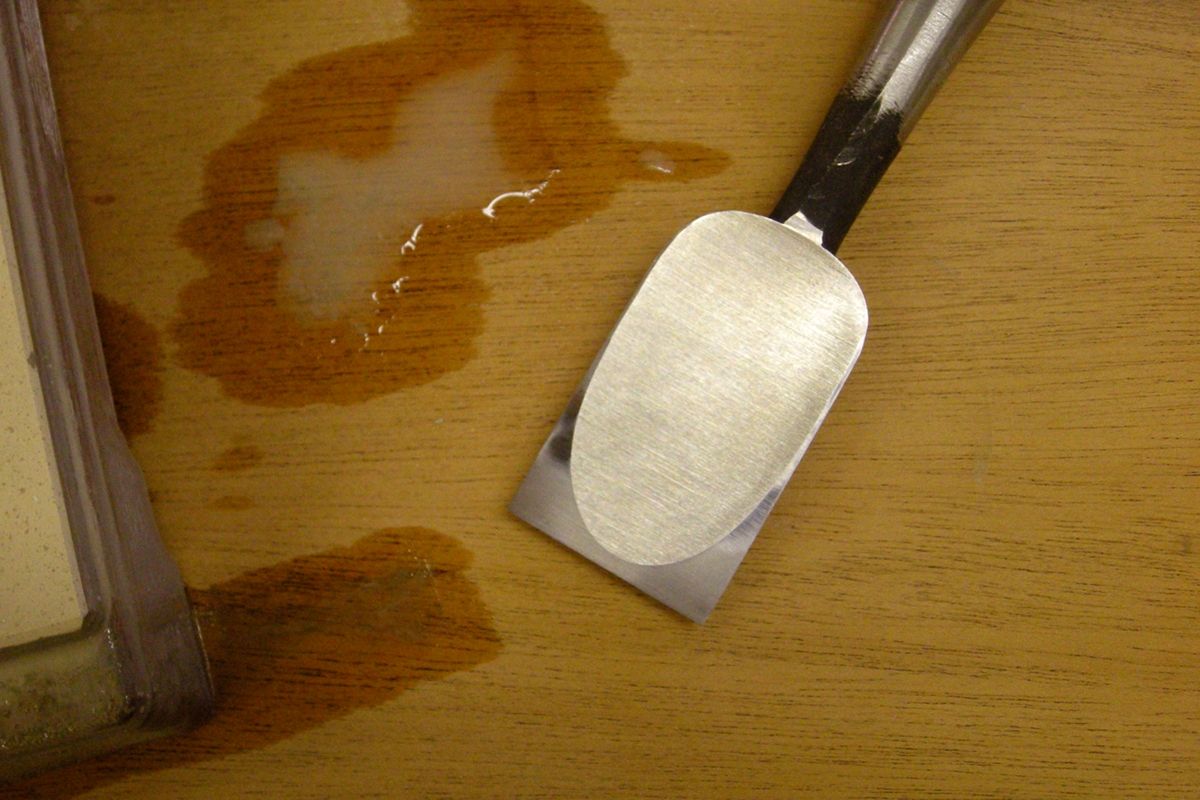
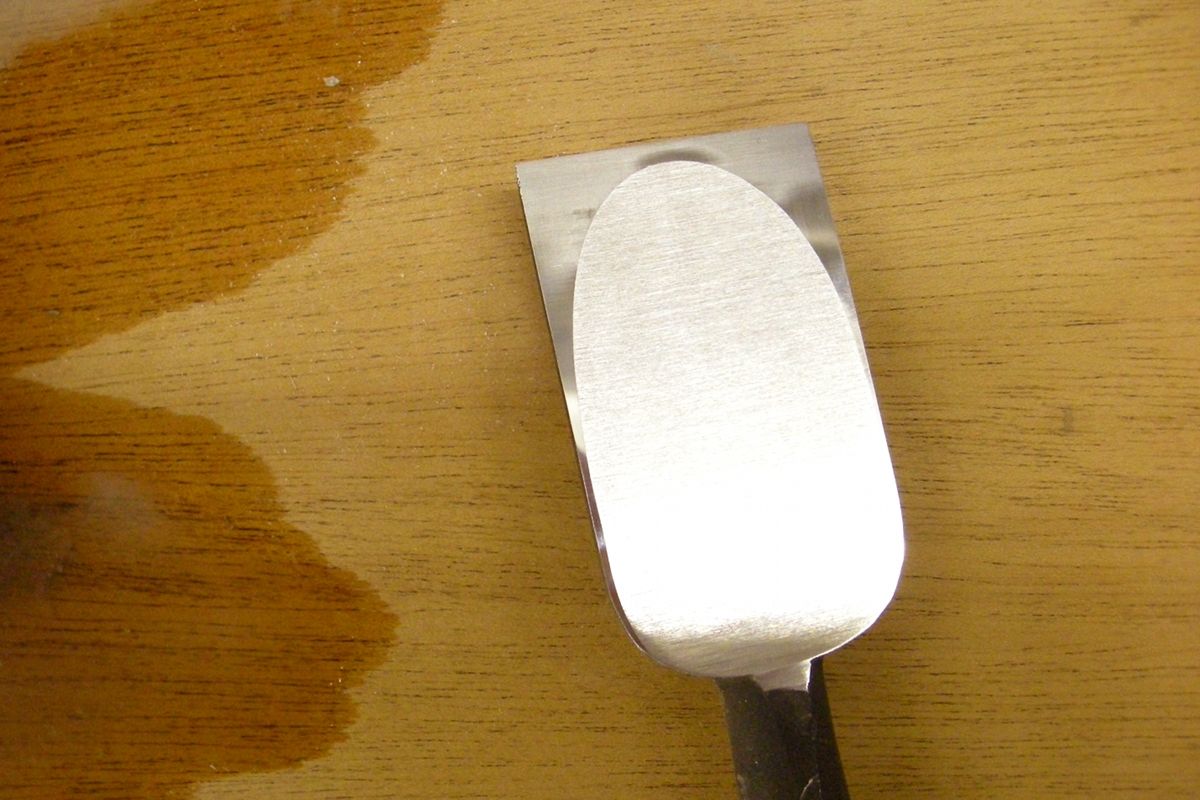
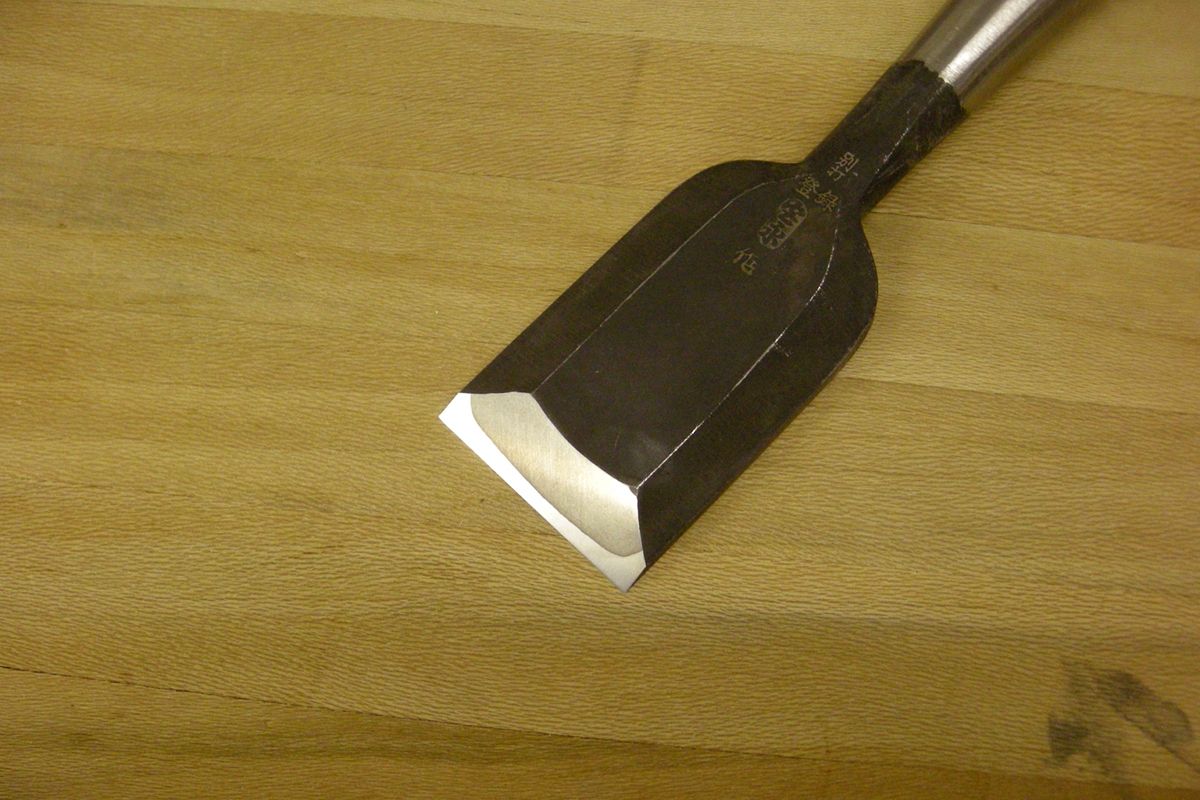
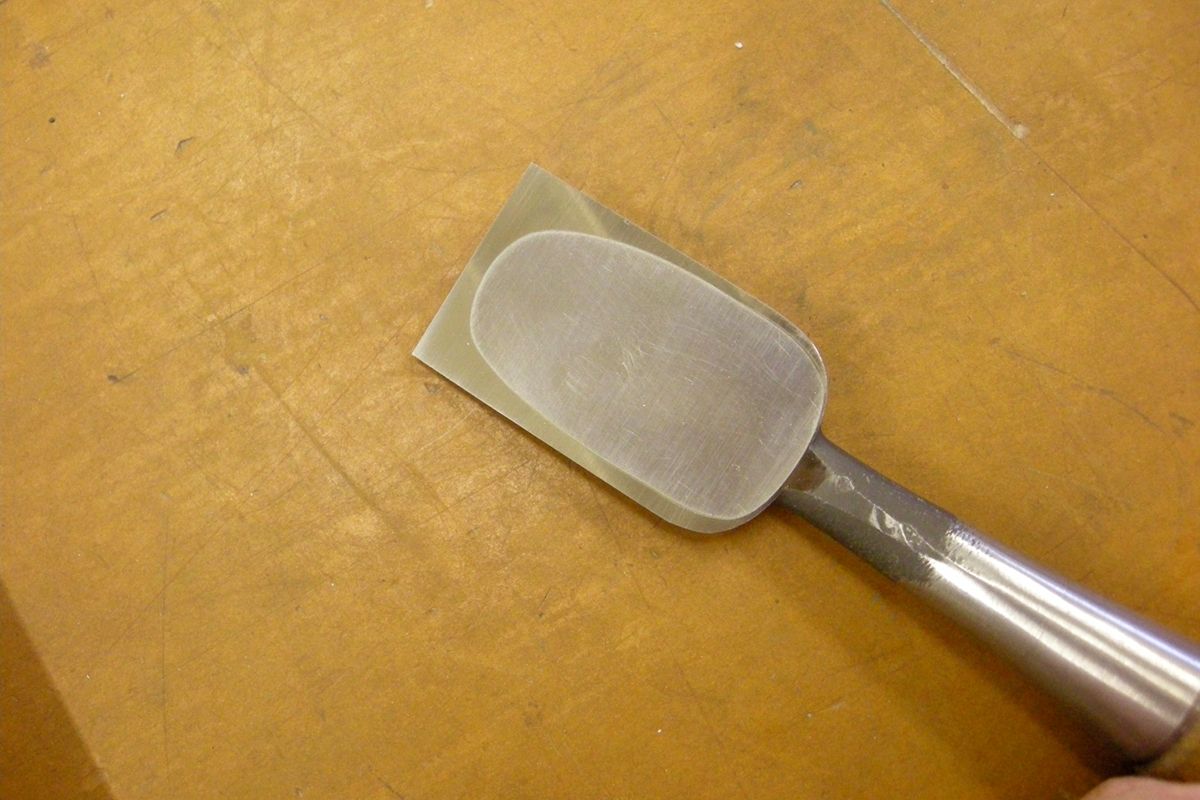
Chisel back after initial passes on a 4000-grit King brand waterstone. Note that the polish is well back from the cutting edge.
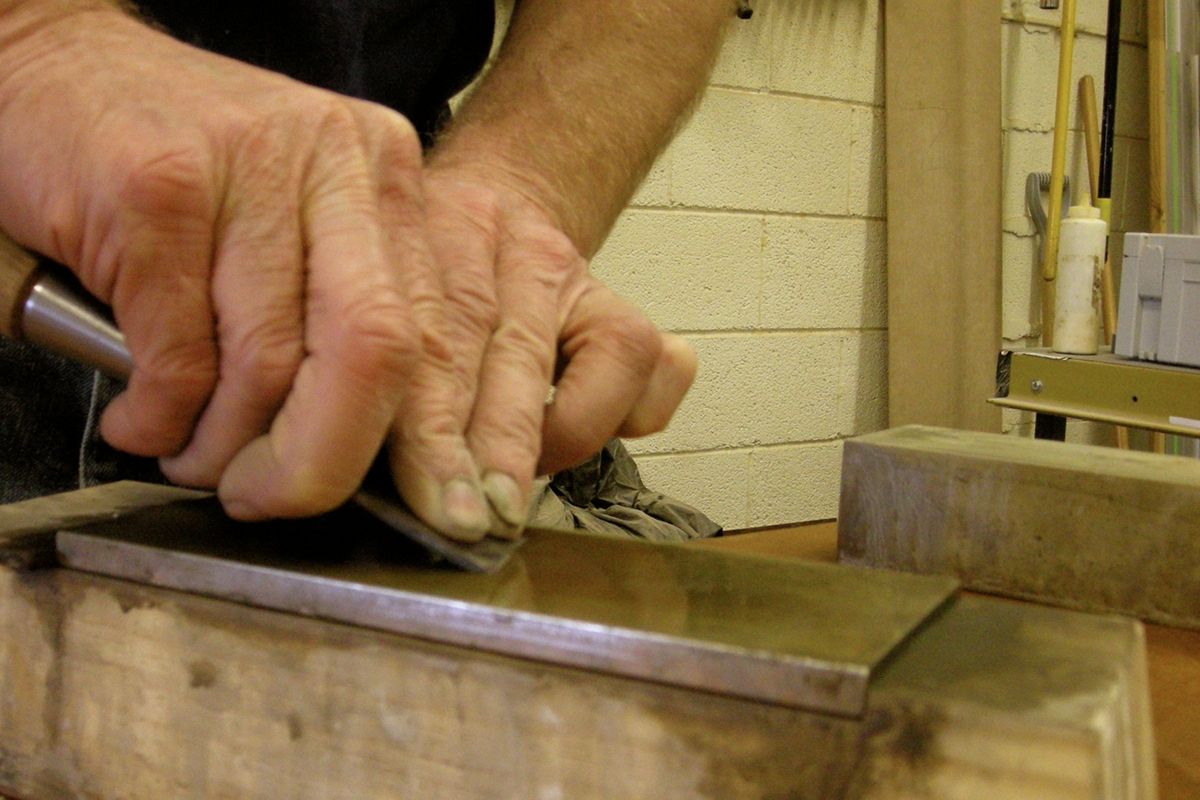
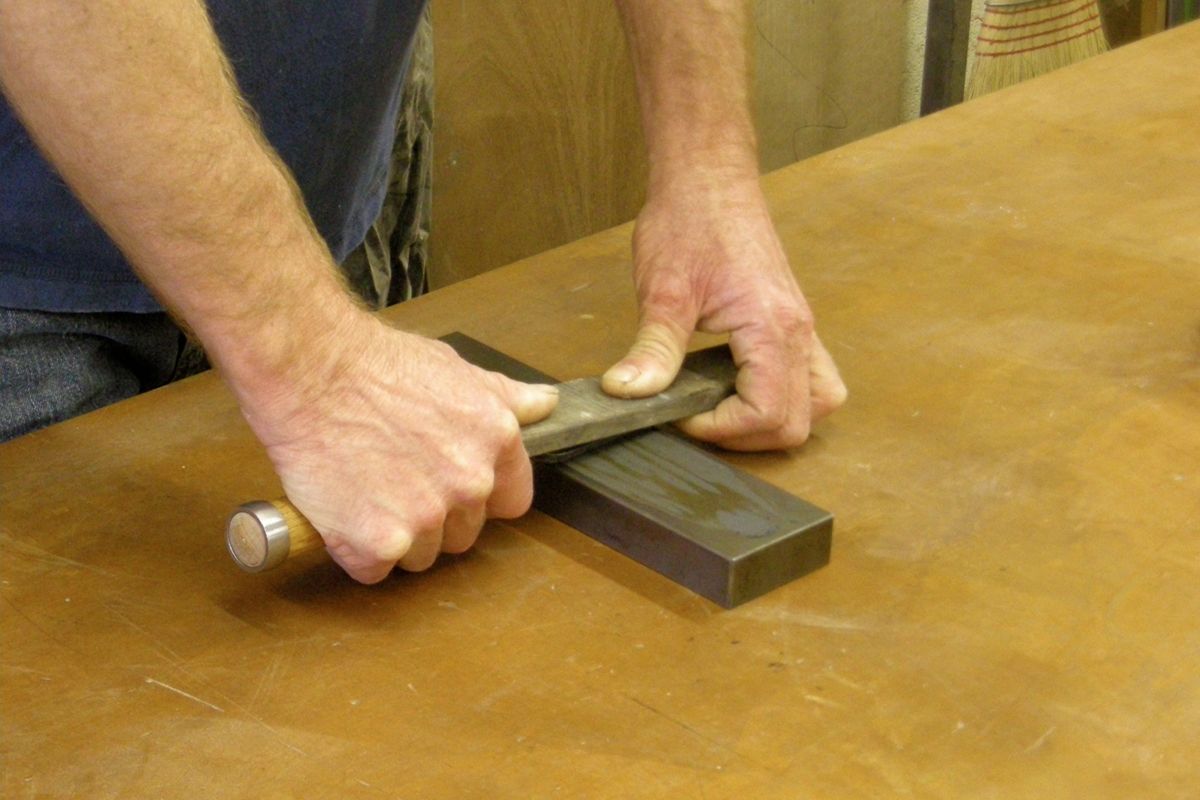
With the finish removed from the blade the next step is to check the land around the hollow-ground area on the back of the blade. A few strokes of the ura on a flat soft steel plate with a drop of water will quickly highlight the high and low spots. The same plate, or kanna-ban, with a small amount of abrasive slurry made with carborundum powder and water can be used to flatten the ura. In lieu of a kanna-ban, a flattened finish stone will reveal any inconsistencies.
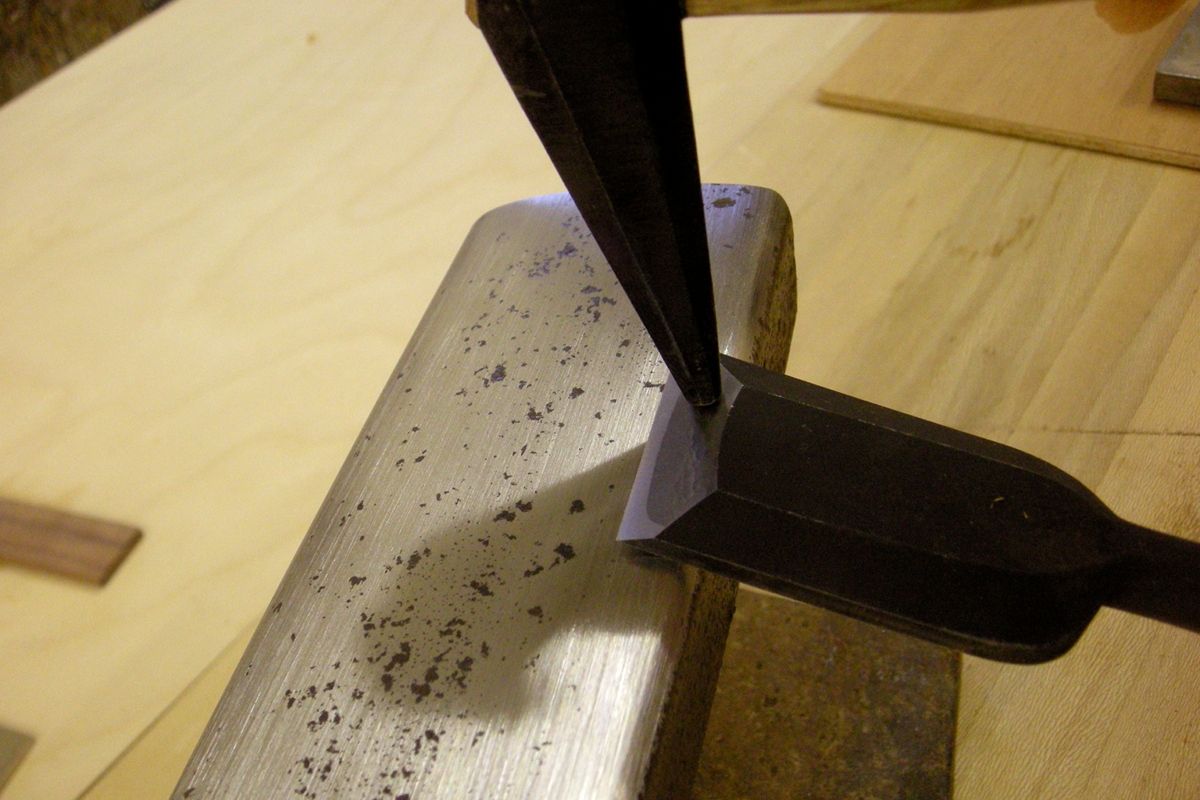
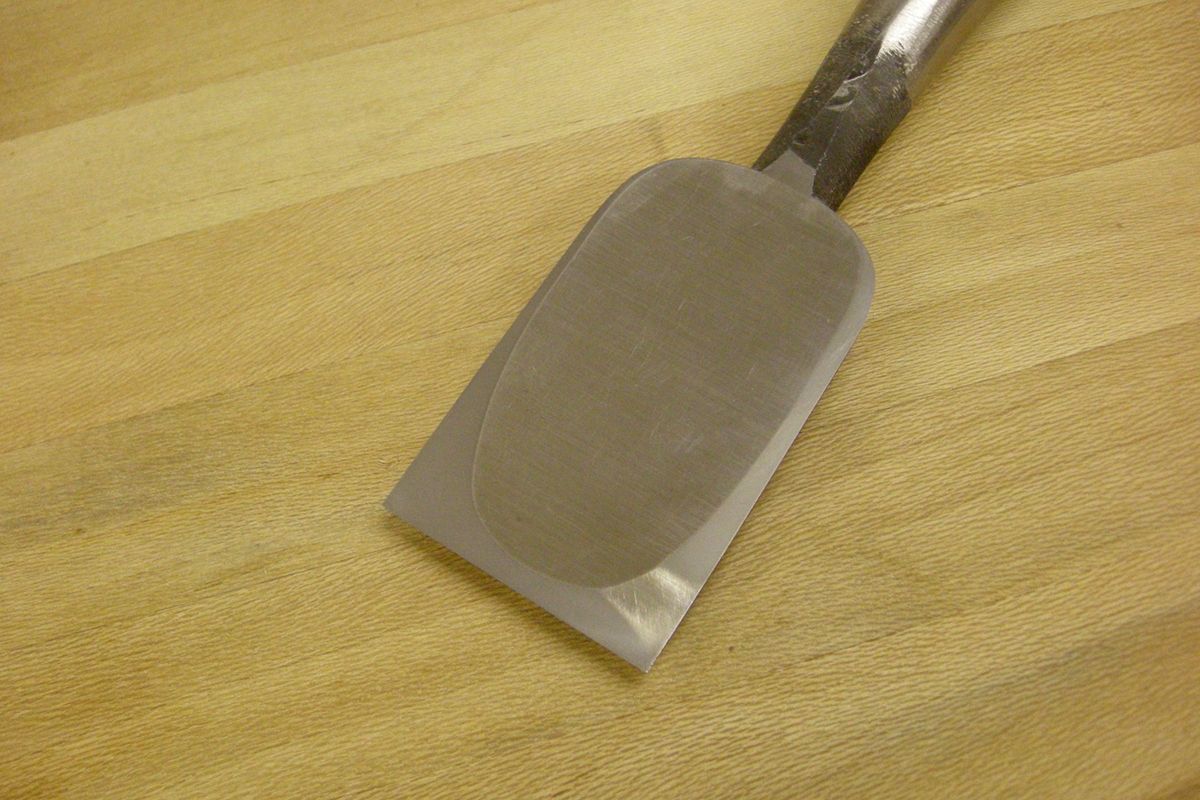
After making a few polishing strokes across the back of the chisel, examine the land in good light. If the land along the cutting edge has not been polished, it means the cutting edge is low relative to the sides. The soft backing steel behind the cutting edge should then be tapped out to push the steel up. It is critical to have the hard steel well supported on the anvil and to strike only the softer backing steel or iron. Strike the bevel face along a line about halfway to the weld. Also note that the high carbon steel on nomi wraps around the side edges of the blade so it is important to avoid hitting the hardened steel here as well. I like to use a rounded face on a kataguchi “tack hammer” but any small hammer can be used. A kataguchi or funate genno “boat builder’s hammer,” with its narrow head, makes it easy to see where you are striking.
Begin by striking gently and follow that by rechecking the ura on a kanna-ban or finish stone. If you use a finish stone, you will need to flatten it often. As you proceed, you may also want to use a medium stone, but again it is important to make sure the stone remains flat. Repeat the process until the edge of the blade comes in line with the land around the sides of the blades. The best-looking nomi will have an evenly polished and narrow land all around the hollow. However, for functionality it is most important that the land along the cutting edge is the area that is completely flat and comes in contact with the finish stone when removing the burr that is created during sharpening.
Knowing how much and how hard to strike while tapping out the blade will come with experience. Hitting too hard or in the wrong place can and will crack the hard steel. This is always an unpleasant experience, but it’s part of the learning curve and a great way to get good at sharpening. I encourage you to give it a try; however, if you don’t feel comfortable tapping out, you can always simply hone the ura flat. The downside to this is that the land could get quite wide in some areas, reducing the effectiveness of the hollow.
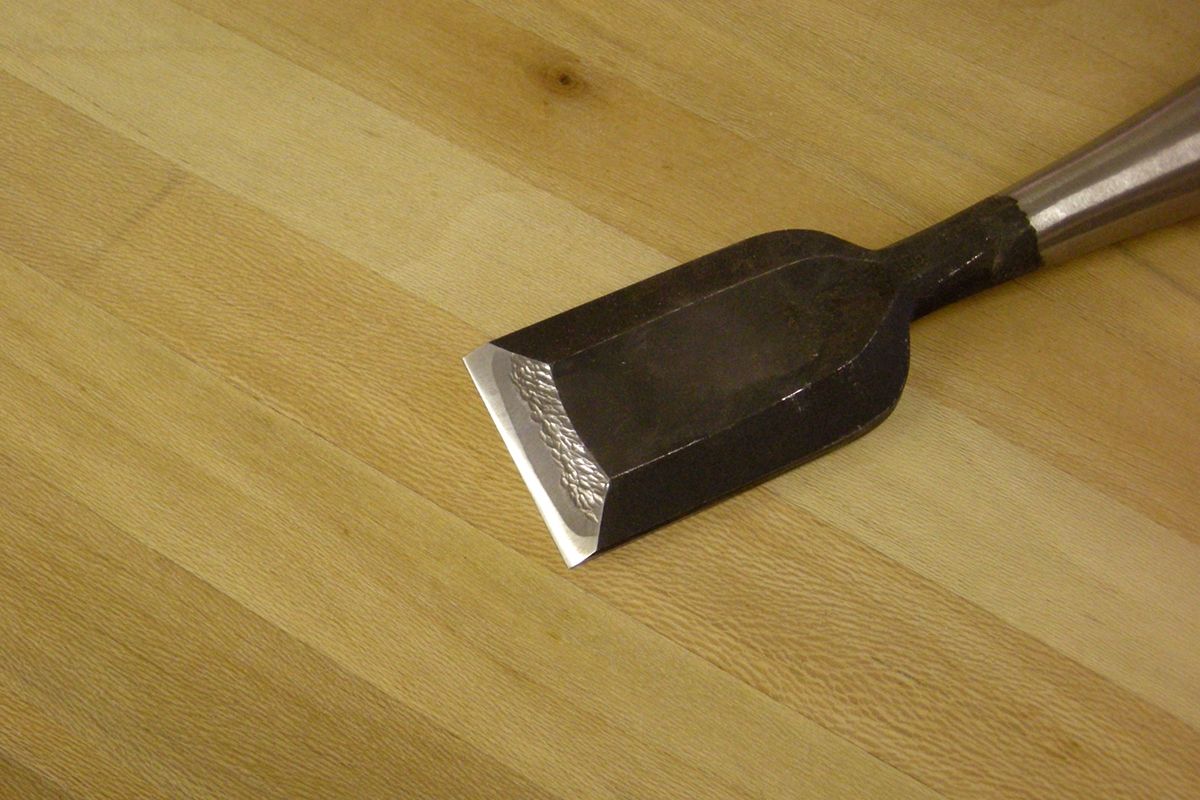
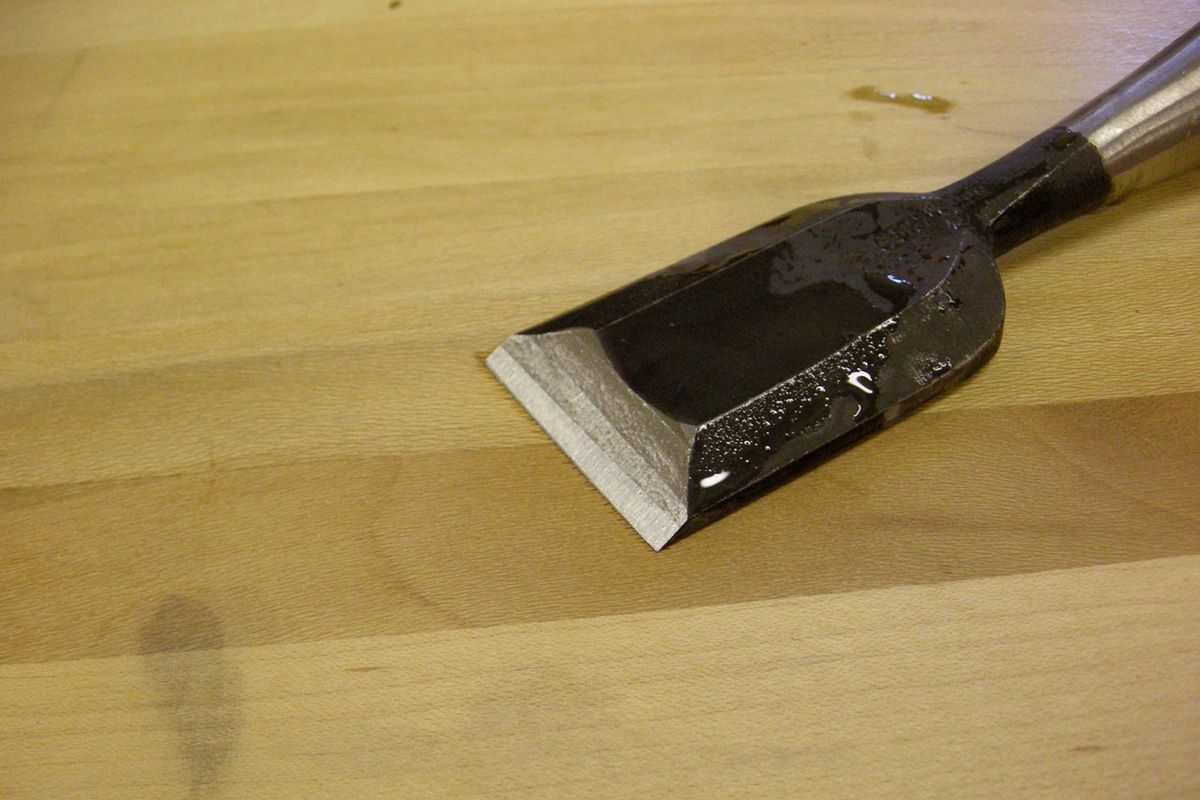
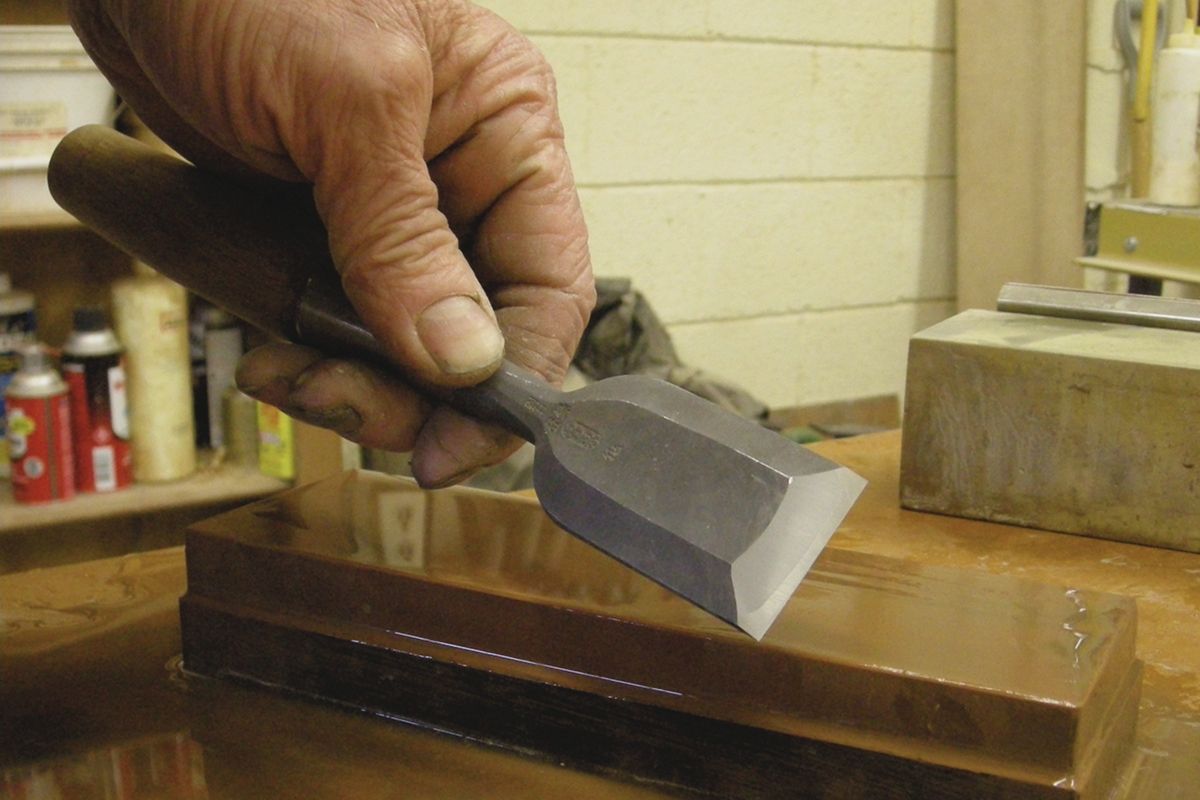
Once the back of the blade is flat the next step is to make any adjustments to the bevel angle and hone the bevel flat. If an appreciable amount of steel needs to be taken off to adjust the angle, you can grind it on a wet grinder but I don’t recommend grinding Japanese laminated blades on dry grinders. The risk of burning out the carbon in the cutting edge is too great. Blade geometry can also be adjusted on a coarse stone. I like using a diamond plate for this because it remains flat, whereas most coarse waterstones tend to be soft and dish out quickly. Whether reshaping the bevel face on a water wheel or coarse stone, it’s good to hold the nomi at arm’s length from time to time to check to see if the cutting edge is straight across. Also check the bevel angle on a gauge or simply lay out the desired angle on a stick of wood and compare it to that. The flatness of the bevel face can be determined by looking at the way light reflects off of it. If the bevel reflects light consistently across its face, it’s flat. If a narrow band of highlight shines across the face, then the bevel is rounded. In reality nothing is perfectly flat, and the judgment of flatness is a matter of degree. I advocate sharpening by hand and developing the skill over time with practice. I recommend that a novice shoot for, say, a 25° bevel and accept a moderately flat bevel. As your skill develops you can increase the angle and shoot for flatter and flatter bevels.
With the bevel geometry set and the ura flat, the nomi can be sharpened for use. Stone selection and number, kind, and grit is a personal choice. I usually use a three- or four-stone rotation; coarse, medium, fine or coarse, medium, medium fine, and fine. I like a range from 800 to 8000 with 2000 and/or 4000 in the middle. Hone the bevel on the coarse stone till the scratch pattern is consistent and a small burr develops along the cutting edge. Move to the medium stones and work the bevel until the scratches from the coarse stone are eliminated. I like to sharpen so that the new scratch pattern is at a different angle from the previous. If a lot of work is done on the coarse stone and the burr is large, I remove it with the medium or fine stone, working it gently, making sure not to break it off. Proceed though each stone working predominately on the bevel face and making sure you only hone the ura on flat stones thereby keeping the back of the chisel flat. For maintenance sharpening, the ura should only have to be worked on the finish stone with just a few strokes just before and after polishing the bevel on the finish stone.
In Part 3 I will cover setting the hoop on the handle and peening over the handle end.



Log in or create an account to post a comment.
Sign up Log in