Low-Cost Scraper Plane
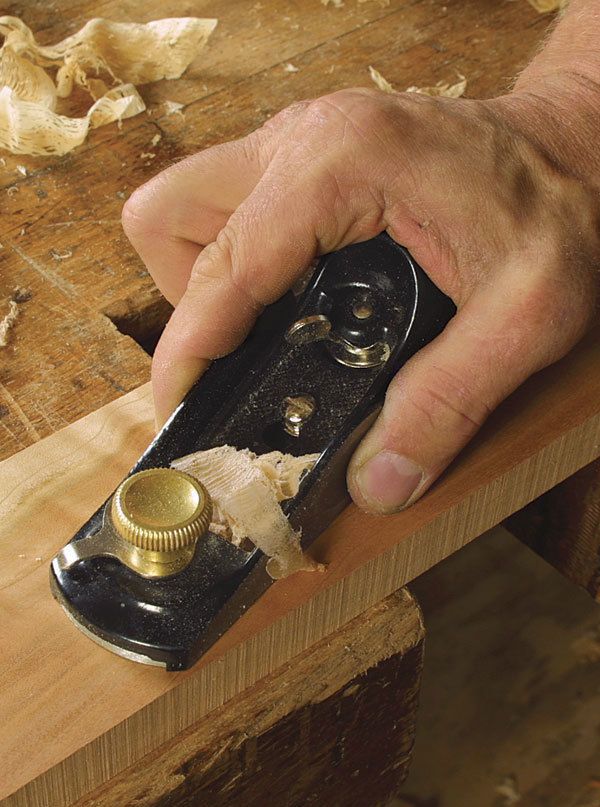
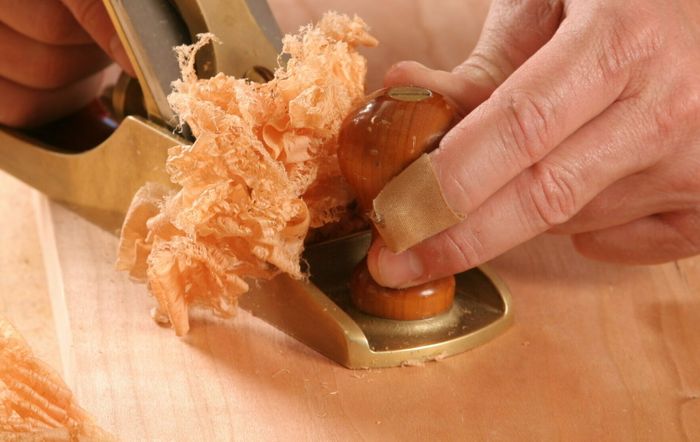
Learn how to convert a low-angle plane to a scraper plane simply by changing blades.

Synopsis: Most wood surfaces are easily handled with a sharp, well-tuned bench plane, but occasionally you’ll run into an area of wood so ornery that only a scraper can deliver a good finish. There’s no need to buy a commercial scraper plane or to deal with the chatter that these planes often produce, Brian Boggs says. Any type of low-angle handplane can be converted to a scraper plane that will practically guarantee no tear-out. The only investment is the cost of a replacement blade and the time it takes to regrind it to the proper angle for scraping.
A sharp and well-tuned bench plane can handle the vast majority of surfaces, but every now and then you run into an area of wood so ornery that only a scraper can deliver a good finish. However, I’ve found it difficult to prevent chatter on some commercial scraper planes, so I came up with a way of converting lowangle planes to work as scraper planes. No modifications are made to the body of the plane; the only investment is the price of a replacement blade. The conversion from one mode to the other is quick and requires no tools.
Regrind a replacement blade
Any type of low-angle plane can be converted to a scraper plane. Jack planes allow you to apply more power and work on a large area quickly, but block planes work fine. Because you will be turning a very small and delicate burr, I urge you to buy an A2 cryogenically treated blade rather than a regular steel blade. A2 blades are available from Hock Tools and Lie-Nielsen.
Determine the grinding angle
I find that scraper planes leave the cleanest surface when the blade is angled slightly back from the vertical, say around 87º. With the angle of the plane’s bed at 12º, the blade’s bevel must be ground at 75º.
Using a sliding bevel to establish the correct angle, grip the blade in a bench vise. Wrap tape around the bench to protect the edge from the sharpening stone, and, starting with a coarse diamond or oilstone, carefully hone an even bevel. You need to remove only a small amount of metal to leave a bevel just shy of 1⁄64 in. wide. I follow up with a fine stone and then a hard, translucent Arkansas stone, polishing both the bevel and the back of the blade. If you use waterstones, be careful not to gouge them, and try using the sides of the stones.
Turn the burr on glass
Because the burr is so small and the steel so hard, I have found that the easiest way to turn it is by rubbing the blade on a sheet of flat 1⁄4-in.-thick float glass. I place a 1⁄8-in. drill bit under the blade about a third of the way back from the tip, put a few drops of oil on the glass, and then roll the blade backward and forward about an inch. Keep the pressure firmly on the bevel at all times. After a dozen or so strokes, see if you can feel a burr. Your finger should feel just a small amount of resistance, but the burr won’t be visible.
From Fine Woodworking #188
For the full article, download the PDF below:
Fine Woodworking Recommended Products

Veritas Micro-Adjust Wheel Marking Gauge

Bahco 6-Inch Card Scraper

Lie-Nielsen No. 102 Low Angle Block Plane


Log in or create an account to post a comment.
Sign up Log in