Shoulder Plane Setup and Use
Bob Van Dyke demonstrates how to properly use a shoulder plane: checking for square, honing the blade, inserting and adjusting the blade, and using the plane to adjust tenons, clean up rabbets, and refine moldings, among other tasks.
Sponsored by Lee Valley/Veritas
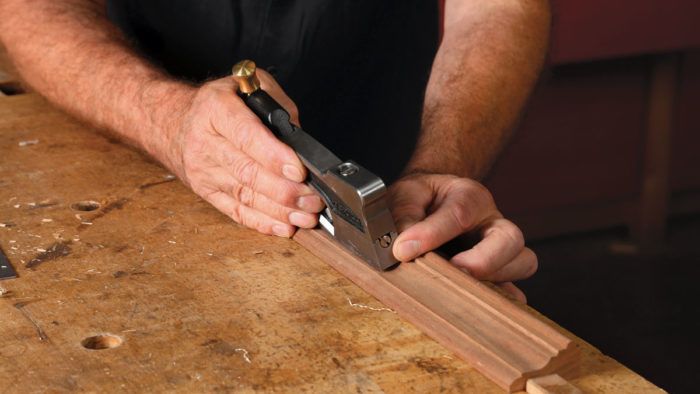
Synopsis: The shoulder plane is one of Bob Van Dyke’s three must-have handplanes. He says nothing does as good a job at refining and straightening surfaces, adjusting a shaped edge, and precisely dialing in the fit of a joint one shaving at a time. Here’s how to handle your shoulder plane from the moment you open the box: checking for square, honing the blade, inserting and adjusting the blade, and using the plane to adjust tenons, clean up rabbets, and refine moldings, among other tasks.
There are three planes I would be lost without: my No. 4 bench plane, my low-angle block plane, and my shoulder plane. These essential tools allow me to pick up where the machines leave off. With a typical plane shaving 0.002 in. thick, nothing does as good a job at refining and straightening surfaces, adjusting a shaped edge, and precisely dialing in the fit of a joint one shaving at a time.
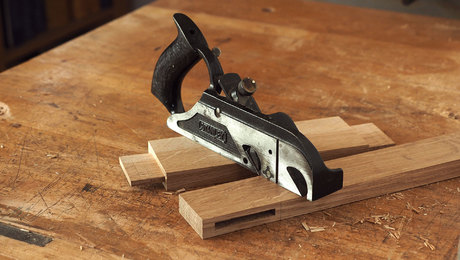
Shoulder planes differ from bench or block planes because the iron extends the full width of the plane body and the sides of the body, being reference surfaces, must be 90° to the sole. The mouth on most shoulder planes can be adjusted, allowing the user to close the mouth significantly for the finest shavings.
The shoulder plane is usually not used to create joints but it is the perfect tool to fine-tune them. It is most commonly used to adjust the thickness of a tenon, but it is also the first tool I pick up to correct an out-of-square tenon shoulder. Because the iron is the full width of the plane body, rabbets that need a slight adjustment can be quickly and accurately fixed and a molding’s sharp edges that might be inaccessible to other planes can be quickly relieved and softened.
Like any plane, a shoulder plane that is not properly tuned up and sharpened will not work to its fullest potential.
Out of the box
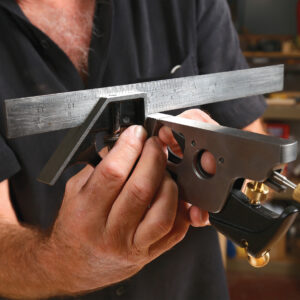
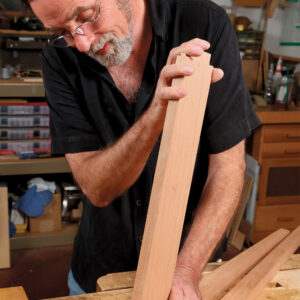
When purchasing a shoulder plane, verify that the sides are square to the sole and the sole is dead flat. The plane iron will usually be a hair wider than the body because it is essential that the plane cut right into the corner where the shoulders and cheeks of a tenon or other joint meet. The iron must cut shavings of full width and equal thickness.
It might seem ideal that the plane iron be exactly the same width as the plane body with the iron sharpened exactly square. This is a standard that many woodworkers set for themselves, but an iron that is around 0.005 in. wider than the body allows a little wiggle room. The iron still must be sharpened at exactly 90° but the extra width allows you to set the iron flush with the side of the plane that will be up against a shoulder (or wall of a rabbet), leaving the extra width to hang out the other side. That extra width allows for minute lateral adjustment to ensure a full-width, even-thickness shaving while still allowing the corner of the iron to project fully into the corner of the joint. The extra width provided by the manufacturer (usually around 0.008 in.) gives the user the option of grinding the iron narrower or not.
Because the cutting edge of the iron must be firmly seated against the mouth opening of the frog, some high-end manufacturers go so far as to slightly raise the tang of the iron off the frog. This ensures full solid contact just behind the cutting edge when the lever cap is tightened down.
The best makers of shoulder planes pay attention to these critical manufacturing requirements. The soles are typically dead flat with sides exactly 90° to the sole. The irons are usually 8 to 10 thousandths wider than the plane body and the only “tune up” needed is a final honing of the iron.
Check for square
Sharpening the iron
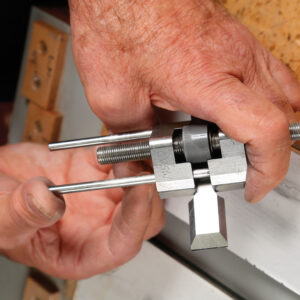
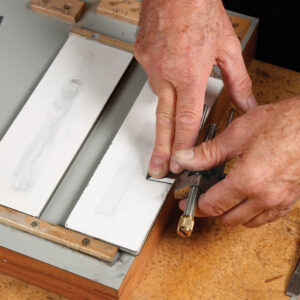
The sharpness of any plane is critical, but a shoulder plane’s blade also needs to be sharpened perfectly square. With little to no lateral adjustment possible in a shoulder plane, an iron that’s sharpened out of square will not cut equal thickness shavings, making the tool quite inaccurate. After determining that the blade is ground square, I use a honing guide to create and maintain a 30° microbevel. Keep checking that the shine of the microbevel is an even width all across the edge. You do not want to inadvertently hone an angle into what was a square edge.
Hone the blade
Setting up the plane
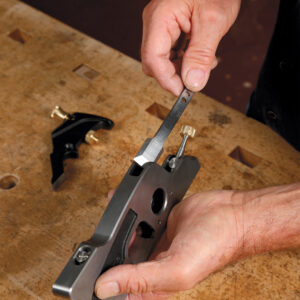
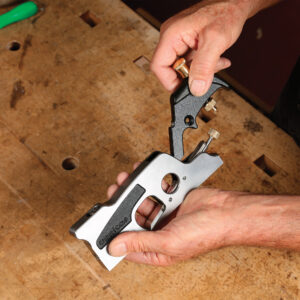
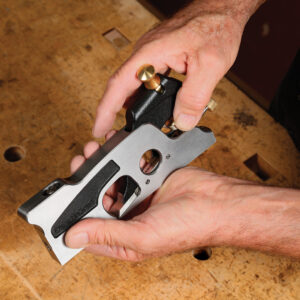
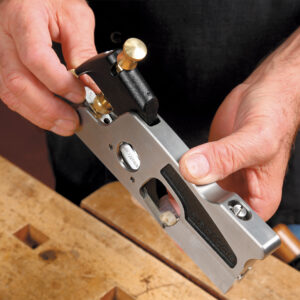
Grip the plane in one hand with your thumb and forefinger on either side of the mouth opening. Place the newly sharpened iron into the plane. Make sure that the tang end of the iron is engaged with the advancement mechanism. Place the lever cap in position over the iron and loosely tighten it. Advance the iron until you can just feel it start to protrude through the mouth. At this point, lay the plane on its side on a flat surface and push the iron flush with that side of the plane.
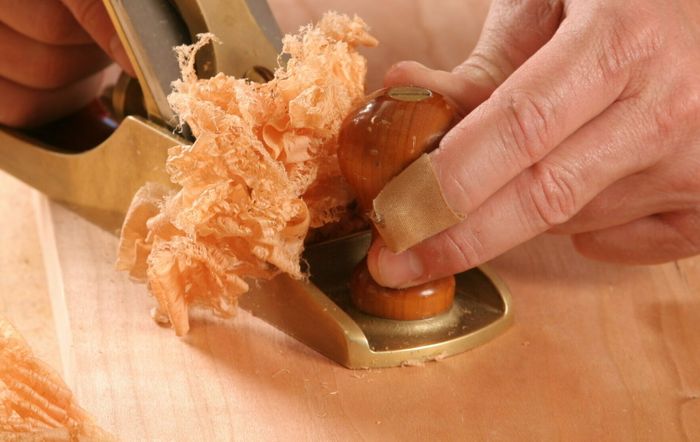
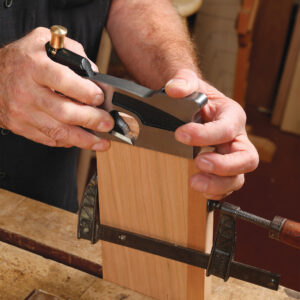
I test the setting using a narrow piece of pine. Put the pine in a vise and take two test shavings, one on either side of the iron. To guarantee that the plane cuts even full-width shavings, it is critical that the two narrow shavings are equal in thickness. Anything other than that introduces inaccuracy. Visually compare the thickness of the two shavings and adjust accordingly.
Insert and adjust the blade
Using the plane: tenons, rabbets, dadoes, and molding
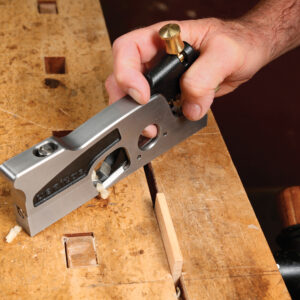
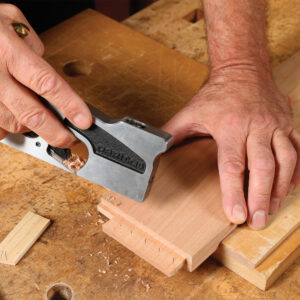
To fine-tune tenon cheeks, put the workpiece against a bench hook (or two bench hooks for long parts). Draw pencil lines on the cheek and make a set of crossgrain shavings beginning at the base of the tenon and working out to the end. The pencil lines clearly show how much wood you are removing, ensuring that you do not remove too much. If a second set of shavings is needed, plane the opposite cheek. Remember to draw pencil lines each time you plane or replane a tenon face.
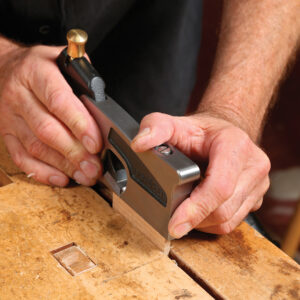
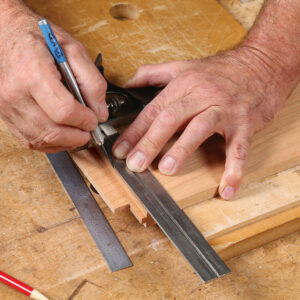
Tenon shoulders cut on the tablesaw are usually dead square, but if they’re not, a sharp, well-tuned shoulder plane excels at fixing the problem. Using an accurate square, knife a line across the offending shoulder. Reference off the opposite shoulder to keep the whole shoulder in the same plane. Make a series of tapering cuts, starting at the high end and ending with one final shaving all the way across. The iron must be set flush with the side of the plane that is referencing off the tenon’s cheek.
Rabbets sometimes need to be adjusted both in depth and width. The shoulder plane’s ability to cut all the way into the corner makes it the perfect tool to both adjust the rabbet and remove any machine marks.
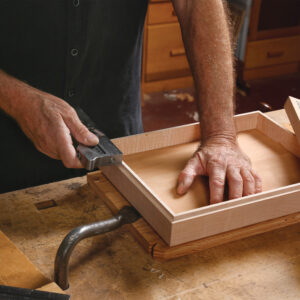
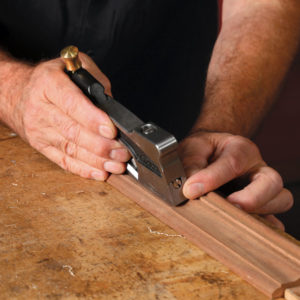
Frequently a molding has a fillet that needs to be softened or some other detail that needs to be rounded or chamfered. Block planes do not allow the access to do this, but a shoulder plane takes care of it easily. Make sure that the iron is flush with the face riding against the profile; if the iron projects out beyond the plane on that side it can damage the molding.
The shoulder planes being produced these days by premier tool manufacturers allow even novice woodworkers to have success with this versatile tool. All aspiring furniture makers should have one.
Tune a tenon
Square a miscut shoulder
Clean up profiles
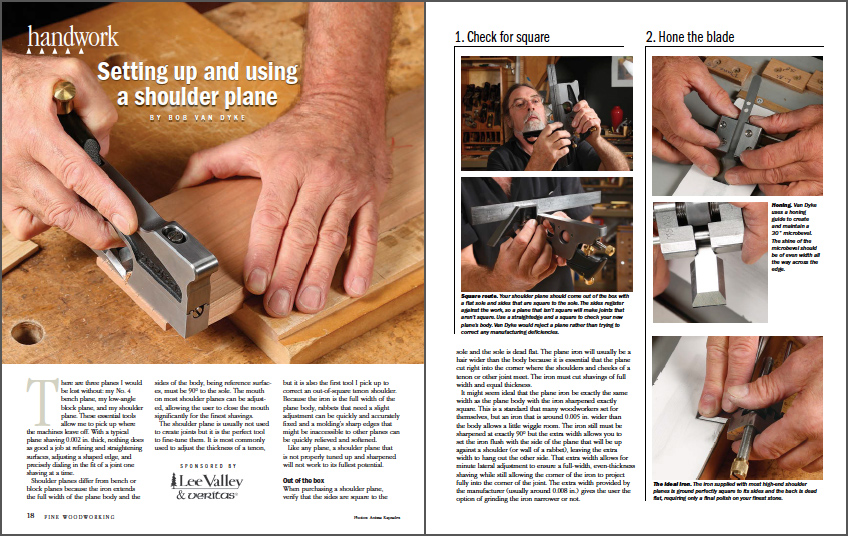
From Fine Woodworking #286
To view the entire article, please click the View PDF button below.
 |
|
 |
|
 |
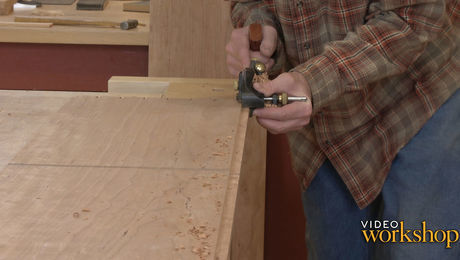
Video: Tune your tenons with a rabbet plane |
Fine Woodworking Recommended Products

Veritas Precision Square

Suizan Japanese Pull Saw

Stanley Powerlock 16-ft. tape measure




Log in or create an account to post a comment.
Sign up Log in