Tips on Using a Spokeshave
Peter Galbert demonstrates a number of techniques that work for both wooden- and metal-bodied spokeshaves.
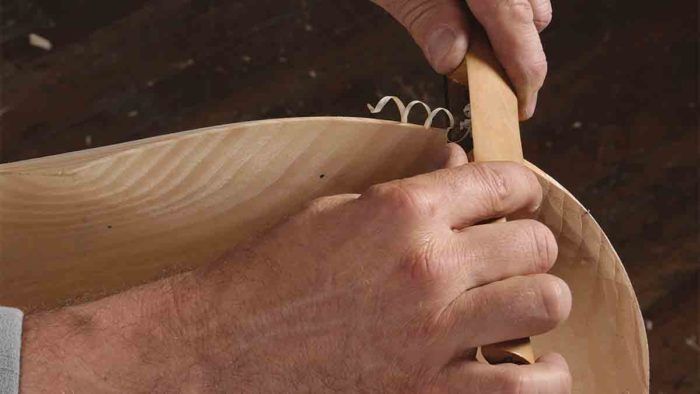
Different shaves, similar strategies
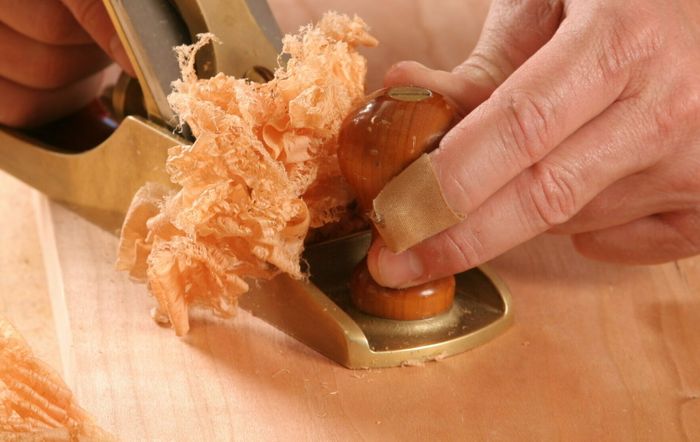
Despite the differences between metal and wooden spokeshaves, many strategies, from skewing to complex shaping, work for both.
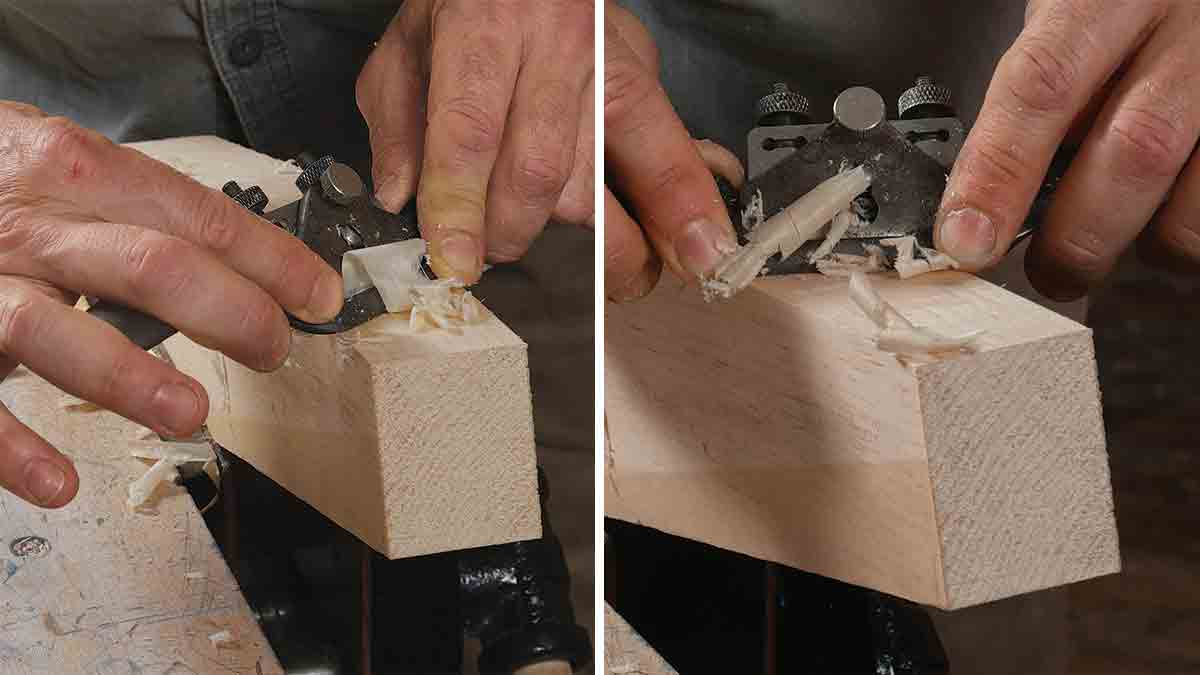
As with all hand tools, cutting gets more difficult as the shaving gets wider. Whenever possible, I keep the cut narrow—and easy. If the shape is meant to be flat in the end, just take wide shavings as a last step after creating several narrow facets that build up to a flat.
Also, like just about any edge tool, skewing the shave for a slicing cut will yield superior results and reduce the force required. There are many reasons for this. Skewing the blade also directs the cut partially cross grain, which requires less force.
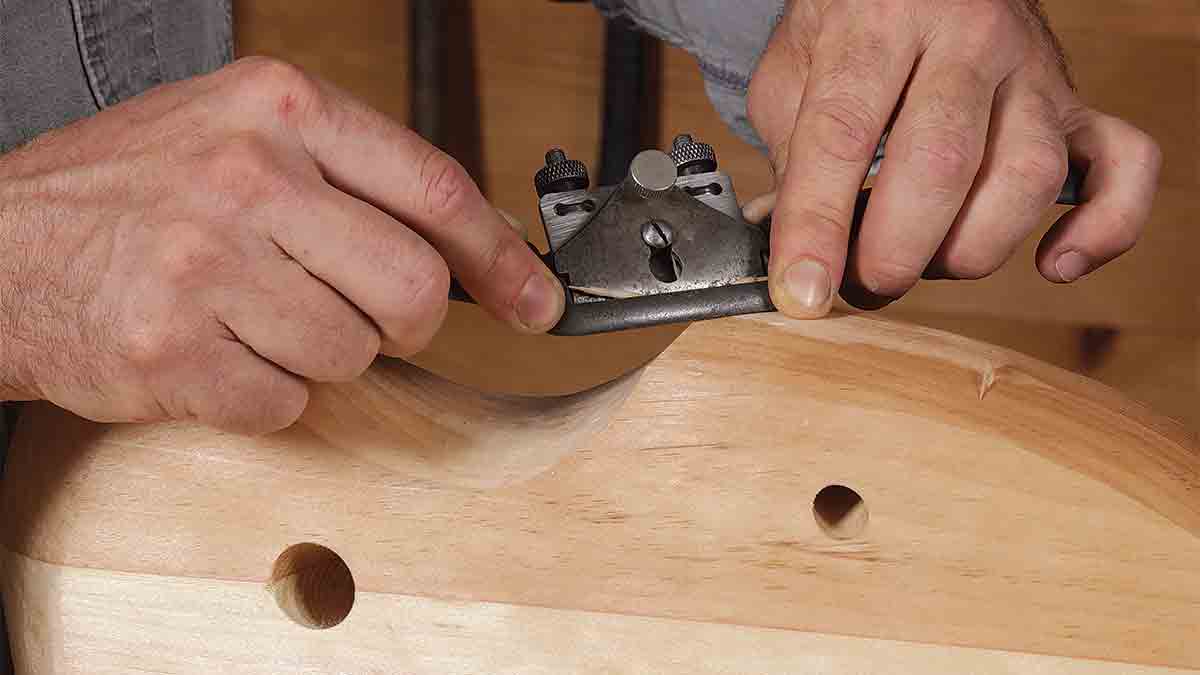
One circumstance where skewing leads to a smoother surface is when two distinct profiles meet at a sharp edge. Here, enter the cut with the tool angled so that only a short length of its sole is firmly bedded at the start. This lets you slice into the cut instead of chatter into it when you suddenly contact the full width of the blade.
Alternating the direction of the skew can also help produce smooth surfaces. By alternating which handle leads, you’ll get a more complete feel for the surface you’re shaving, letting you better adjust the spokeshave. It also lengthens the relatively short sole, enabling it to bridge high spots and take them down rather than ride up and down between them.
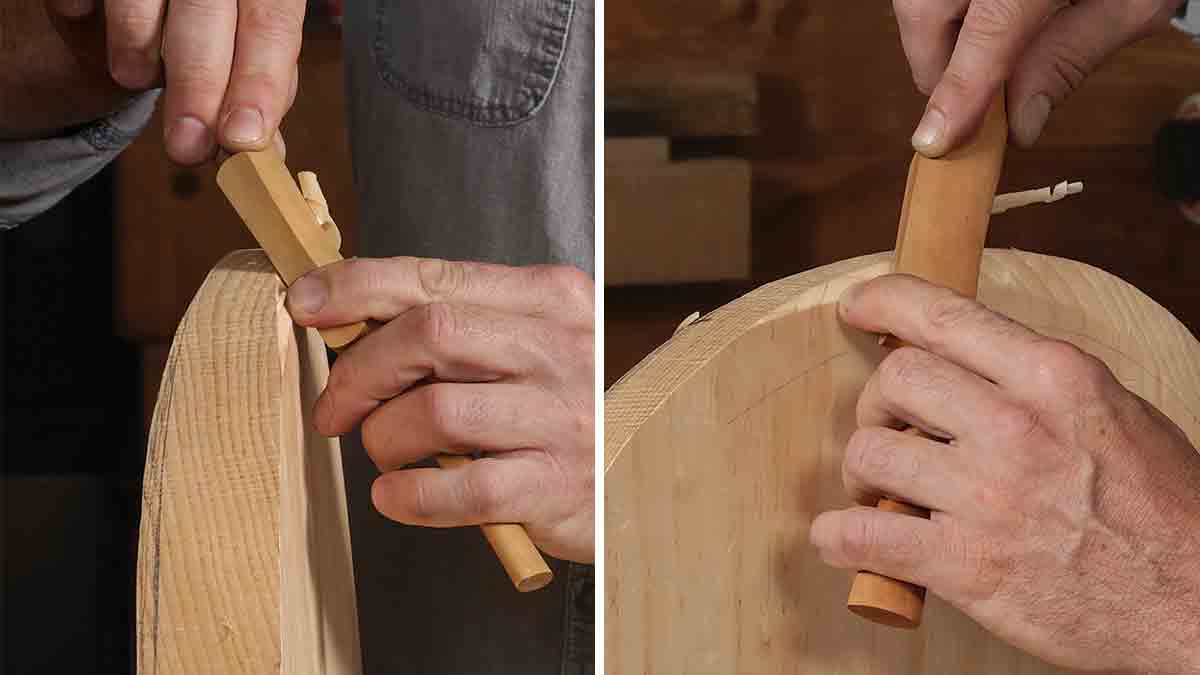
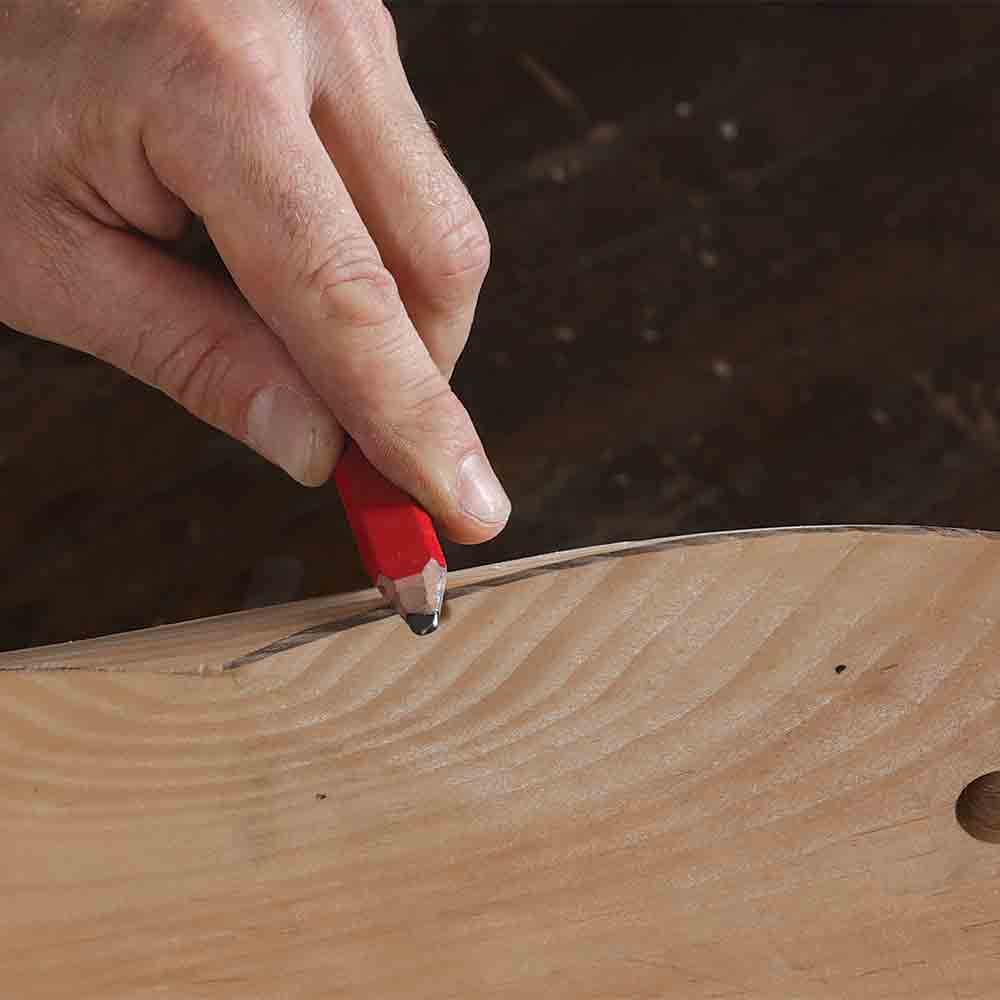
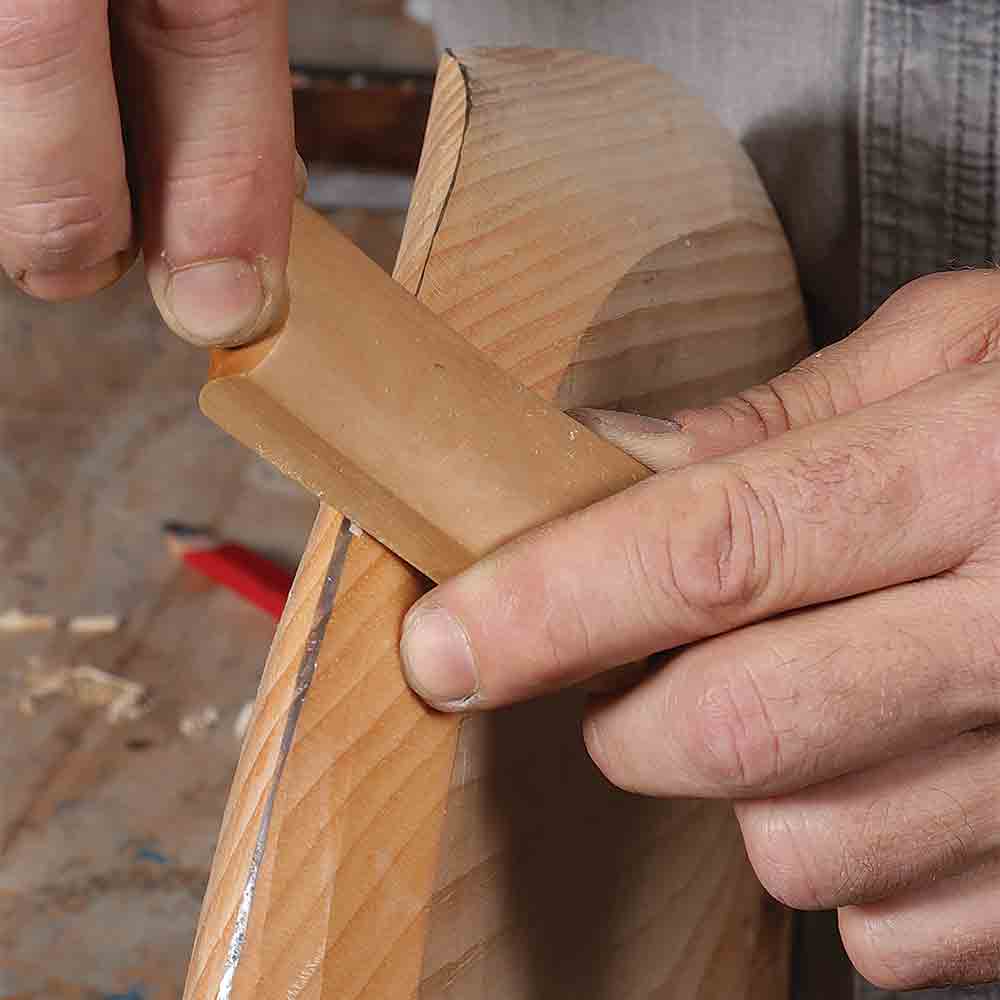
When fine-tuning complex shapes for fair, clean lines at the edges, I have a simple, three-step technique. I’ll use a chair seat as an example, which has three curves—its top, bottom, and the plan view—that meet around its perimeter. First, after roughing the shapes, I refine the plan view, ending with a small flat along the profile. To help with the next two steps, rub graphite on this flat. Next, shape the top of the seat. There should be some graphite left. Finally, shave the bottom surface until there’s just a fine line of graphite left. Don’t overshoot the line here, or the profile will be ruined and you’ll be back to step one.
Peter Galbert makes Windsor chairs in Boston and teaches around the country. He is author of The Chairmaker’s Notebook (Lost Art Press, 2015).
This is an excerpt from Peter’s article, Spokeshave fundamentals in FWW #285.
-
Webinar: All About Spokeshaves with Peter Galbert
-
Video: Sharpening a Curved Scraper
-
7 Questions with Peter Galbert
Fine Woodworking Recommended Products
Tite-Mark Marking Gauge
Veritas Micro-Adjust Wheel Marking Gauge
Veritas Wheel Marking Gauge



Log in or create an account to post a comment.
Sign up Log in