Tongue-and-Groove Joints by Hand
For the tongue-and-groove joint, there is only one hand-tool method that Megan Fitzpatrick teaches, and it takes a specialty plane: the No. 48 or No. 49.
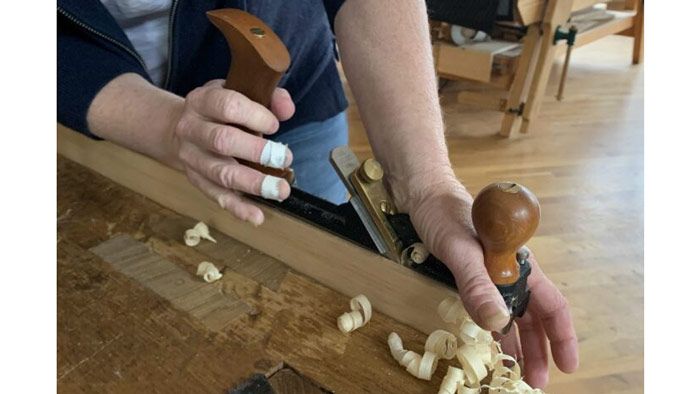
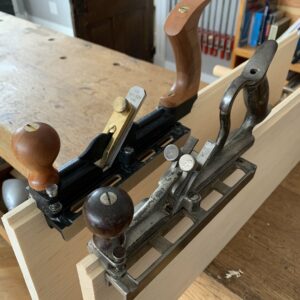
For the tongue-and-groove joint, there is only one hand-tool method that I teach, and it takes a specialty plane: the No. 48 (for 3/4-in.-thick or larger stock) or No. 49 (for 1/2-in.-thick stock). Both planes cut a 5/16-in.-deep groove (and matching tongue); the plane bottoms out, and stops cutting. I never put this plane – also known as a “match plane” – on my tool lists, though, because I don’t want to scare students with such a specialized plane. I just loan mine (and typically at least one or two students will have these and loan them out, too).
But in case you do want one: Old Stanleys are nice because you can adjust the blades independently to cut the interior tongue shoulder a hair deeper than the outside tongue shoulder, to pretty much guarantee a tight fit on the joint. New Lie-Nielsens are nice because the one-piece blade means it’s a little less trouble to sharpen (just don’t cinch down too tight on your sharpening jig, if you use one, because it’s possible to squeeze the blades out of square to one another). There are other metallic match planes, such as the Stanley No. 148 (which looks to me like Dr. Doolittle’s Pushmi-Pullyu), the Union No. 41 (which became the Stanley No. 48 after Stanley bought Union) and others, as well as wooden versions, both vintage and new.
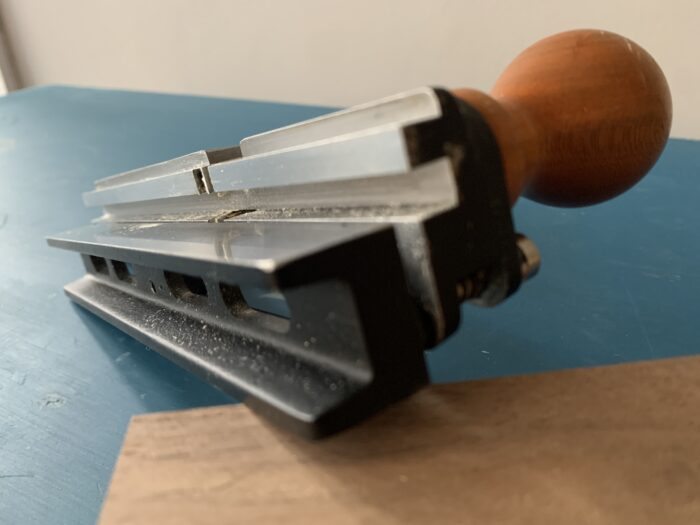
One thing that is important: Lay out your backboards so that you’ll be planing with the grain and mark them (I use a cabinetmaker’s triangle). Then fence off the same side of each backboard as you cut the joint (the marriage mark helps you get it right). That will ensure the joints will go together, even if (when) the plane isn’t cutting dead center on your stock. And if the boards are running horizontally, arrange things so the tongues face up and the grooves face down – theoretically, this makes the joint more dustproof and waterproof. If running the backboards vertically, I don’t think it matters in which direction the tongues/grooves face.
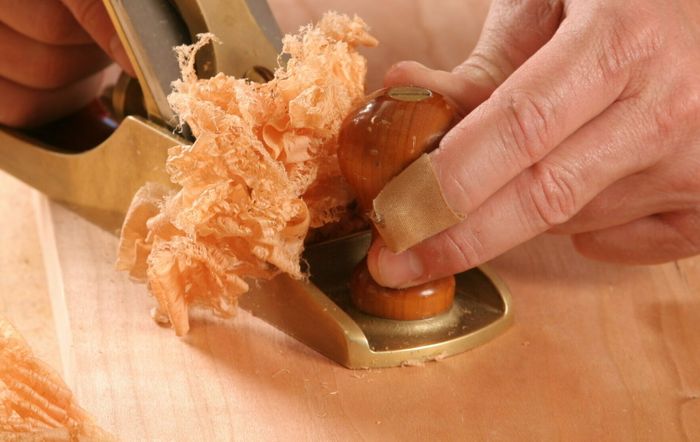
And just as with the skew rabbet plane when cutting shiplap joints (among others), start at the far end and work your way back as you bring the cuts to full depth. This will help you stay on track. And don’t grab the knob; the base of it is good for hooking your off-hand around as you push in and forward. If you grab it, you’ll likely tip the plane. Don’t grasp the handle tightly, either.
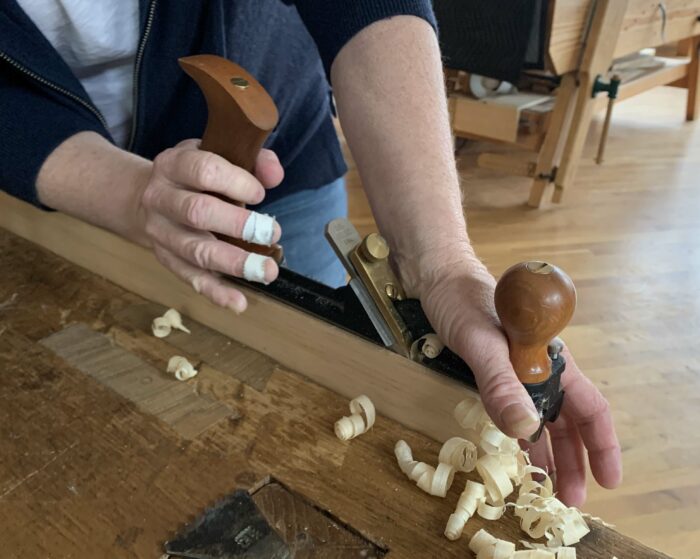
p.s. I know Lie-Nielsen Tool-works is out of stock right now on both sizes of this plane. Once it’s safe to have a full staff on site again, I’m sure that will change.
Fine Woodworking Recommended Products

Veritas Precision Square

Marking knife: Hock Double-Bevel Violin Knife, 3/4 in.
Tite-Mark Marking Gauge


Comments
I have both sizes of the L-N, and they are far superior to the Stanleys. Here's hoping they are offering their full lineup soon.
PS. You have Roy fingers in that photo. Beware of pointy things.
I do. The perils of using planes with blades that stick out the sides while also trying to take pictures... I don't remember, but the cuts almost certainly came from the skew rabbet plane from my previous post )shot at the same time). I cut myself on that one very time.
Some time ago I induged in a Veritas combination plane, including the blades to make 1/8" & 1/4" T&Gs. It's very good at making T&Gs, even in softwood, which can be a PITA with such planes.
One of the resons I bought a combination plane rather than a match-pair of those LNs is that it seemed more economically efficient. The combination plane will, after all, perform other tasks besides making T&Gs.
It would be interesting to hear from someone who's tried both types of plane to make T&Gs. Do the LNs perform a suprior job or work in an easier fashion? I found the Veritas combination plane approach easy enough, although the blades do need setting aright to keep the tongues and the groove properly aligned whereas this seems automatic with the LNs ......?
Lataxe
The LN are easier in that once set up, they stay set up, at least until the next sharpening. The only thing to remember is to keep the fence against all the tops (or bottoms) of boards. There are no cutters or fence adjustments to make, as with a multiplane type of tool.
I've used a Stanley 45 a few times, and have a Veritas combination plane. I simply find tools that do more than one thing fussy to set up. I like both of those planes. But as John says, once you have the blades sharp and properly aligned, the 48/49 does exactly what it ought to do with no fussing, and the grooves and tongues always match.
Was trying to put a set of the Stanley swing-fence models together but found too many with loose parts and cracked castings (just below where the lever cap applies pressure). I assembled a set of the Doolittle...errr...Stanley push-pulls. 146, 147, & 148. They do a great job. Thanks for the tip, I'm going to try that low front grip.
Log in or create an account to post a comment.
Sign up Log in