Drawbored Tenons
Ditch the clamps and add detail with this age-old technique for pulling a mortise-and-tenon joint together tightly.

Synopsis: Drawboring a mortise-and-tenon joint means offsetting the hole in the tenon so that the pin pulls the parts together tightly—and permanently. If your tenon shoulders are square, your assembly will be, too. You’ll no longer need clamps, which can damage workpieces and pull them out of square. Your doors will be square and will fit better. And your workflow will improve, because you will no longer have to wait for glue to dry. Just pin the joints and keep on moving.
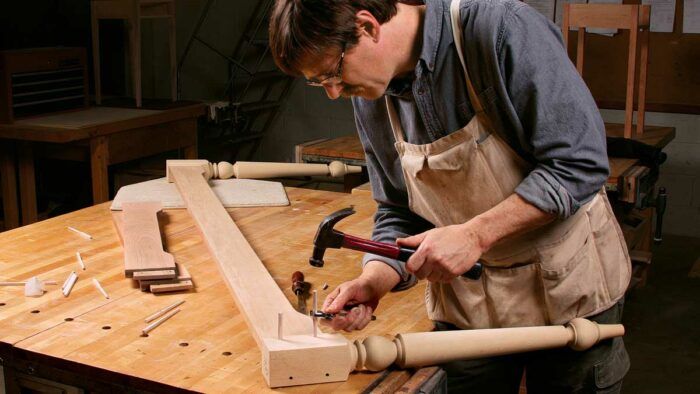
More often than not, I add drawbored pins to my mortise-and-tenon joints. They send a message of strength and endurance, and speak of a time when things were built to last longer. More importantly, they make assembly much easier.
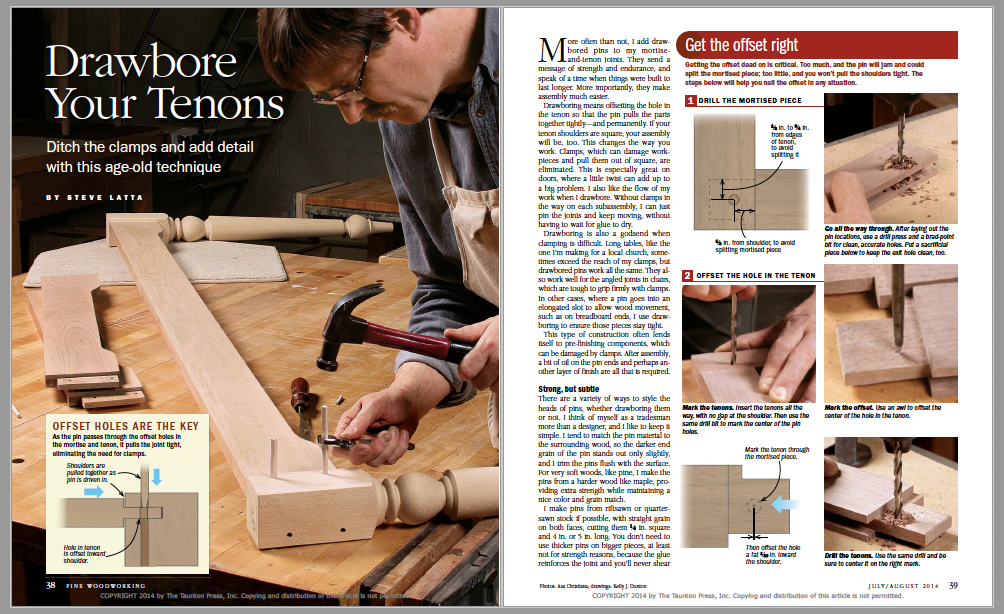
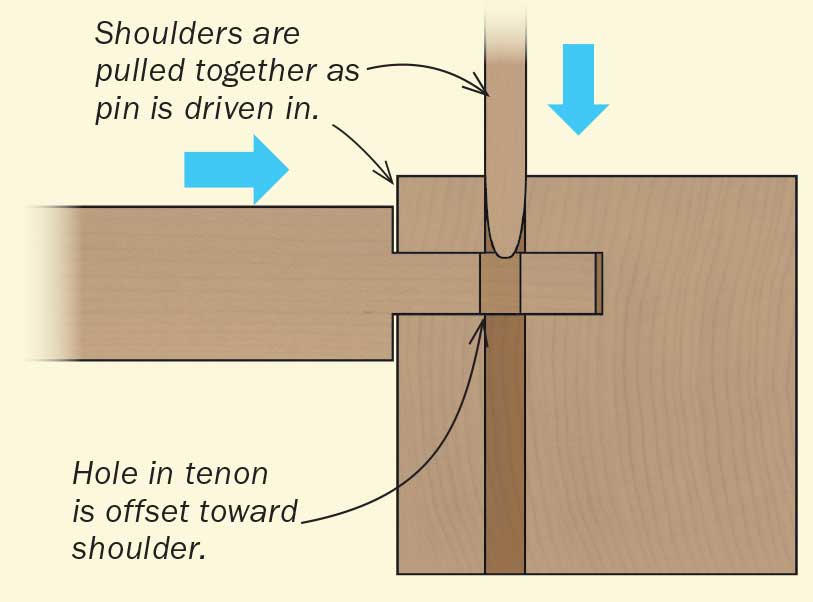
Drawboring means offsetting the hole in the tenon so that the pin pulls the parts together tightly—and permanently. If your tenon shoulders are square, your assembly will be, too. This changes the way you work. Clamps, which can damage workpieces and pull them out of square, are eliminated. This is especially great on doors, where a little twist can add up to a big problem. I also like the flow of my work when I drawbore. without clamps in the way on each subassembly, I can just pin the joints and keep moving, without having to wait for glue to dry.
Drawboring is also a godsend when clamping is difficult. Long tables, like the one I’m making for a local church, sometimes exceed the reach of my clamps, but drawbored pins work all the same. They also work well for the angled joints in chairs, which are tough to grip firmly with clamps. In other cases, where a pin goes into an elongated slot to allow wood movement, such as on breadboard ends, I use drawboring to ensure those pieces stay tight.
This type of construction often lends itself to pre-finishing components, which can be damaged by clamps. After assembly, a bit of oil on the pin ends and perhaps another layer of finish are all that is required.
Offset holes are the keyAs the pin passes through the offset holes in the mortise and tenon, it pulls the joint tight, eliminating the need for clamps.
|
Strong, but subtle
There are a variety of ways to style the heads of pins, whether drawboring them or not. I think of myself as a tradesman more than a designer, and I like to keep it simple. I tend to match the pin material to the surrounding wood, so the darker end grain of the pin stands out only slightly, and I trim the pins flush with the surface. For very soft woods, like pine, I make the pins from a harder wood like maple, providing extra strength while maintaining a nice color and grain match.
I make the pins from a harder wood like maple, providing extra strength while maintaining a nice color and grain match. I make pins from riftsawn or quartersawn stock if possible, with straight grain on both faces, cutting them 1⁄4 in. square and 4 in. or 5 in. long. You don’t need to use thicker pins on bigger pieces, at least not for strength reasons, because the glue reinforces the joint and you’ll never shear a 1⁄4-in. pin. However, I occasionally vary the size for aesthetic reasons, using slightly fatter pins on big timbers or slightly thinner ones on small doors.
I generally use square heads on my pins, and turn them 45° to create a traditional diamond look. A bonus is that if they go in a little twisted, it is less obvious in the diamond orientation than if I were trying to get them perfectly square. Some woodworkers cut a square slot in the top of the hole to accommodate a square head, but I haven’t found this necessary. If you use the same or harder wood for the pins, a square head will make its own pocket, especially if you taper the transition from the round section to the square head when making the pins. Occasionally, the head gets rounded slightly, but imperfection is part of the handcrafted look.
If the pieces being joined are narrow, say less than 2 in. wide, square pins can look like overkill, so I use round ones there. But there is no right or wrong here. It’s up to the individual builder to give this age-old joinery detail his or her unique spin.
 From Fine Woodworking #241
For the full article, download the PDF below:
Fine Woodworking Recommended Products

Suizan Japanese Pull Saw

Marking knife: Hock Double-Bevel Violin Knife, 3/4 in.

Starrett 4" Double Square


Log in or create an account to post a comment.
Sign up Log in