Essentials of the Screw Joint
Mario Rodrguez offers tips and techniques for using a vital fastener: the humble screw.
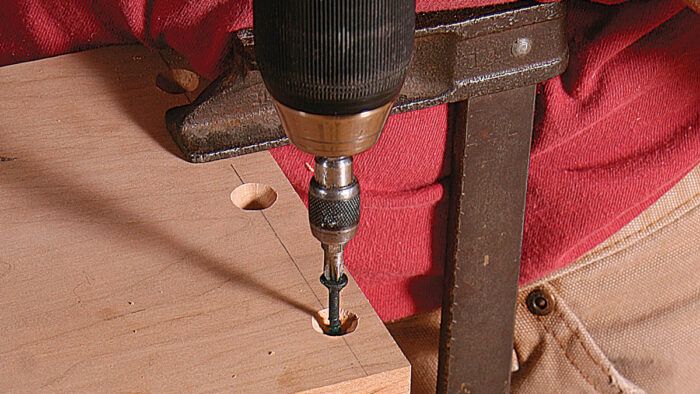
Synopsis: Woodworking teacher Mario Rodriguez tells you everything you need to know to create a solid mechanical connection using screws, from the three-step drilling process of making a pilot hole, clearance hole, and countersink, to the best ways to hide screws using plugs. He also shares how to get screws to grip better in end grain, plywood, or MDF, and how to cut a clearance slot to allow for wood movement.
Our craft offers dozens of clever and often complex ways to join two pieces of wood. Some joints take months or years to master, and each has its advantages—strength, beauty, longevity. But none supplants the humble screw. Screws eliminate the need for time-consuming joinery, create a solid mechanical connection, and make it easy to quickly assemble and disassemble your projects.
 I use screws often, even in formal pieces of furniture that include hand-cut joinery. When building a large cabinet, I’ll break it down into modules and join them with screws. I also use screws to attach cabinet backs, tabletops, shelf cleats, and drawer guides. If they will be in a visible area, screws can be hidden to create a seamless look. Screws are of course also great for projects with a time or budget crunch, or where appearance isn’t critical, as with jigs in the shop. If there’s a chance I might have to remove, relocate, adjust, or replace a part, I attach it with screws.
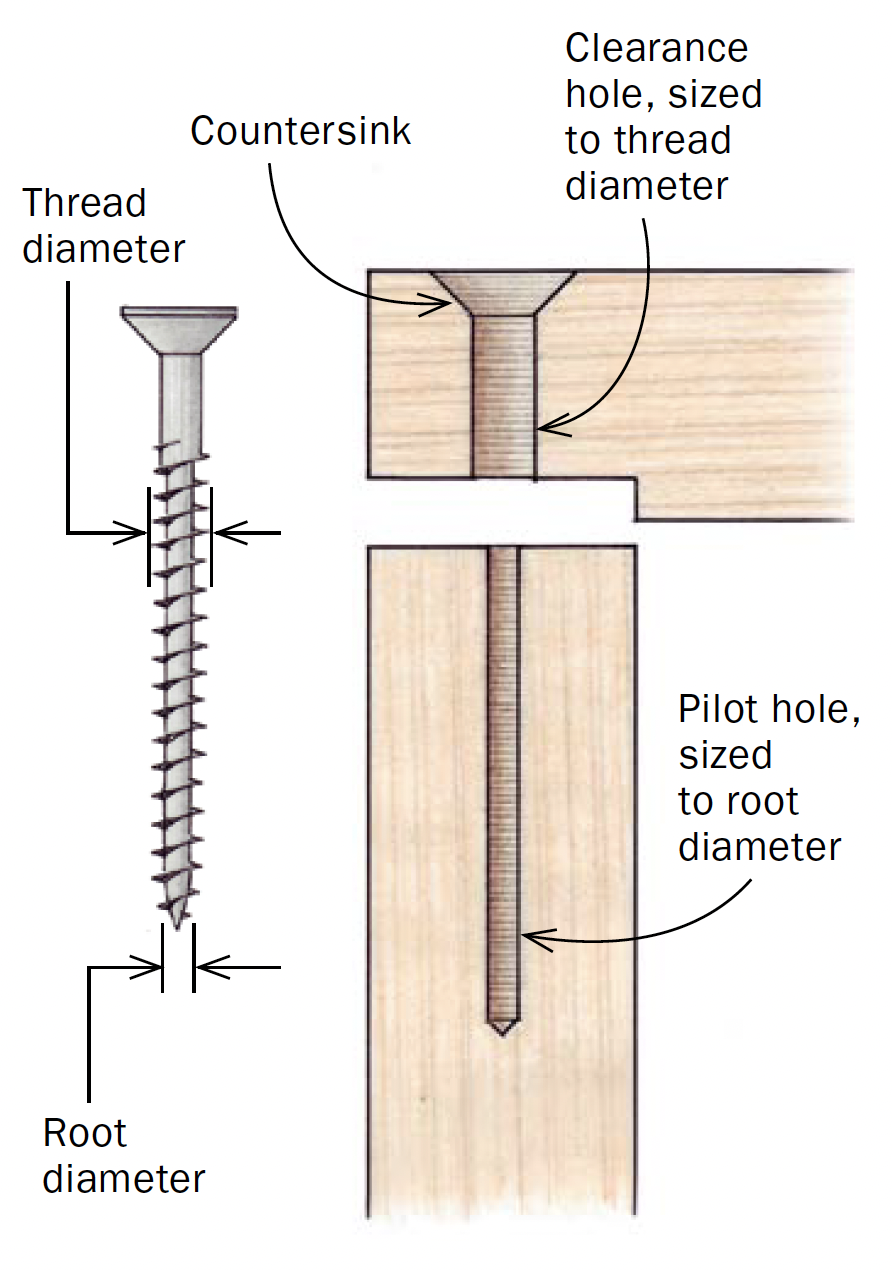
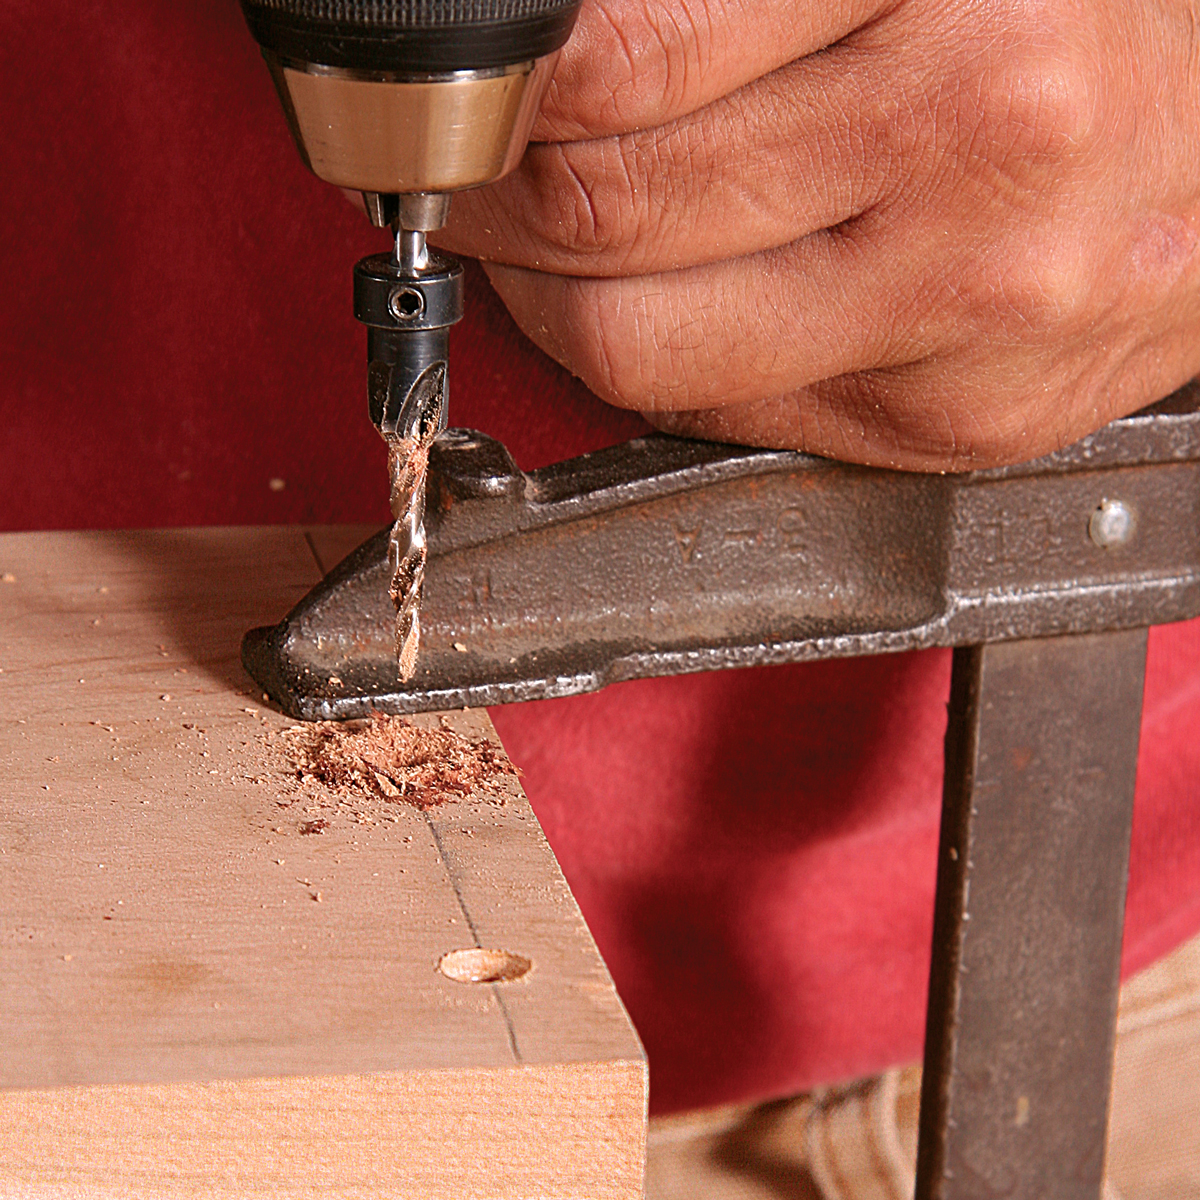
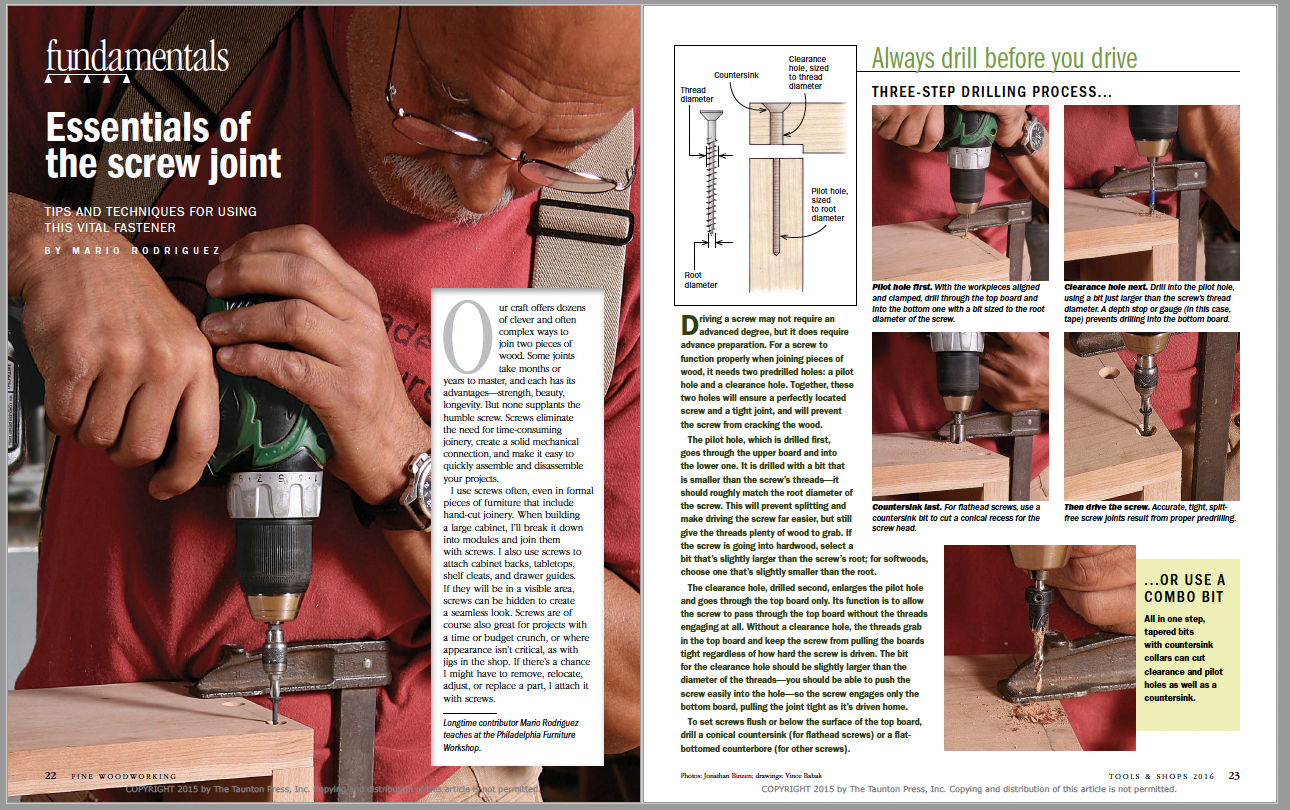
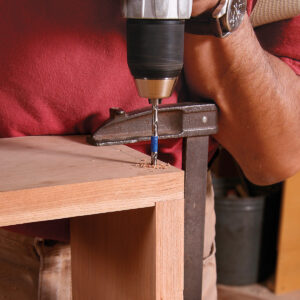
Driving a screw may not require an advanced degree, but it does require advance preparation. For a screw to function properly when joining pieces of wood, it needs two predrilled holes: a pilot hole and a clearance hole. Together, these two holes will ensure a perfectly located screw and a tight joint, and will prevent the screw from cracking the wood.
The pilot hole, which is drilled first, goes through the upper board and into the lower one. It is drilled with a bit that is smaller than the screw’s threads—it should roughly match the root diameter of the screw. This will prevent splitting and make driving the screw far easier, but still give the threads plenty of wood to grab. If the screw is going into hardwood, select a bit that’s slightly larger than the screw’s root; for softwoods, choose one that’s slightly smaller than the root.
The clearance hole, drilled second, enlarges the pilot hole and goes through the top board only. Its function is to allow the screw to pass through the top board without the threads engaging at all. Without a clearance hole, the threads grab in the top board and keep the screw from pulling the boards tight regardless of how hard the screw is driven. The bit for the clearance hole should be slightly larger than the diameter of the threads—you should be able to push the screw easily into the hole—so the screw engages only the bottom board, pulling the joint tight as it’s driven home.
Always drill before you drive
Three-step drilling process
 |
 |
 From Fine Woodworking #251
For the full article, download the PDF below:
Fine Woodworking Recommended Products
Bosch 12V Trim Router

Craftsman Random Orbit Sander

Stanley Powerlock 16-ft. tape measure




Log in or create an account to post a comment.
Sign up Log in