Three Ways to Cut a Rabbet Joint
Hand-tool expert Vic Tesolin shows three ways to cut a rabbet by hand—with a rabbet plane, with a shoulder plane, and with a chisel and router plane.
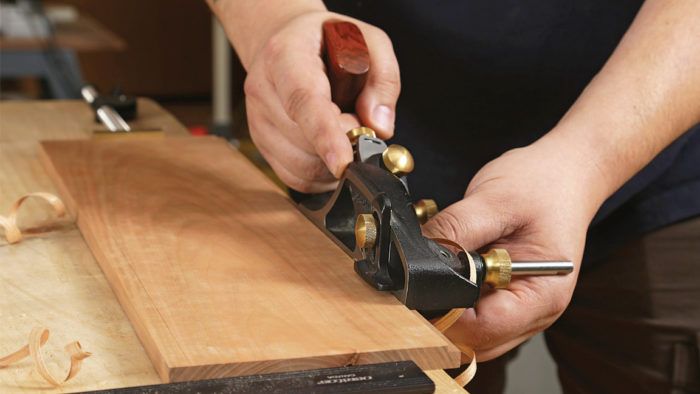
Although not as glamorous as the dovetail or as robust as the mortise-and-tenon, the rabbet joint is just as useful. It shows up in casework as a place to put a frame-and-panel back and is a popular way to fit a drawer bottom into its grooves. So it’s a good joint to learn. In my shop, where I depend on hand tools to cut all joinery, I’ve employed three approaches to cut rabbets. For through-rabbets, I go with my rabbet plane; before I had it, I used a shoulder plane. For a stopped rabbet you can’t use either plane, but a chisel and router plane get the job done. I’ll show you all these methods.
Rabbet Plane
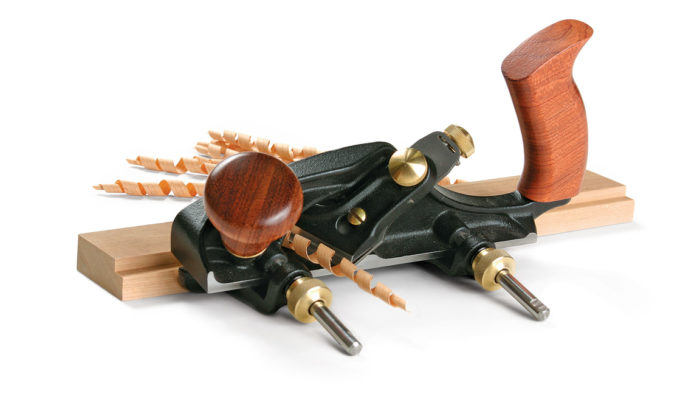
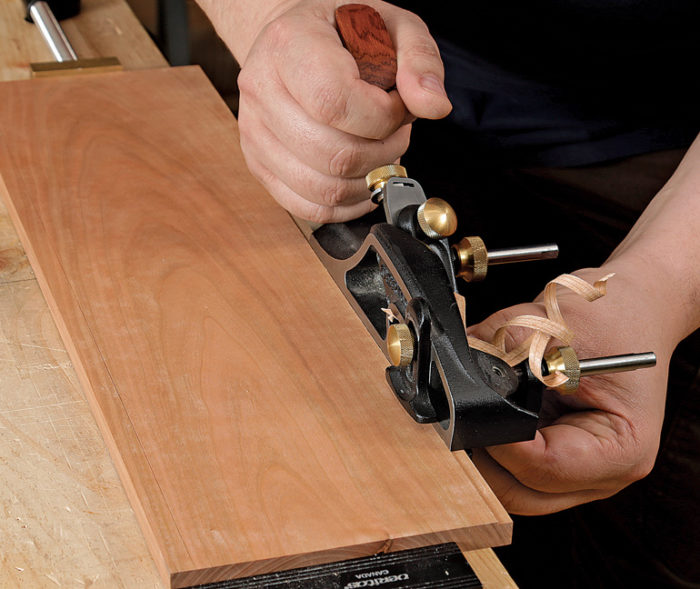
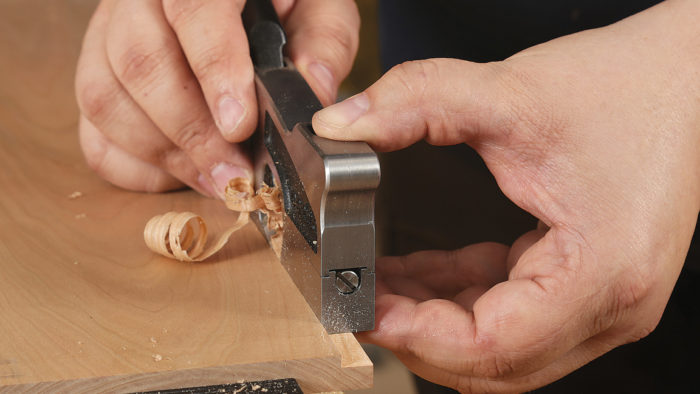
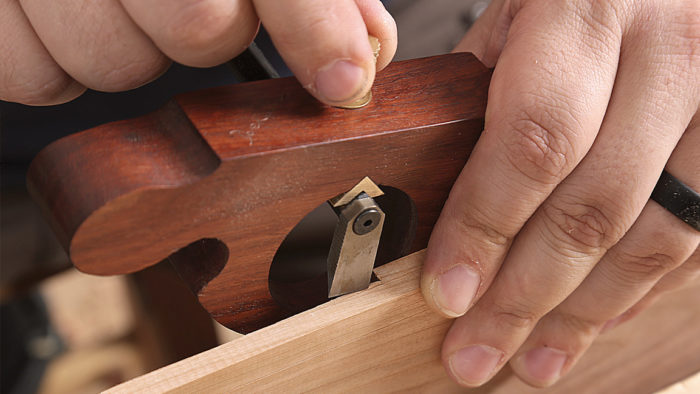
The rabbet plane originally looked a lot like a shoulder plane but has evolved into a tool even better suited for cutting a rabbet. Rabbet planes now have fences to control the rabbet’s width, and some have depth stops. Most rabbet planes also have a nicker in front of the blade that’s used to sever fibers when cutting a rabbet across the grain. This allows the shavings to break away freely from the workpiece.
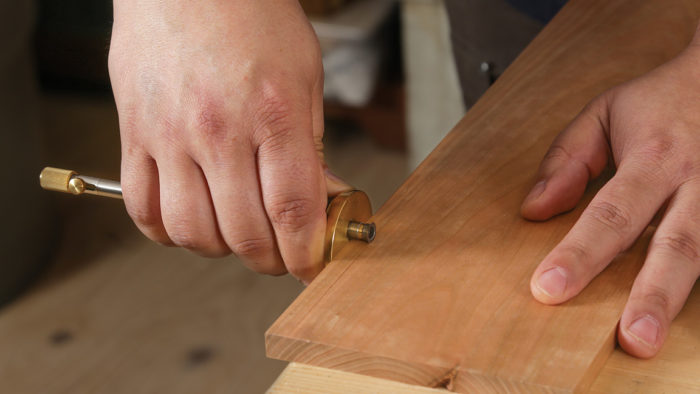
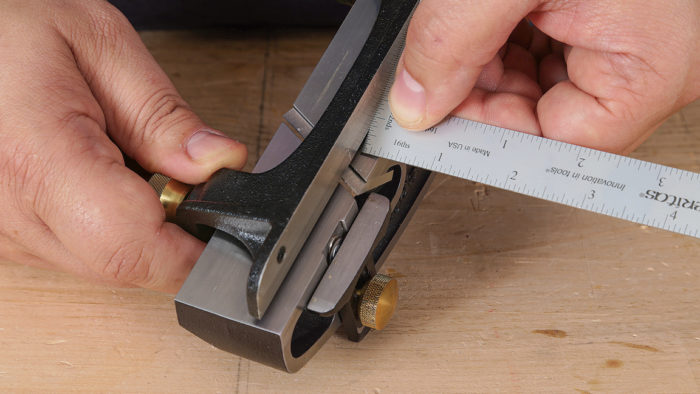
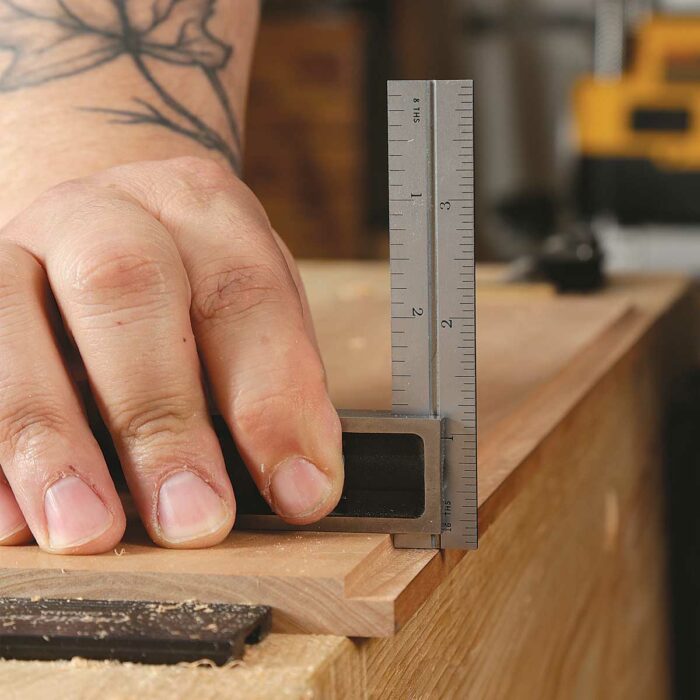
There are two things to keep in mind when setting up a rabbet plane. Make sure that the blade’s cutting edge is parallel to the mouth; otherwise, the bottom of the rabbet (the cheek) won’t be square to its side (the shoulder). Also, the blade should stick out just a whisper beyond the body on the side that cuts the shoulder. If not, you’ll end up with a stepped shoulder. One last note: Even though the fence and depth stop control the rabbet’s dimensions, I still begin by laying out the joint with a marking gauge. This is helpful when I set the fence and stop and ensures clean edges along the rabbet.
Shoulder Plane
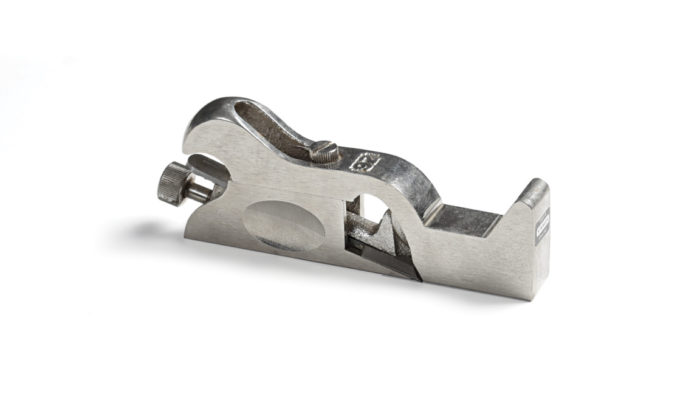
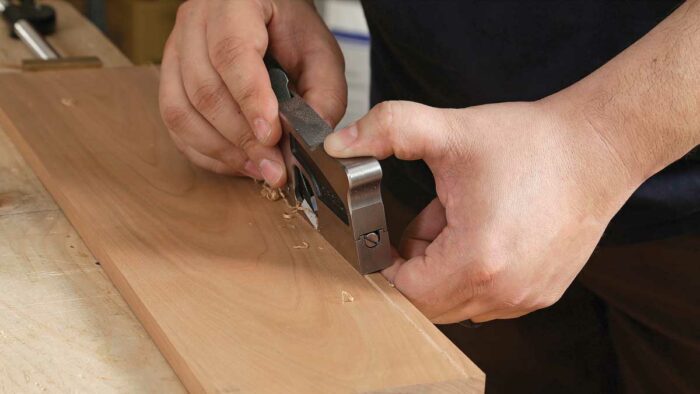
Early rabbet planes look a lot like what are known as shoulder planes today. Those early rabbet planes had a different bedding angle and often had a skewed blade, but their bodies were almost indistinct from those of modern shoulder planes. It’s no surprise, then, that you can cut a through-rabbet with a shoulder plane. Set up the shoulder plane as you would a rabbet plane: blade parallel to the mouth and sticking out just a bit beyond the body. Because shoulder planes do not have fences or depth stops, you must lay out the joint with a marking gauge. The line marking the rabbet’s depth tells you when to stop, and the one marking the width helps you to get the joint started. You’ll also need to check that the rabbet’s cheek is square to its shoulder and tweak it if it’s not.
Chisel and Router Plane
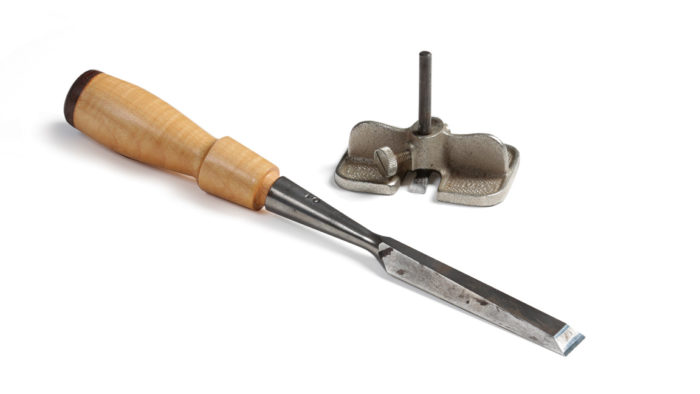
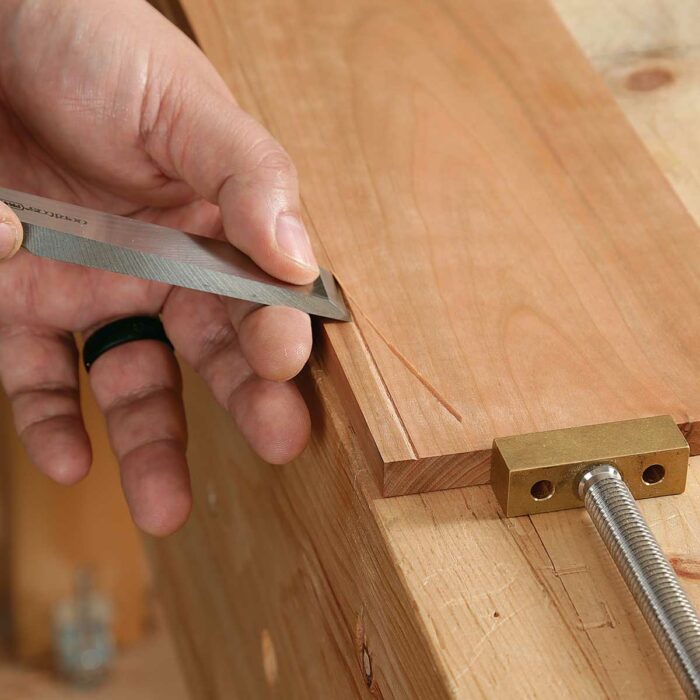
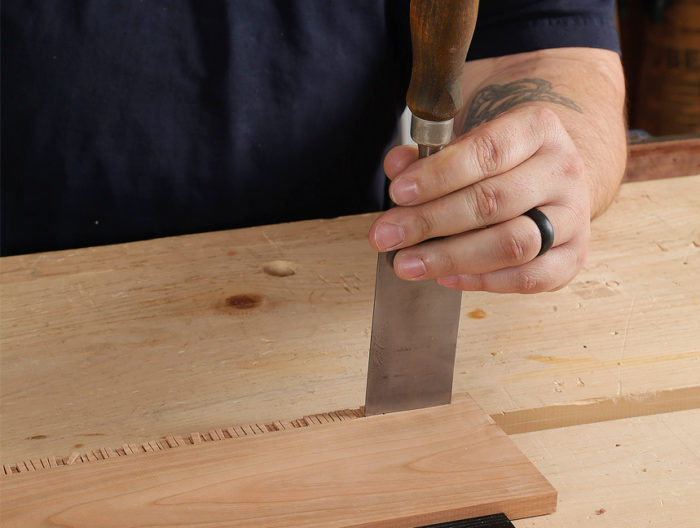
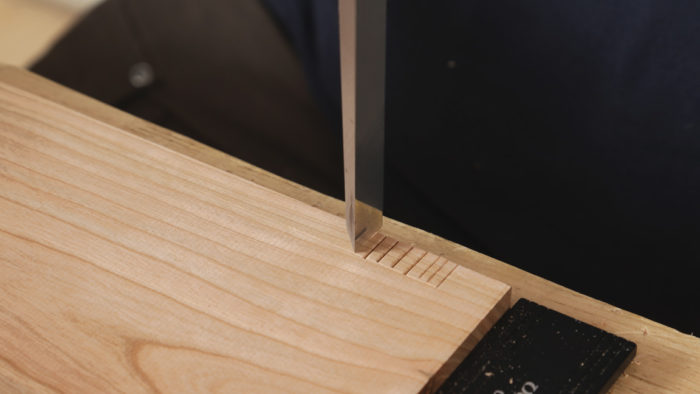
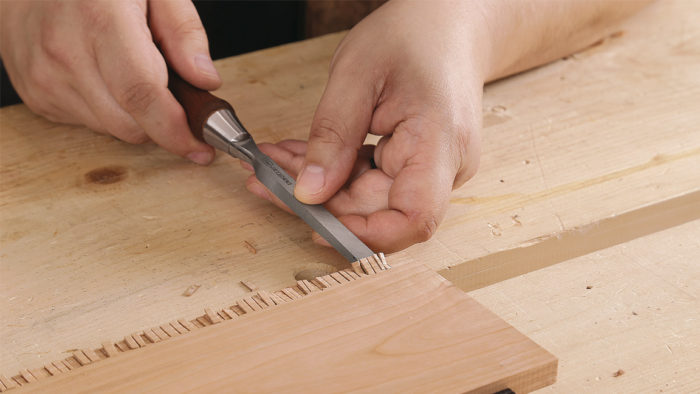
There are times when you need a stopped rabbet—on the back of a dovetailed cabinet, for example—and you can’t cut one with a rabbet plane or shoulder plane. You don’t need to plug in a router or some other power tool to cut one. You could do it with nothing but a chisel.
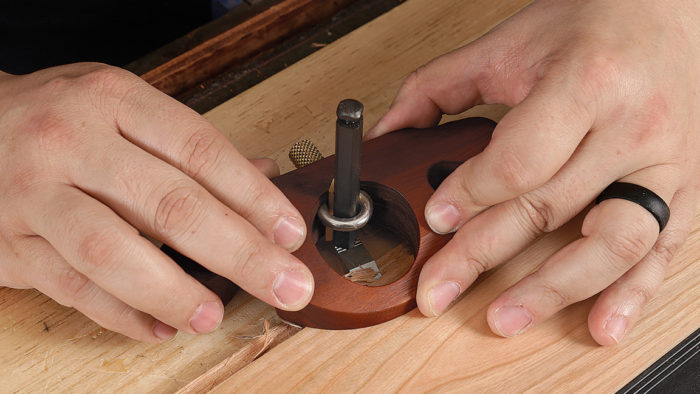
I’ve done it, and it’s a tedious and time-consuming job. It’s more efficient to pair that chisel with a router plane. Use the chisel to remove the bulk of the waste, and then put the router plane into service to level the rabbet’s cheek. You can get by with a single chisel, but I use two chisels—a narrow one to break up the waste, and a wide one to define the rabbet’s shoulder. As for the router plane, it doesn’t need to be fancy. You just need to be able to lock its blade to a depth that matches the rabbet.
From Fine Woodworking #296
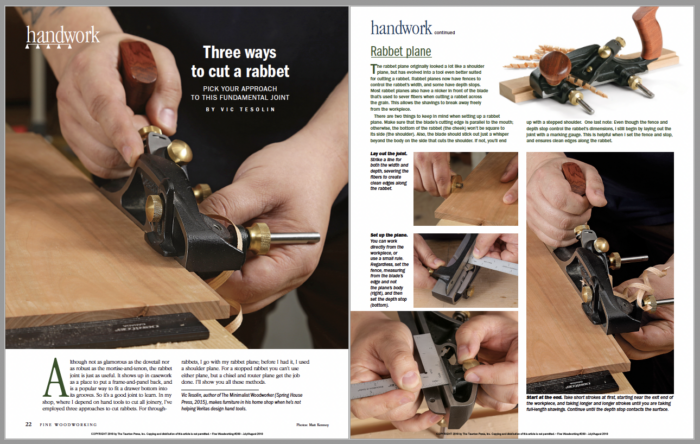 For the complete article, download the PDF below.
More on FineWoodworking.com:
- Sharpening a Router Plane with Vic Tesolin – A hollow-grind makes a difficult task simple and fast
- Using Shoulder Planes – Suited for a variety of tasks, these tools can cleanly cut cross-grain, long-grain, and end-grain wood
- Handplanes I Can’t Live Without – Do better work with these 8 vital tools
Fine Woodworking Recommended Products

Veritas Precision Square

Olfa Knife
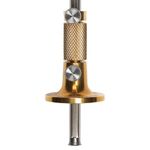
Tite-Mark Marking Gauge




Comments
Hi Vic
Good to see you getting some mileage from the router plane!
I have another method of making a stopped rebate (Rabbet .. ugh!). This involves an azebiki saw, and then cleaning up with a cutting gauge.
The other issue is that the panel (in the link below) is dovetailed and creating a stopped rebate would weaken the dovetails. Therefore, cut the stopped rebate about 50mm short to protect the tails. The rebate can be completed with a chisel once the sides are glued together (which will reinforce and protect the tail).
Link: http://www.inthewoodshop.com/Furniture/ApothecaryChestWeekendThree.html
Regards from Perth
Derek
Derek Cohen
If you are marking the rabbet with the marking gauge, you can set up the rabbet plane off the marking gauge. After striking the width line, set the fence on the plane. After striking the depth line, set the depth stop on the plane.
When using a shoulder plane, you can use a board with a nice jointed edge as a fence on the rabbet line. You can run a knife line along the fence first and then just have at it with the plane without worrying about being square. I would then put the shoulder plane on its side and clean the shoulder with a couple of passes, as necessary. The Veritas shoulder plane have a really nice set screw adjuster that allows you to tilt the blade ever so slightly to undercut the shoulder a tiny bit to ensure you get any cruft out of there for a nice clean should line.
When using a chisel, be very cognizant of the shoulder and base lines, depending on visibility. It's really easy to splinter across your lines when working parallel to the grain. Scribe a nice deep line first.
Log in or create an account to post a comment.
Sign up Log in