Hot-Rod a Plane for Sliding Dovetails
Tim Rousseau shows how to modify a side rabbet plane to fine tune a tapered sliding dovetail.
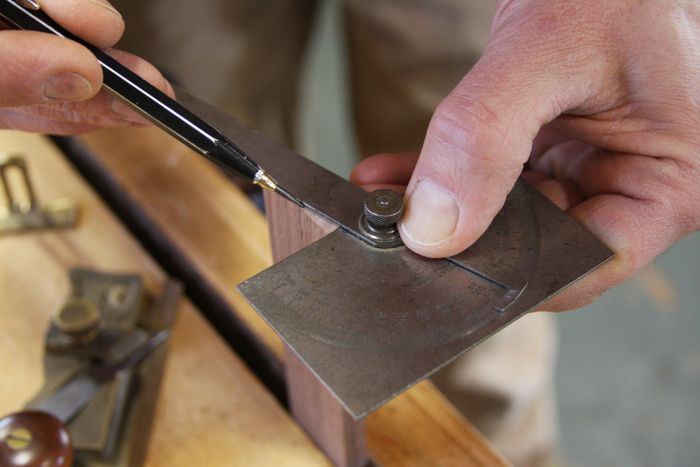
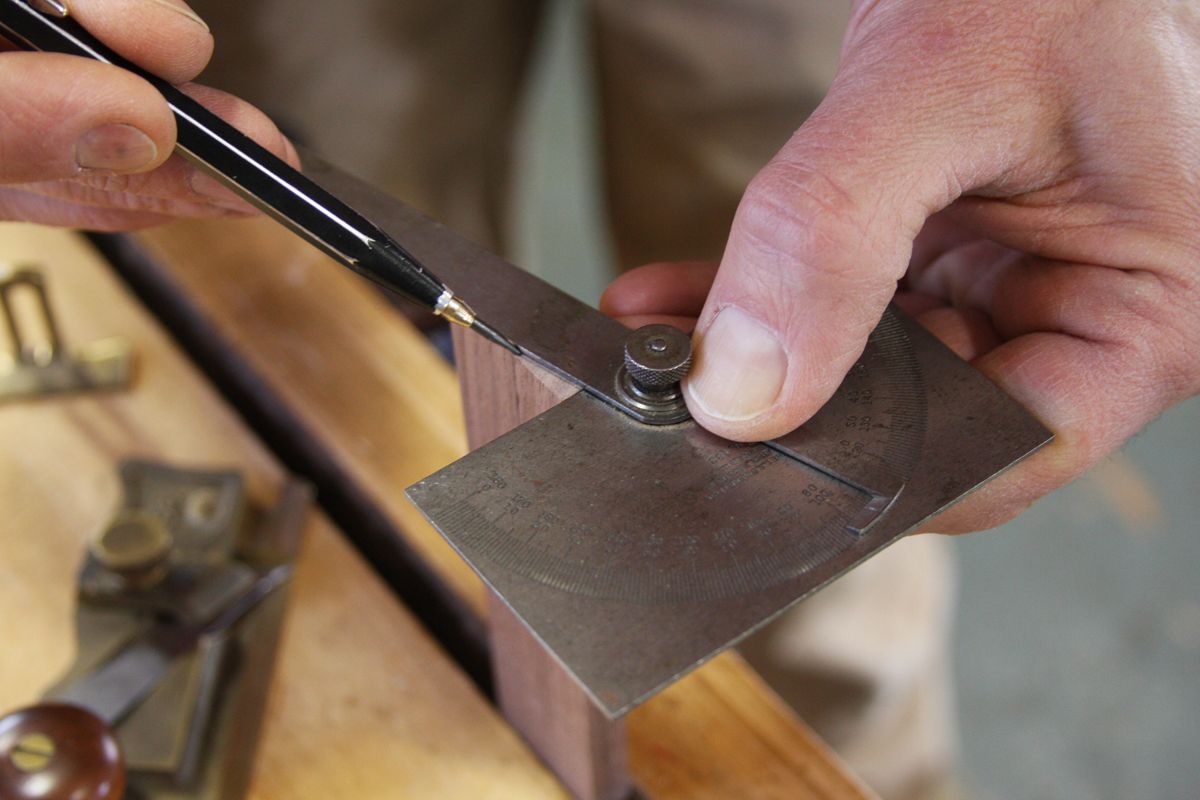
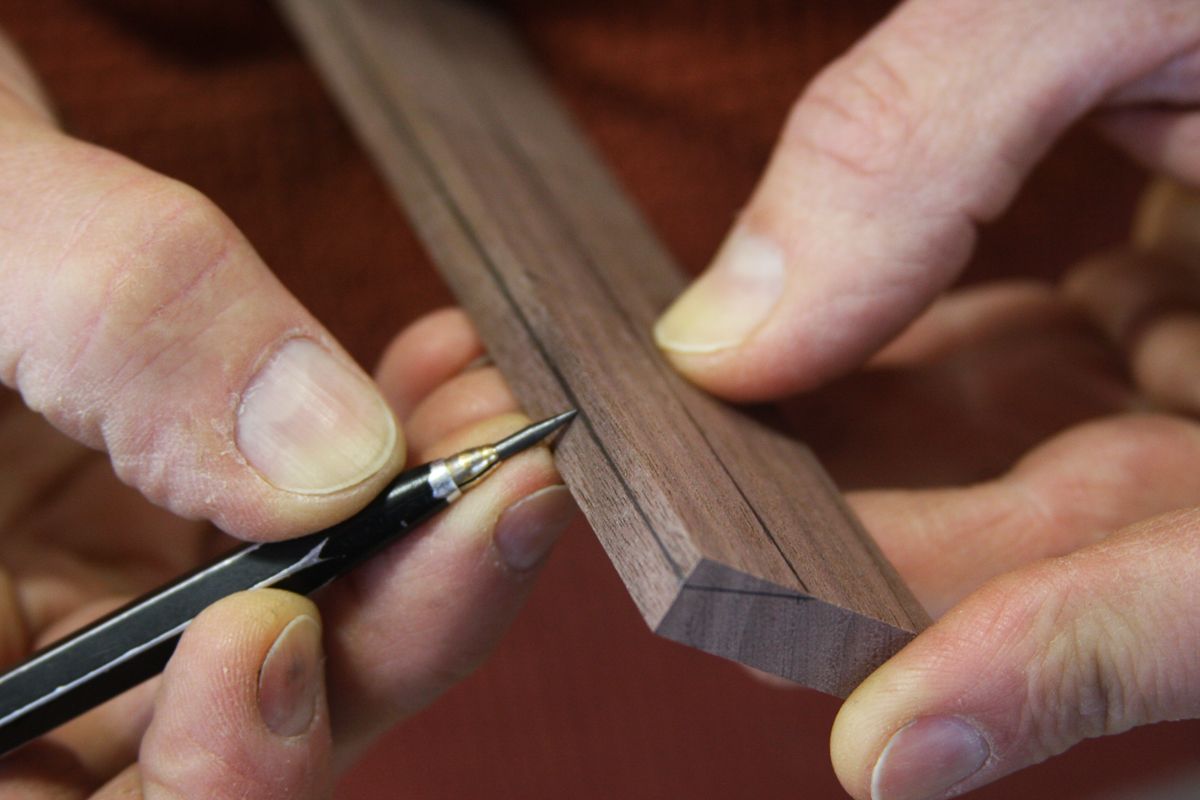
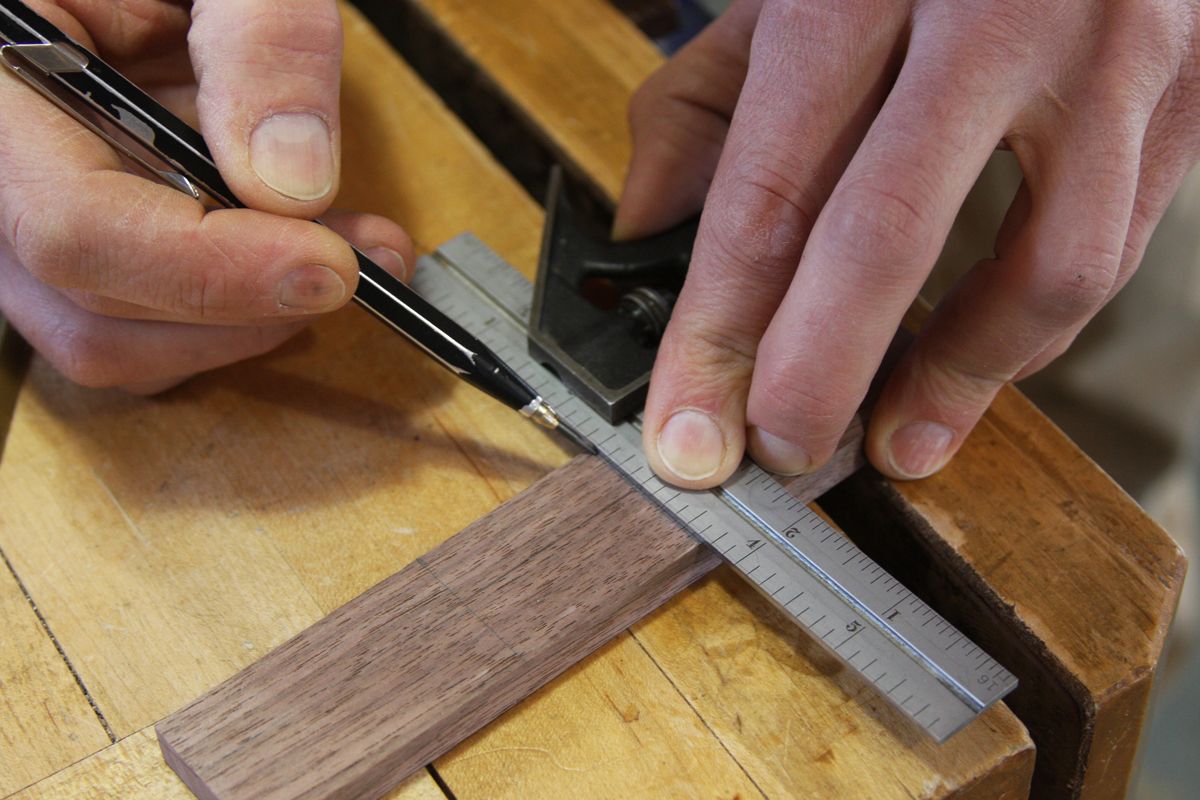
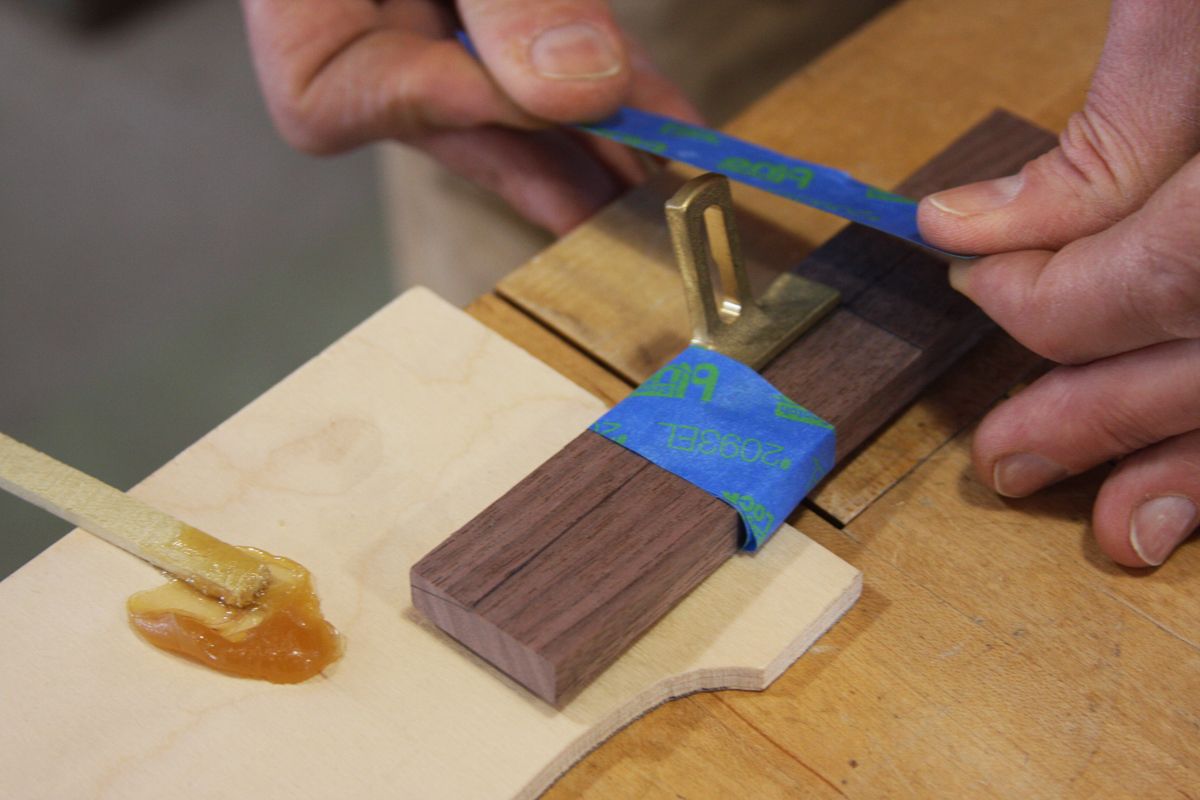
Start by marking the angle of your dovetail bit on the end of your fence stock. The idea is to have the plane ride at the same angle.
In FWW #248, Tim Rousseau will explain how to make tapered sliding dovetails for bombproof furniture of all kinds. The advantage of the tapered version of the joint is that it doesn’t tighten until the dovetail part is driven most of the way home, eliminating the sticking and freezing problems that plague straight sliding dovetails.
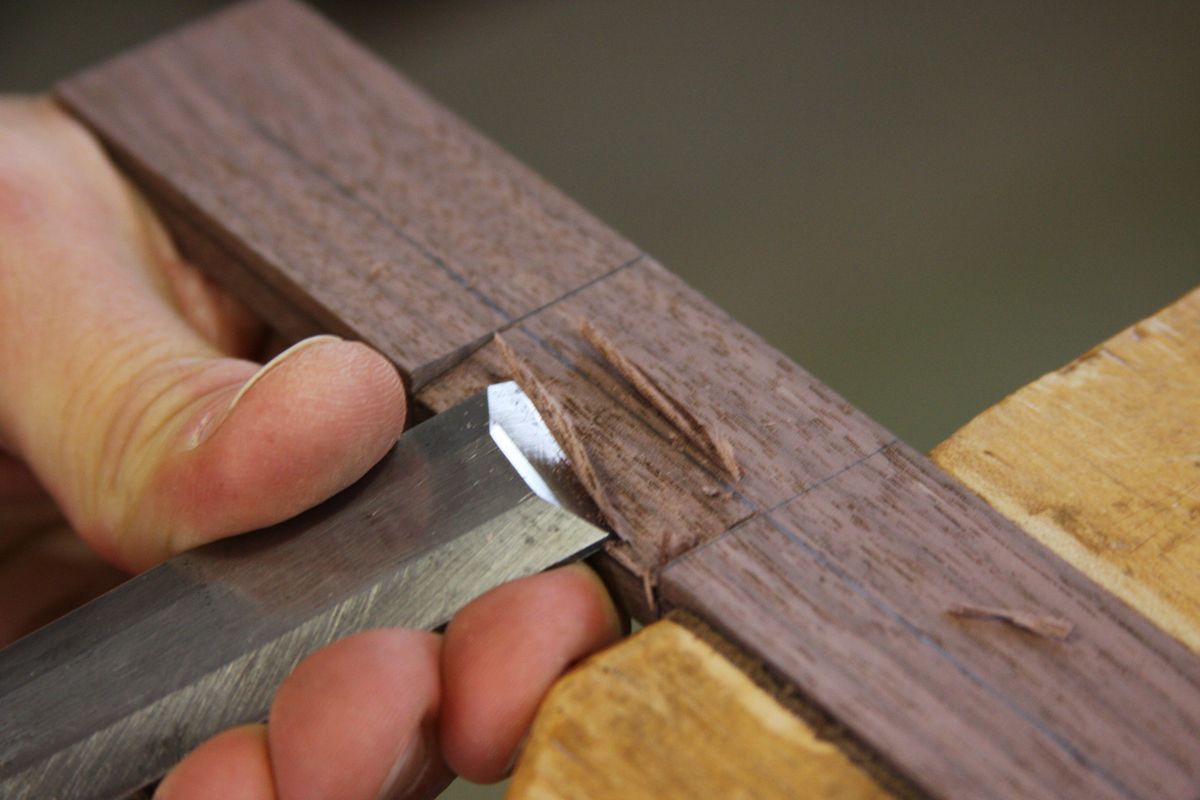
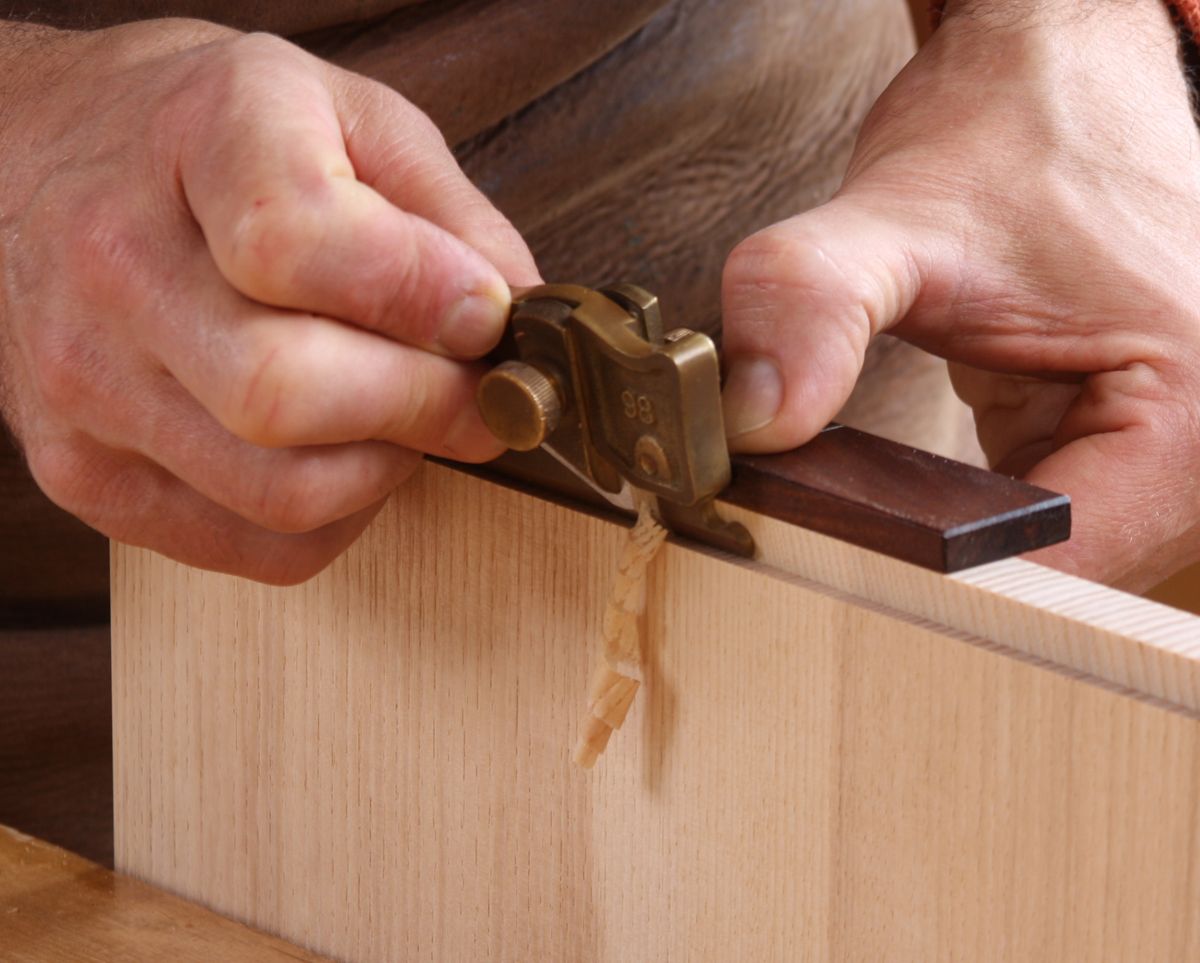
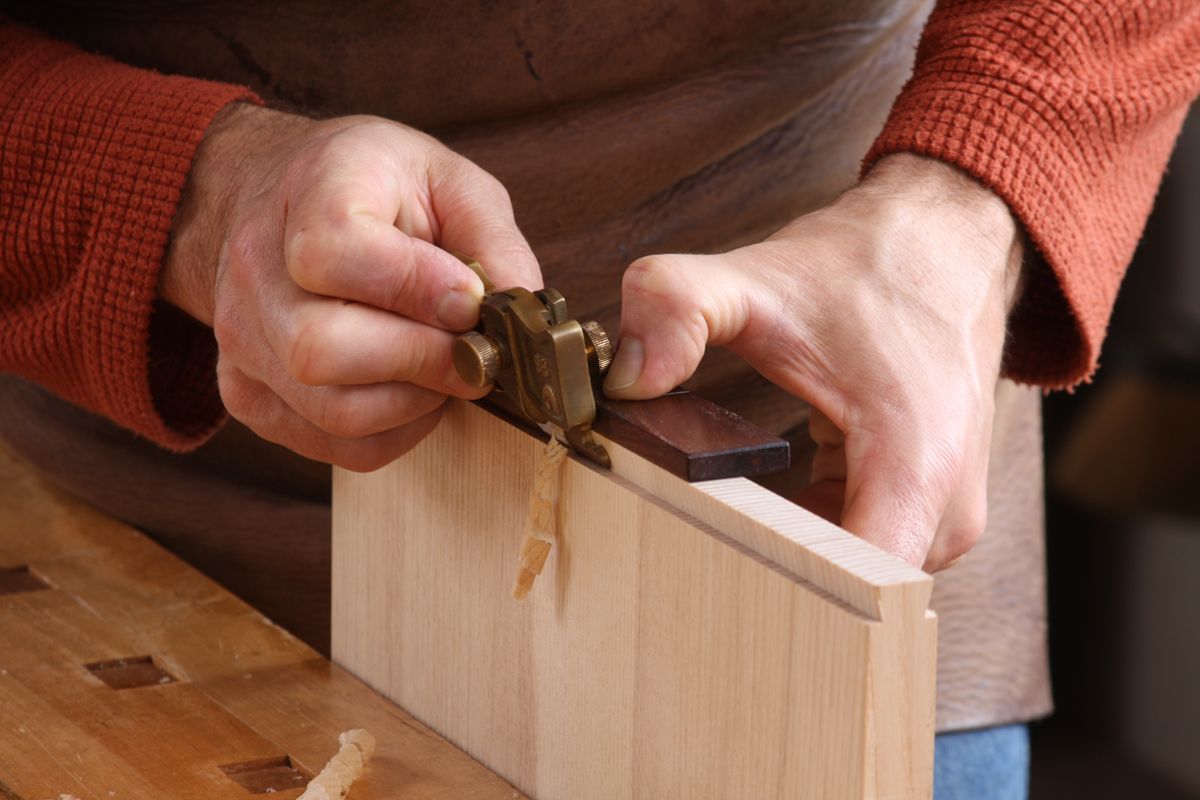
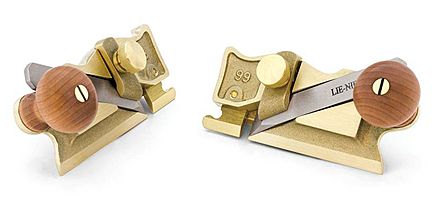
Rousseau advocates getting the fit very close off the router table, but doing the final fitting with either an angled sanding block or this little wonder tool, which he prefers.
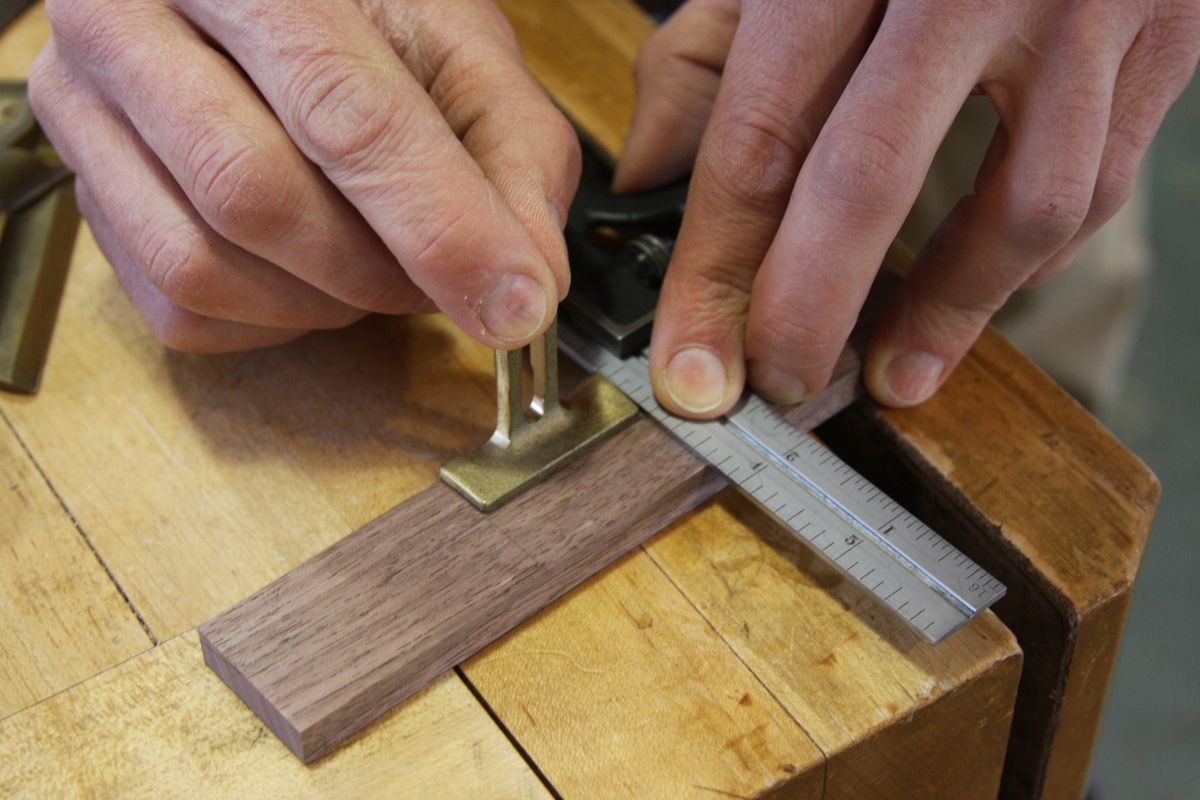
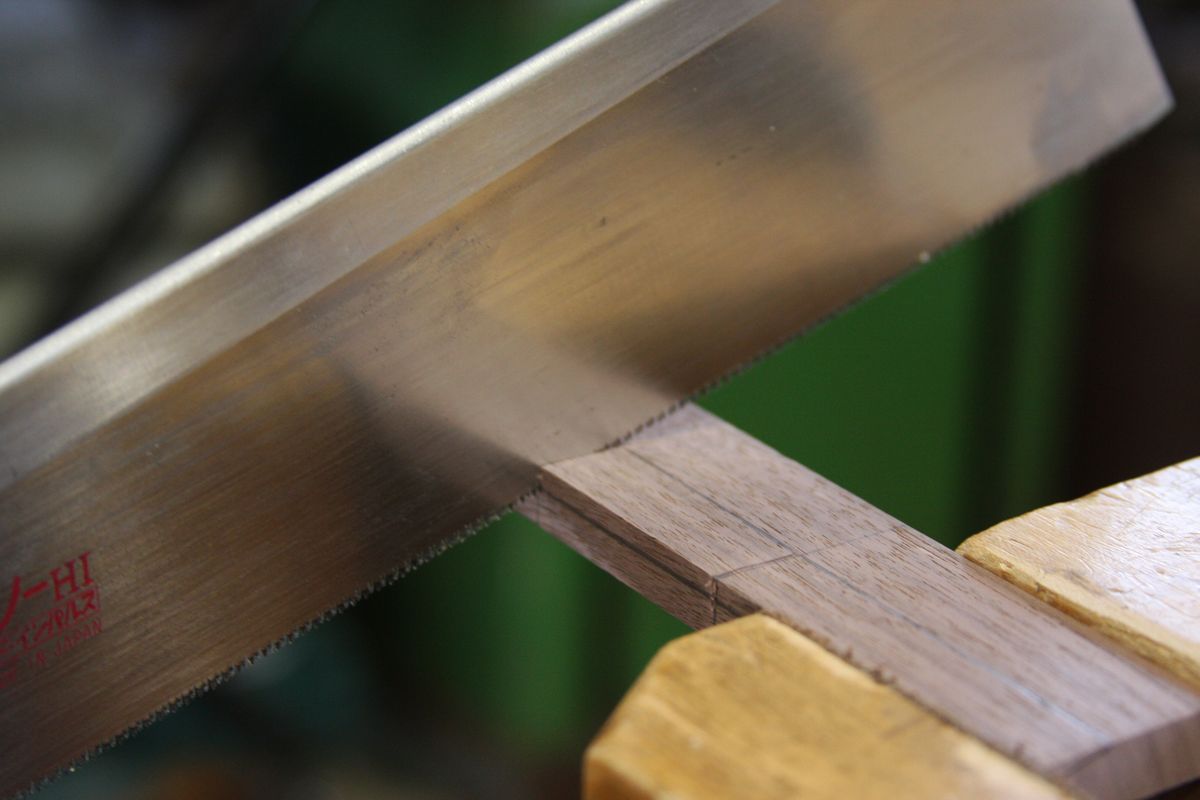
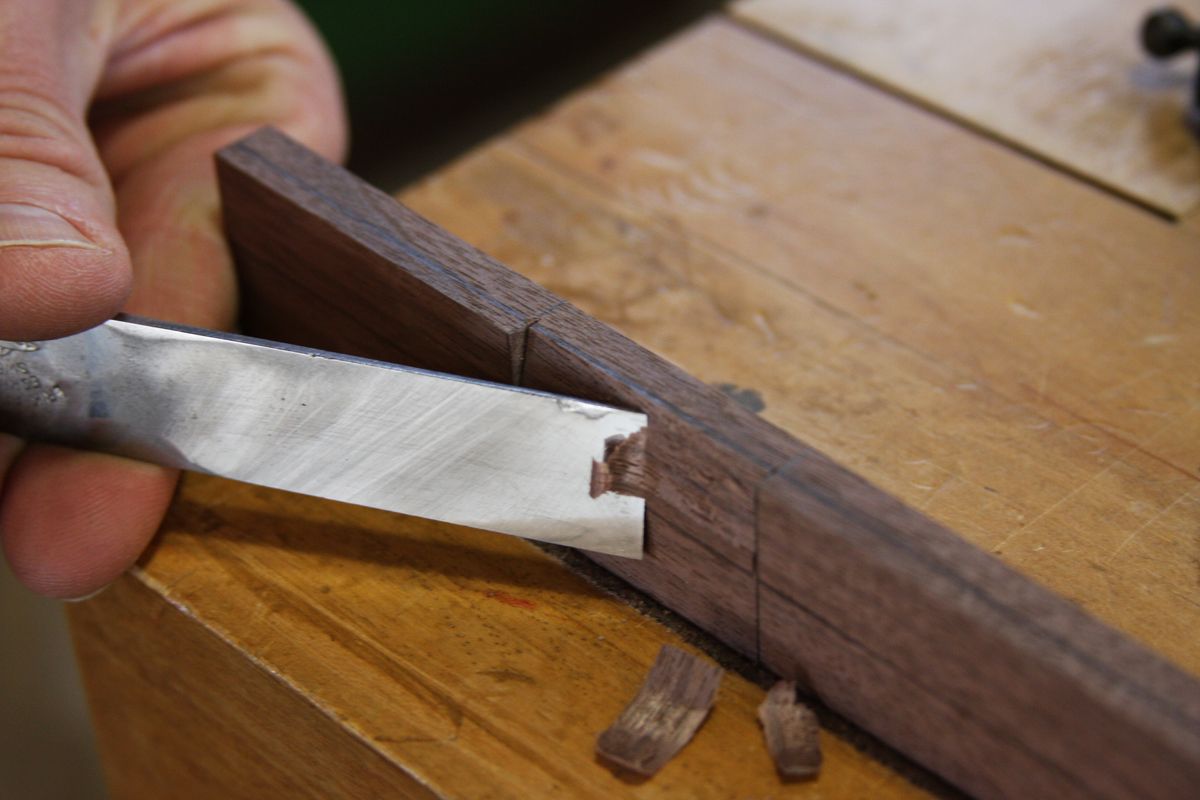
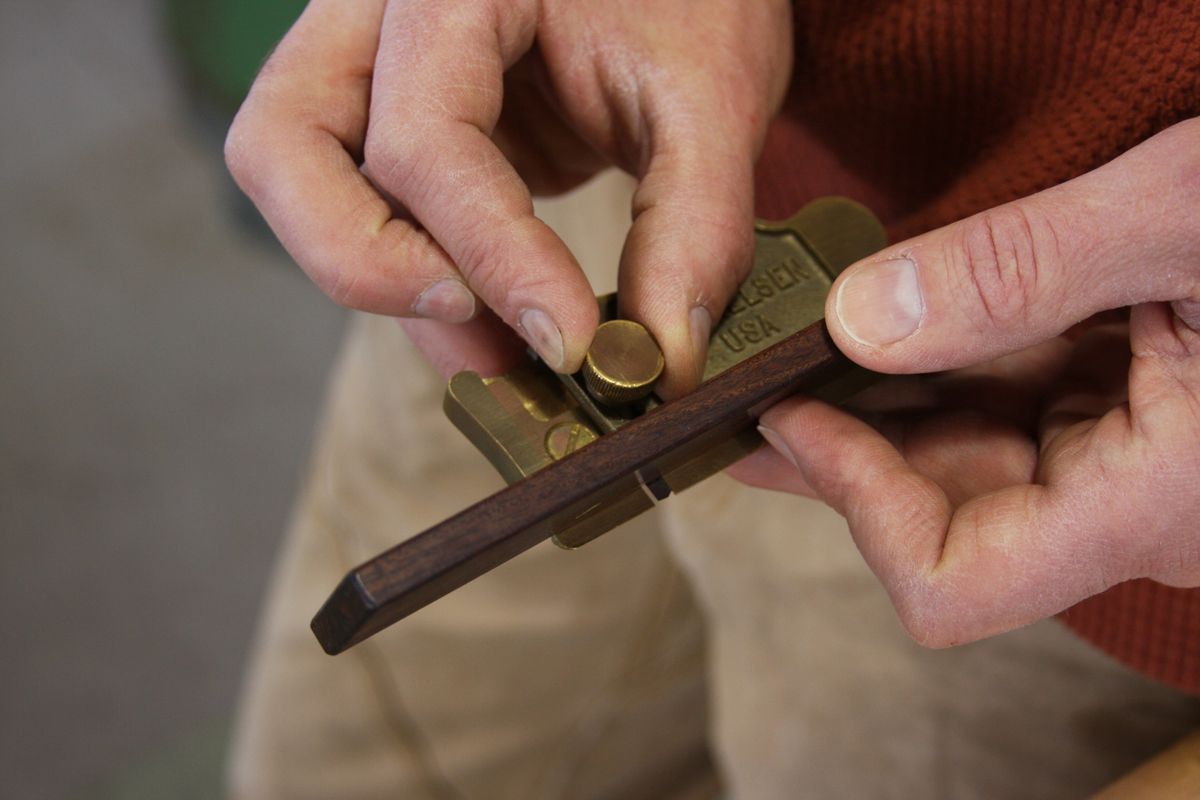
He took one of this Lie-Nielsen side rabbet planes (sold in pairs for $225), and added an angled fence to the depth stop, so it will ride rock-steady atop a long dovetail.
Planing is more precise than sanding, letting you fine-tune any area where the dovetail is fat, or take a fine shaving down the entire length.



Comments
I love customizing tools. This is a great idea for a plane that so often seems like a solution in search of a problem to me.
A very cool adaptation of this tool.
Using this for sliding dovetails would allow very nice adjustments along the dovetailed edge of a board.
Another possibility might be to drill two holes in the depth stop and then machine a metal fence with matching tapped holes to fit the depth stop. This would allow using the depth stop for non-dovetail applications as needed. Not necessarily a better way, just another way.
Still, the original idea is the cool part.
Thanks for sharing.
Jurgen01: Hot glue instead of epoxy?
when you epoxy the fence you are making a versatile tool into a one trick pony. I think it would be better to hold a wedge the angle of your dovetail bit under the 90 degree fence to achieve the desired angle and slide it along with the plane.
First, buy the (ouch) expensive pair, then epoxy... sounds scary.
A cheaper side rabbet plane to use - and one that will work better as it has a longer fence - in the Stanley #79. It is also able to work in left- and right configurations ..
http://i13.photobucket.com/albums/a262/Derek50/Planes/Sliding%20dovetail/5a_zpsudmzaeup.jpg
http://i13.photobucket.com/albums/a262/Derek50/Planes/Sliding%20dovetail/7a_zps2jsibr6i.jpg
The side rabbet modification is best seen as a way of fine tuning an existing sliding dovetail. To create/cut one, use a plane that is built specifically for this purpose. You can purchase one from ECE, or make your own: http://www.inthewoodshop.com/ShopMadeTools/EvolvingADovetailPlane2.html
Regards from Perth
Derek
nice fix.....but I have a Stanley 444 that is made to do this job...I have always used it to trim out dovetails....
Log in or create an account to post a comment.
Sign up Log in