How to Cut Compound-Angle Dovetails
Simple jigs ease the learning curve of making a challenging compound-angle dovetail joint.

Synopsis: After you’ve mastered the basic dovetail, you can try more complicated variations, such as the compound-angle type. Chris Gochnour demonstrates that making a compound-angle dovetail joint is not much different from making a standard dovetail joint. The challenge lies in the layout, especially the first time you do it. But here, he shows you a great trick for laying out the tails, and another one for paring to the angled baseline.
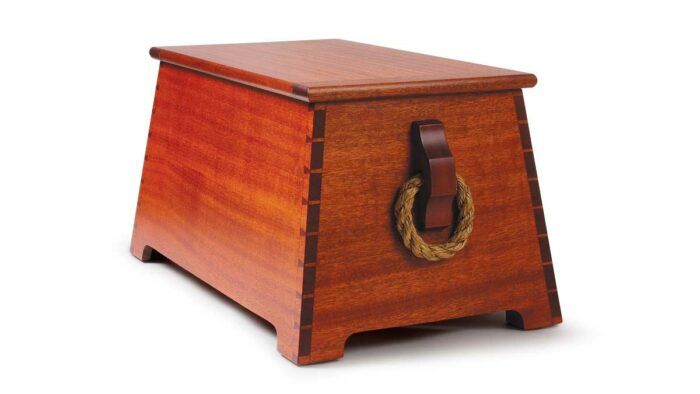
One of the great things about woodworking is that becoming proficient in one technique opens the door to more advanced techniques. The dovetail joint is a great example. After you’ve mastered the basic version, you can attempt more complicated variations. I’ll illustrate how to make compound-angle dovetails, like the ones that join the sloped sides of this chest.
Making a compound-angle dovetail joint is not much different from making a standard dovetail joint. You cut to the line and clean out the waste, which really isn’t difficult. The challenge lies in the layout, especially the first time you do it. But no worries. I’ll show you a great trick for laying out the tails, and another one for paring to the angled baseline.
I know you can make a dovetail joint with power tools, but in this instance, hand tools are the best option. Because of the compound angles involved, setting up a machine or power tool for the work would be tedious and too time-consuming.
Start with a compound-angle butt joint
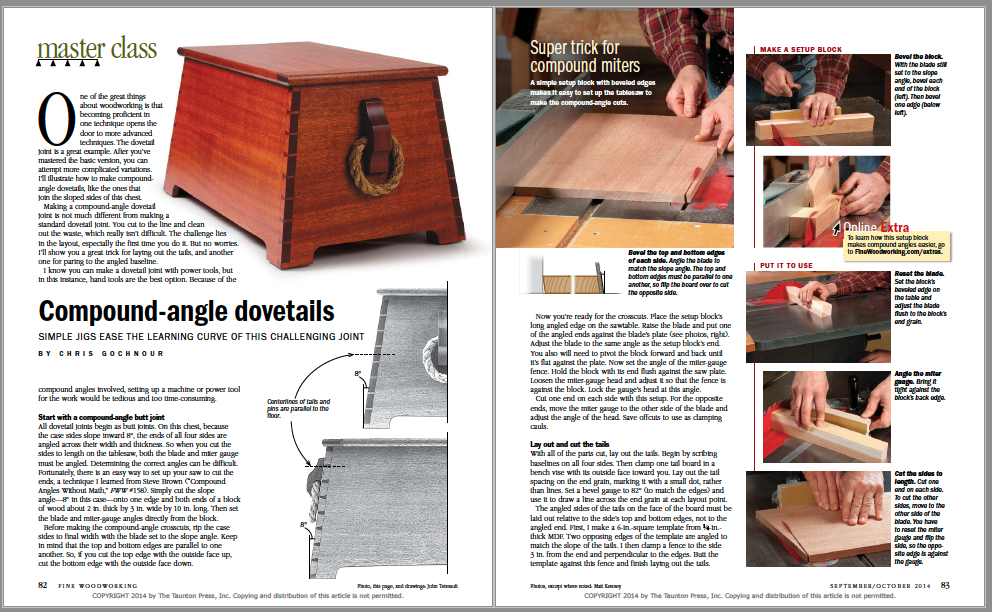
All dovetail joints begin as butt joints. On this chest, because the case sides slope inward 8°, the ends of all four sides are angled across their width and thickness. So when you cut the sides to length on the tablesaw, both the blade and miter gauge must be angled. Determining the correct angles can be difficult. Fortunately, there is an easy way to set up your saw to cut the ends, a technique I learned from Steve Brown (“Compound Angles Without Math,” FWW #158). Simply cut the slope angle—8° in this case—onto one edge and both ends of a block of wood about 2 in. thick by 3 in. wide by 10 in. long. Then set the blade and miter-gauge angles directly from the block.
Before making the compound-angle crosscuts, rip the case sides to final width with the blade set to the slope angle. Keep in mind that the top and bottom edges are parallel to one another. So, if you cut the top edge with the outside face up, cut the bottom edge with the outside face down.
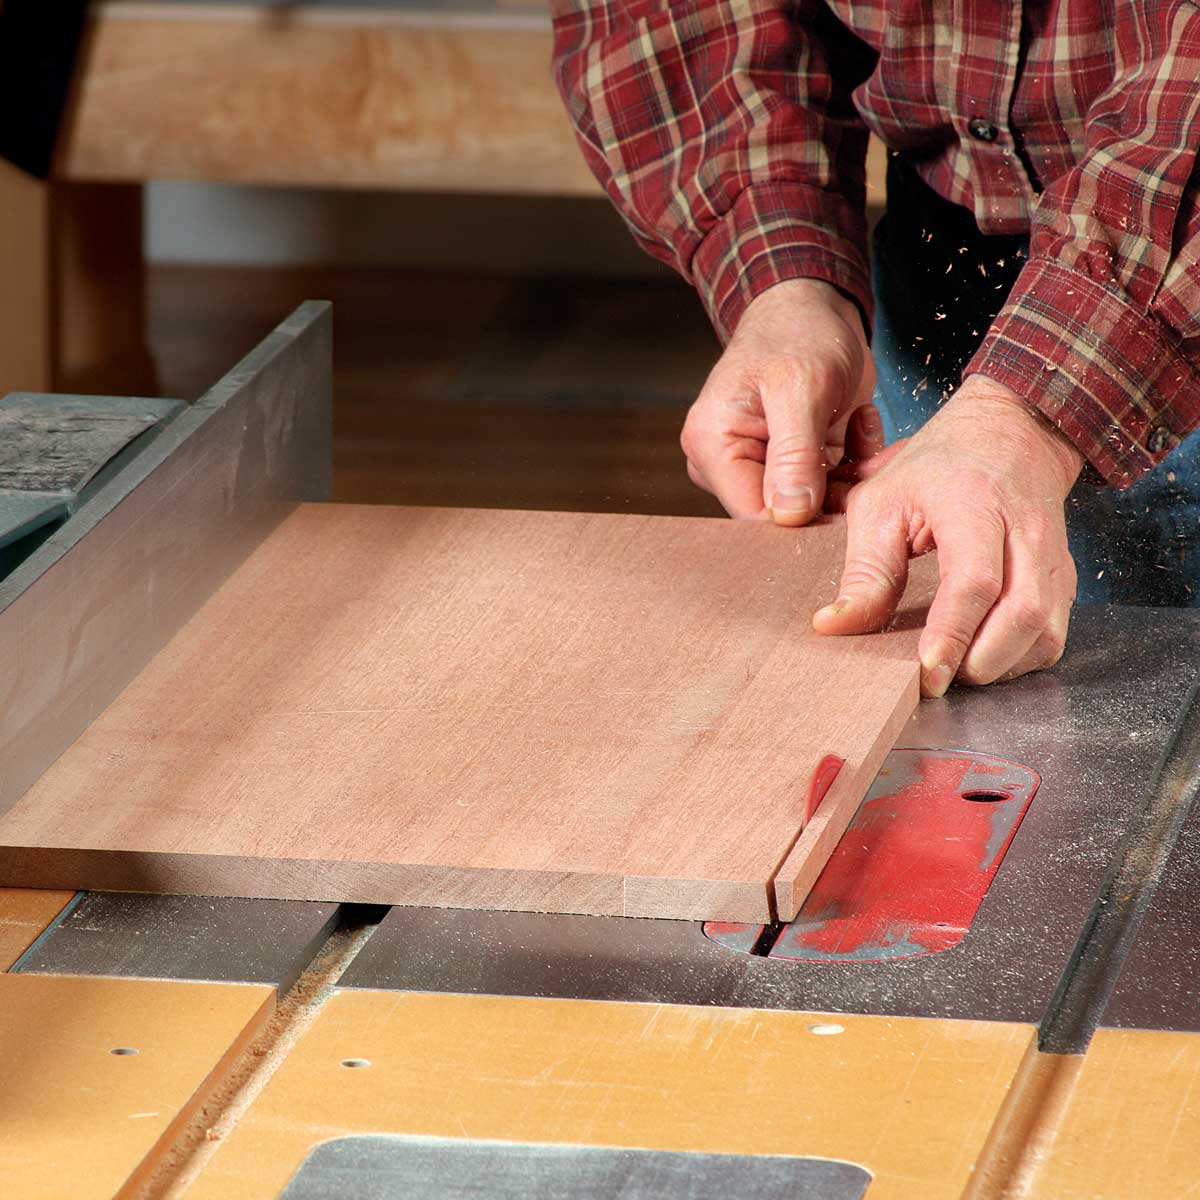
Now you’re ready for the crosscuts. Place the setup block’s long angled edge on the sawtable. Raise the blade and put one of the angled ends against the blade’s plate (see photos, right). Adjust the blade to the same angle as the setup block’s end. You also will need to pivot the block forward and back until it’s flat against the plate. Now set the angle of the miter-gauge fence. Hold the block with its end flush against the saw plate. Loosen the miter-gauge head and adjust it so that the fence is against the block. Lock the gauge’s head at this angle.
Cut one end on each side with this setup. For the opposite ends, move the miter gauge to the other side of the blade and adjust the angle of the head. Save offcuts to use as clamping cauls.
Lay out and cut the tails
With all of the parts cut, lay out the tails. Begin by scribing baselines on all four sides. Then clamp one tail board in a bench vise with its outside face toward you. Lay out the tail spacing on the end grain, marking it with a small dot, rather than lines. Set a bevel gauge to 82° (to match the edges) and use it to draw a line across the end grain at each layout point.
Super trick for compound mitersA simple setup block with beveled edges makes it easy to set up the tablesaw to make the compound-angle cuts. |
The angled sides of the tails on the face of the board must be laid out relative to the side’s top and bottom edges, not to the angled end. First, I make a 6-in.-square template from 1⁄4-in.-thick MDF. Two opposing edges of the template are angled to match the slope of the tails. I then clamp a fence to the side 3 in. from the end and perpendicular to the edges.
 From Fine Woodworking #242
For the full article, download the PDF below.
Fine Woodworking Recommended Products

Suizan Japanese Pull Saw

Marking knife: Hock Double-Bevel Violin Knife, 3/4 in.

Starrett 4" Double Square


Log in or create an account to post a comment.
Sign up Log in