How to Cut Half-Blind Mitered Dovetails
Follow a cabinetmaking master step-by-step as he cuts half-blind mitered dovetails.
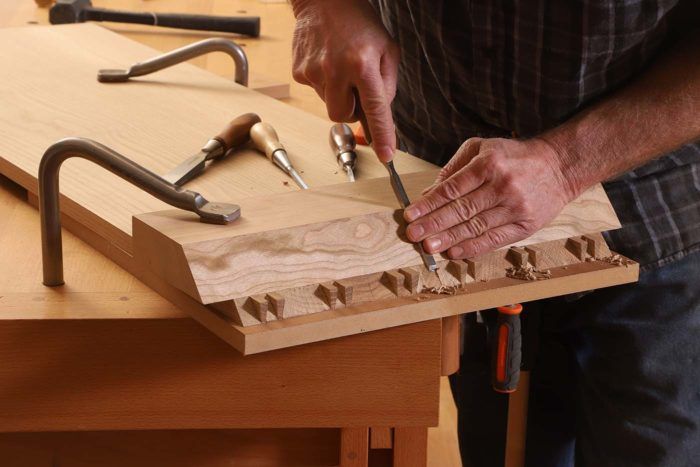
On my recent sideboard I used half-blind mitered dovetails for the case construction. I like the strength and integrity of the joint, the minimal interruption to the grain pattern, and the classic aesthetic they add to a piece.
You can cut them largely with machines, but I did almost all the work with hand tools. It was actually quite efficient, and I really had fun cutting them.
 |
PROJECTS AND PLANS
Build a Contemporary Sideboard |
Layout
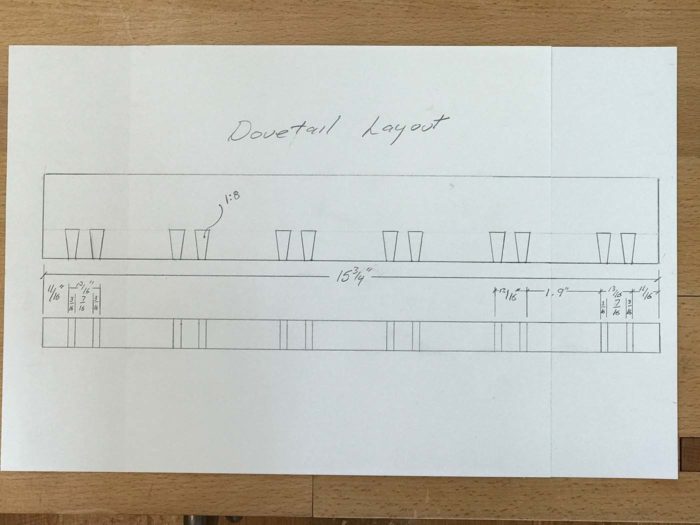
As with typical dovetail joinery, I cut the tail portion of the joint first. On this sideboard, the tails are on the cabinet sides. These dovetails are distinguished from conventional dovetails because there is a half tail instead of a half pin at each end of the joint. This is essential due to the miter that will be cut later.
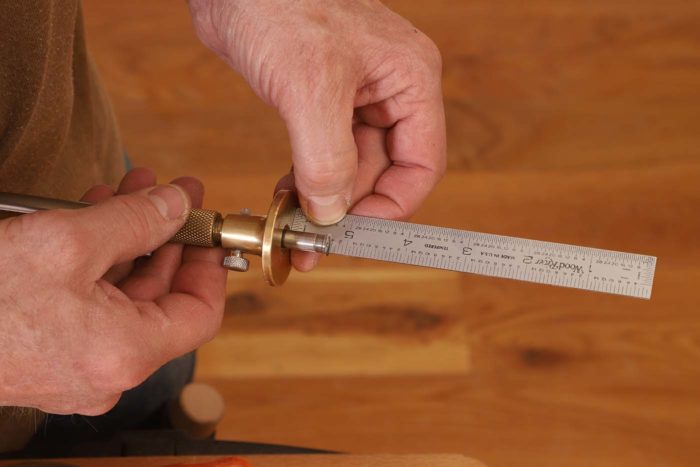
I should note that although the material is a smidge thicker than 3/4 in., the marking gauge for scribing the baseline should be set at 3/4 in. This will leave a tiny flat after the miters are complete. This flat will be removed after glue-up, bringing the miters to a seamless corner.
One other thing that sets them apart is that the baseline is scribed only on the interior of both the tail and pin boards. On the tail boards there is a baseline on the outside, but instead of being scribed, this line is drawn with a pencil.
I lay out the tails with a marking gauge and a pen with a very fine point. I use a storyboard clamped to the tail board to regulate the tail spacing and make it uniform for all four joints.
After the tails are laid out, I use the marking gauge to scribe sections of the baseline on the exterior only where waste will be removed.
Cutting the tails
Apart from these steps, the execution of the tails is just the same as conventional dovetail joinery.
With the dovetails laid out and the tail board mounted at the edge of my bench in the shoulder vise, I define the tails with sawcuts.
Then I remove most of the waste with a coping saw.
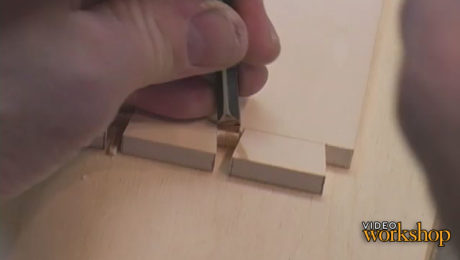
To pare right to the baseline I use a chisel and a jig I built. The upper fence, located right on the baseline and wedged in place, holds the tail board tightly in place and makes it easier to make a perfectly clean and vertical chisel cut. The jig’s front fence, against which the tail board is stopped, can be adjusted depending on the length of the dovetails.
Video: Introduction to the Half-Blind Dovetail |
Cutting the pins
At this point the tail boards are complete and can be transferred to the pin boards so that the pins can be cut. Transferring the tails to the pin board again parallels typical through-dovetail joinery. The challenge here is that the pin board is 48 in. long. To facilitate this, I secure the pin board upright to the front of my bench. I use a piece of scrap to support the far end of the tail board as I transfer the layout.
Now that the knife marks are scribed onto the end grain of the pin board, I lay the pin board down with the interior facing up and, using a square and marking knife, extend the end marks down to the baseline.
Due to the mitered nature of this joint, the pin cuts are made on a 45° angle. Because of the height of the board, I find it awkward sawing it upright, so I leave it flat on my benchtop to make the 45° cuts.
With the pins now defined by the backsaw kerfs, I remove the waste between them with a coping saw and a fretsaw. This too, is cut on a 45° angle. I use a fretsaw, with its tiny blade and pinpoint turning radius, to cut in the tight spaces.
For the wider spaces I use the coping saw, which cuts quicker and is a little easier to control.
With both saws I try to cut close to the baseline but leave a small flat where the miter will come to a point.
The waste on the edges can be removed with a backsaw.
The perfect pare
Then I pare the pin board’s miter clean using a 20-in. batten with one of its long edges sawn to a 45° bevel. I place the pin board on the workbench with its inside facing up and a backing board beneath it. Then I clamp the paring batten to the pin board so the leading edge of the bevel is right on the dovetails’ baseline.
I find here many small cuts are more effective than large ones. I start the process with a 1/4-in. chisel and make a couple of cuts from the baseline to the miter’s edge. Once I have a little bit of width, I switch to a wider chisel because of the stability of its broader width. But I continue paring with narrow cuts, taking just 1/8 in. to 1/4 in. of material per cut.
After paring the miter on the pin board, all that remains is to cut the mating miter on the tail board. I do this on the tablesaw with a crosscut sled. I tilt the blade to 45° and slide my Unifence to the front of the saw table and use it as a stop. I get best results doing this in three or four incremental passes in order to keep the offcuts from kicking up and marring things. I’ve also found that leaving just a sliver for the final pass gives the cleanest cut.
At this point, the joint can be assembled for its first test fit. If things are tight in spots, the pins can be adjusted using chisel cuts or judicious work with a file. Best of luck, and have fun with it!
Video Workshop: Enfield Cupboard with Hand Tools featuring Chris Gochnour |
Fine Woodworking Recommended Products
Veritas Standard Wheel Marking Gauge
Leigh D4R Pro

Suizan Japanese Pull Saw






Comments
Rather than a file for trimming, (which works well) I have sandpaper adhered to one side of a steel rule. It leaves a nice smooth finish and is pretty controllable. The ruler will flex slightly, so I put a finger right next to it to make sure it doesn't flex too much. Usually it only takes a couple strokes to get the fibers taken down the little bit you need.
There are many many different ways to do this kind of stuff, which is why we love woodworking :)
Log in or create an account to post a comment.
Sign up Log in