How to Cut Houndstooth Dovetails
Frank Strazza, a master of the unusual houndstooth dovetail joint, explains the secrets of this dovetail within a dovetail.
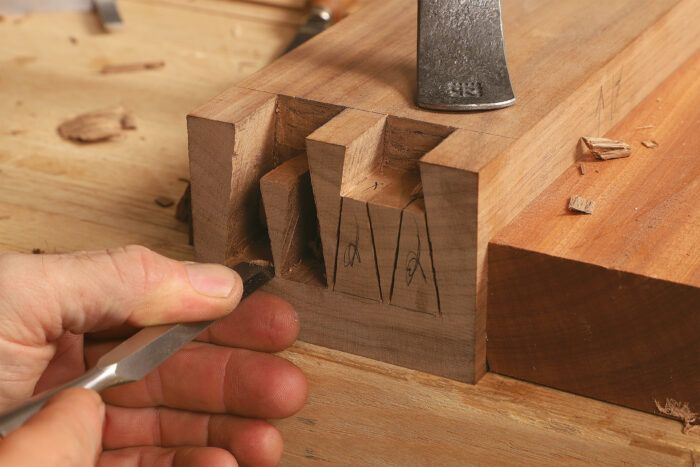
Synopsis: A dovetail within a dovetail, the houndstooth’s pins taper to a sharp point, making the joint very attractive but also challenging to create. Frank Strazza cuts them with hand tools; a handsaw most notably. And although the joint looks fragile, it’s actually very strong.
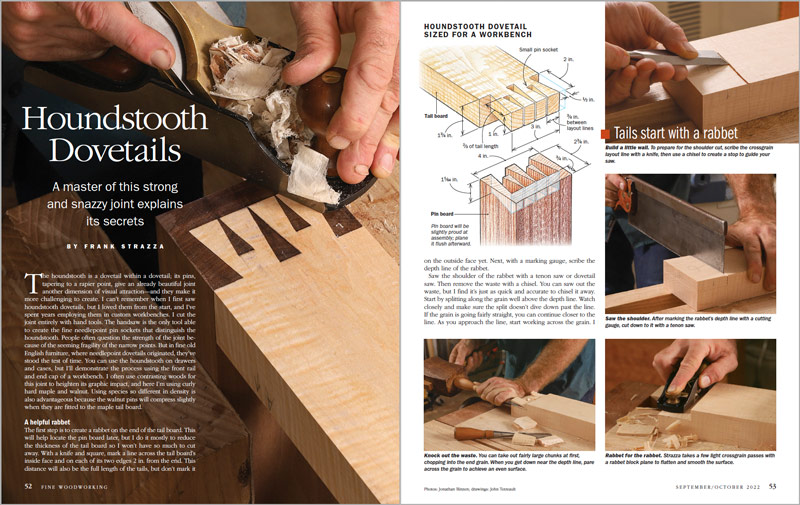
The houndstooth is a dovetail within a dovetail; its pins, tapering to a rapier point, give an already beautiful joint another dimension of visual attraction—and they make it more challenging to create. I can’t remember when I first saw houndstooth dovetails, but I loved them from the start, and I’ve spent years employing them in custom workbenches. I cut the joint entirely with hand tools. The handsaw is the only tool able to create the fine needlepoint pin sockets that distinguish the houndstooth. People often question the strength of the joint because of the seeming fragility of the narrow points. But in fine old English furniture, where needlepoint dovetails originated, they’ve stood the test of time. You can use the houndstooth on drawers and cases, but I’ll demonstrate the process using the front rail and end cap of a workbench. I often use contrasting woods for this joint to heighten its graphic impact, and here I’m using curly hard maple and walnut. Using species so different in density is also advantageous because the walnut pins will compress slightly when they are fitted to the maple tail board.
A helpful rabbet
The first step is to create a rabbet on the end of the tail board. This will help locate the pin board later, but I do it mostly to reduce the thickness of the tail board so I won’t have so much to cut away. With a knife and square, mark a line across the tail board’s inside face and on each of its two edges 2 in. from the end. This distance will also be the full length of the tails, but don’t mark it on the outside face yet. Next, with a marking gauge, scribe the depth line of the rabbet.
Saw the shoulder of the rabbet with a tenon saw or dovetail saw. Then remove the waste with a chisel. You can saw out the waste, but I find it’s just as quick and accurate to chisel it away. Start by splitting along the grain well above the depth line. Watch closely and make sure the split doesn’t dive down past the line. If the grain is going fairly straight, you can continue closer to the line. As you approach the line, start working across the grain. I clean up the cheek of the rabbet with the appropriately named rabbet block plane.
Tails start with a rabbet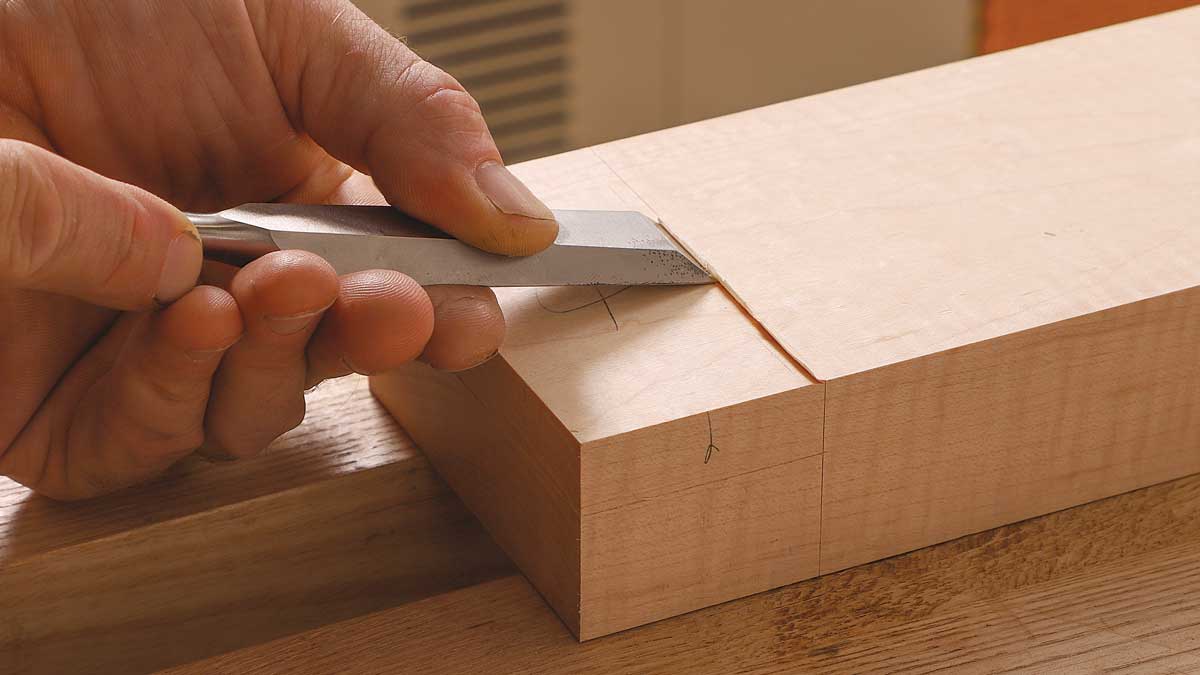 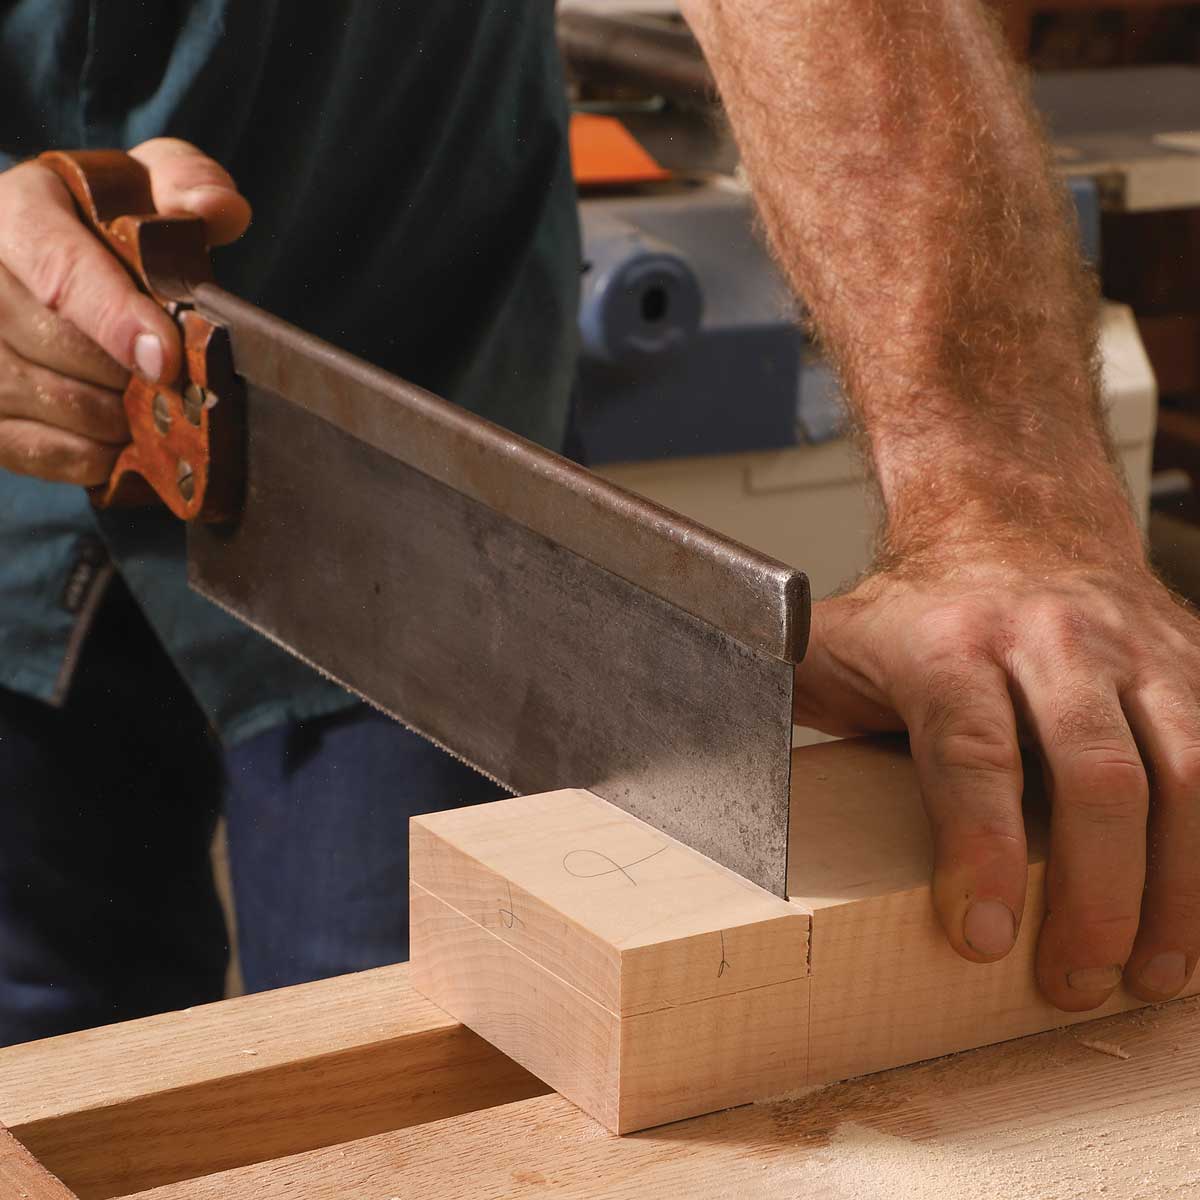 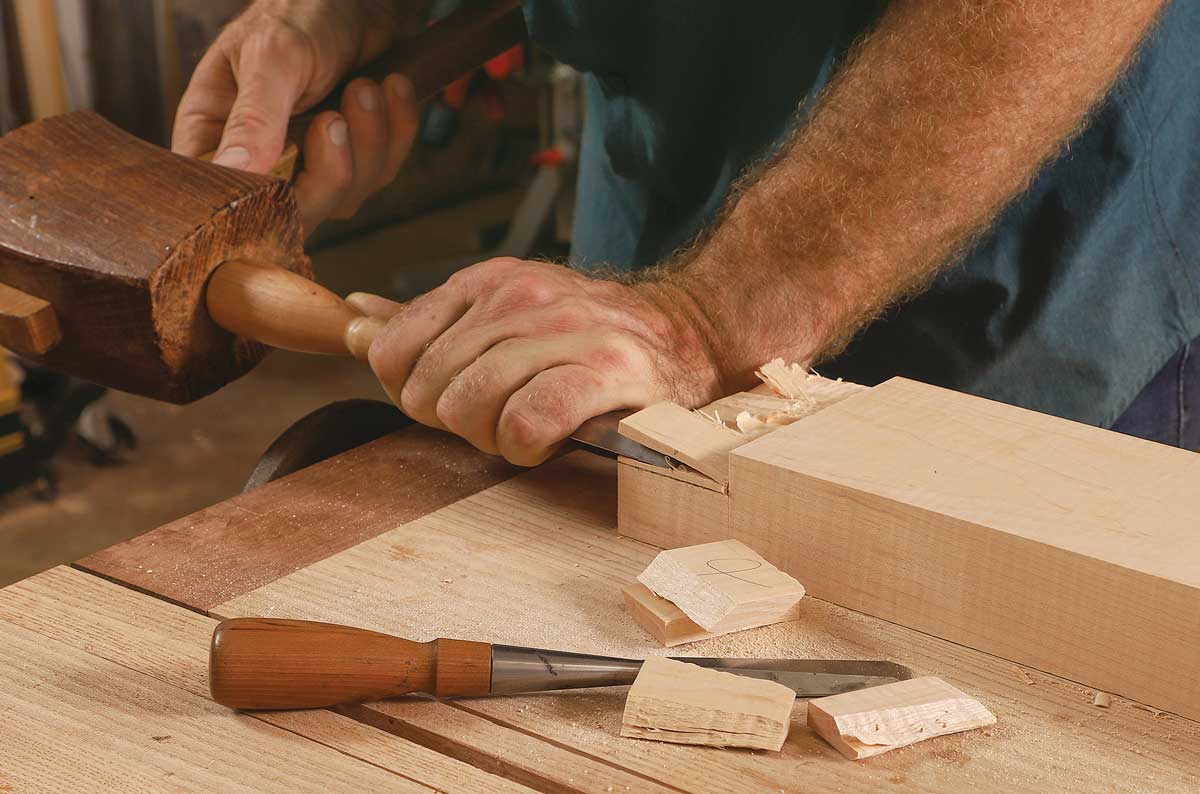 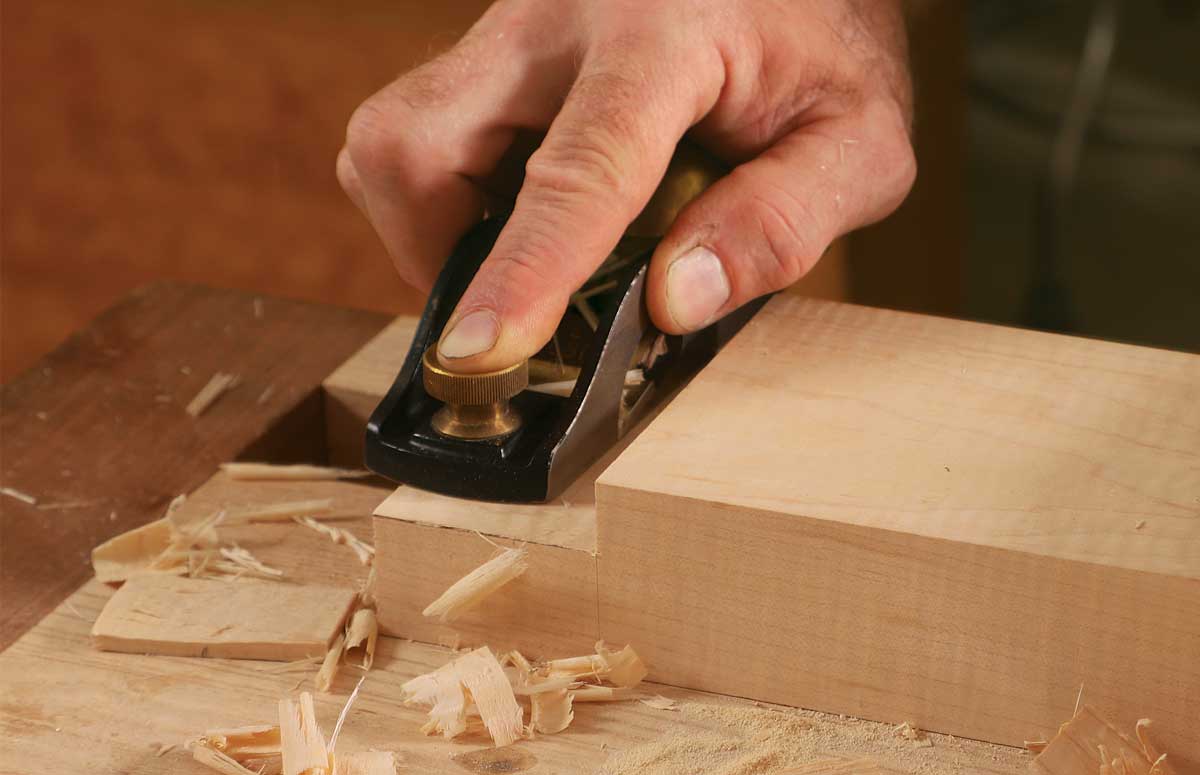 |
Tails layout
The next step is to lay out the tails, which is fairly straightforward. There are two large tails, each with a small pin socket cut within it. Start by making three tick marks at the end of the board, one in the middle and the others 1⁄2 in. from each edge; those are the only measurements you need to create the two tails. Before marking the angles, carry the baseline across the face of the board in pencil. Next, mark the angles with a sliding bevel on the face of the board. Then use a combination square to carry the angled lines square across the end of the board.
Next lay out the pin socket within each tail. I find that having the socket two-thirds the length of the large tail makes a visually pleasing joint; I use a pair of dividers to step off those thirds and mark the socket’s baseline. After marking the angles and the baseline with a pencil, come back with a square and a knife to mark the baselines on these pin sockets as well as on the large tails.
Tails layout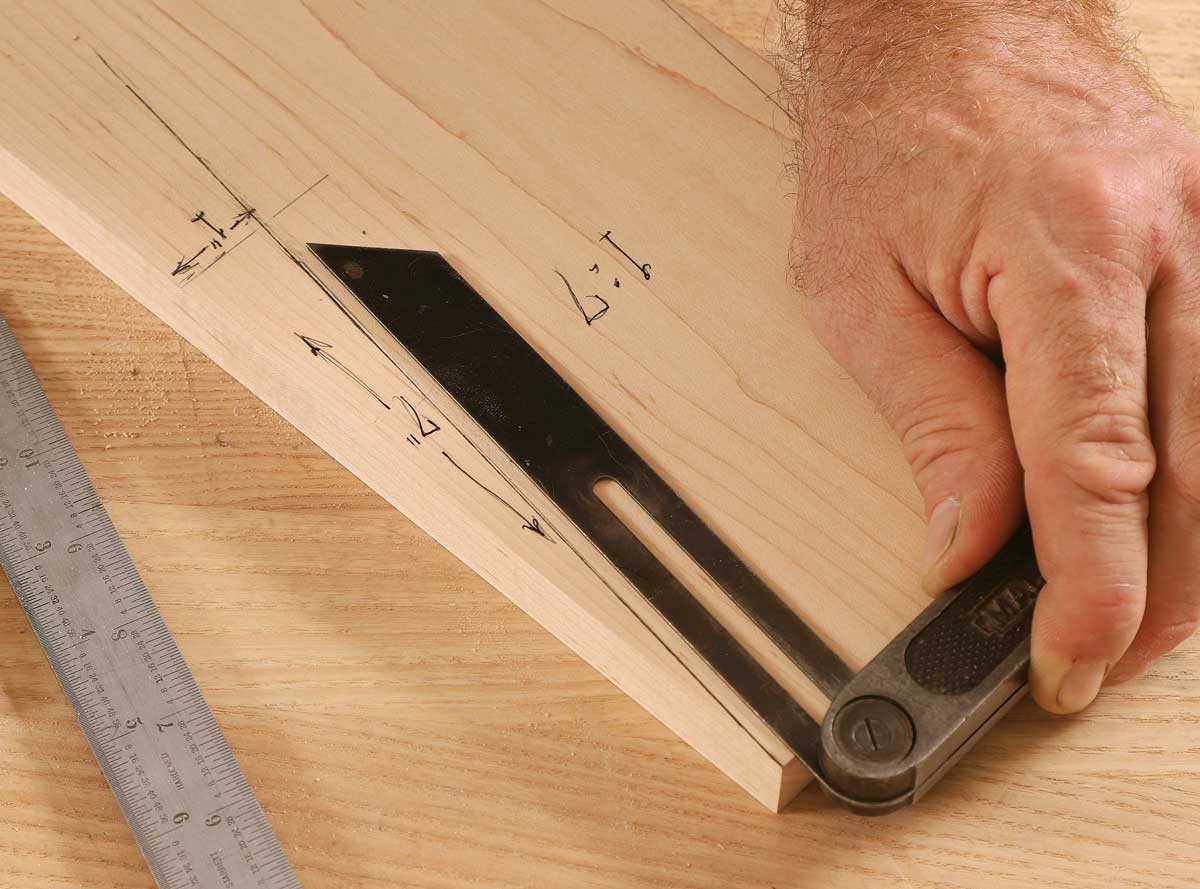 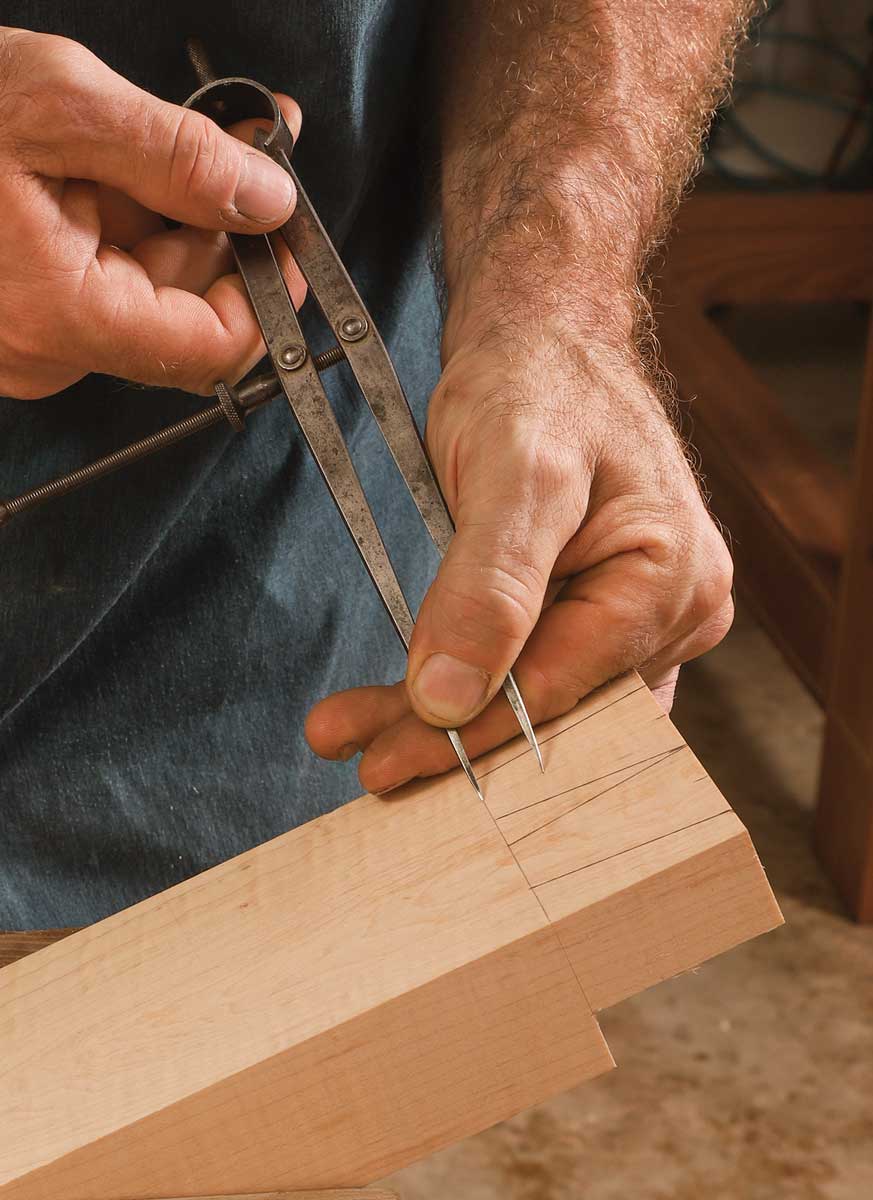 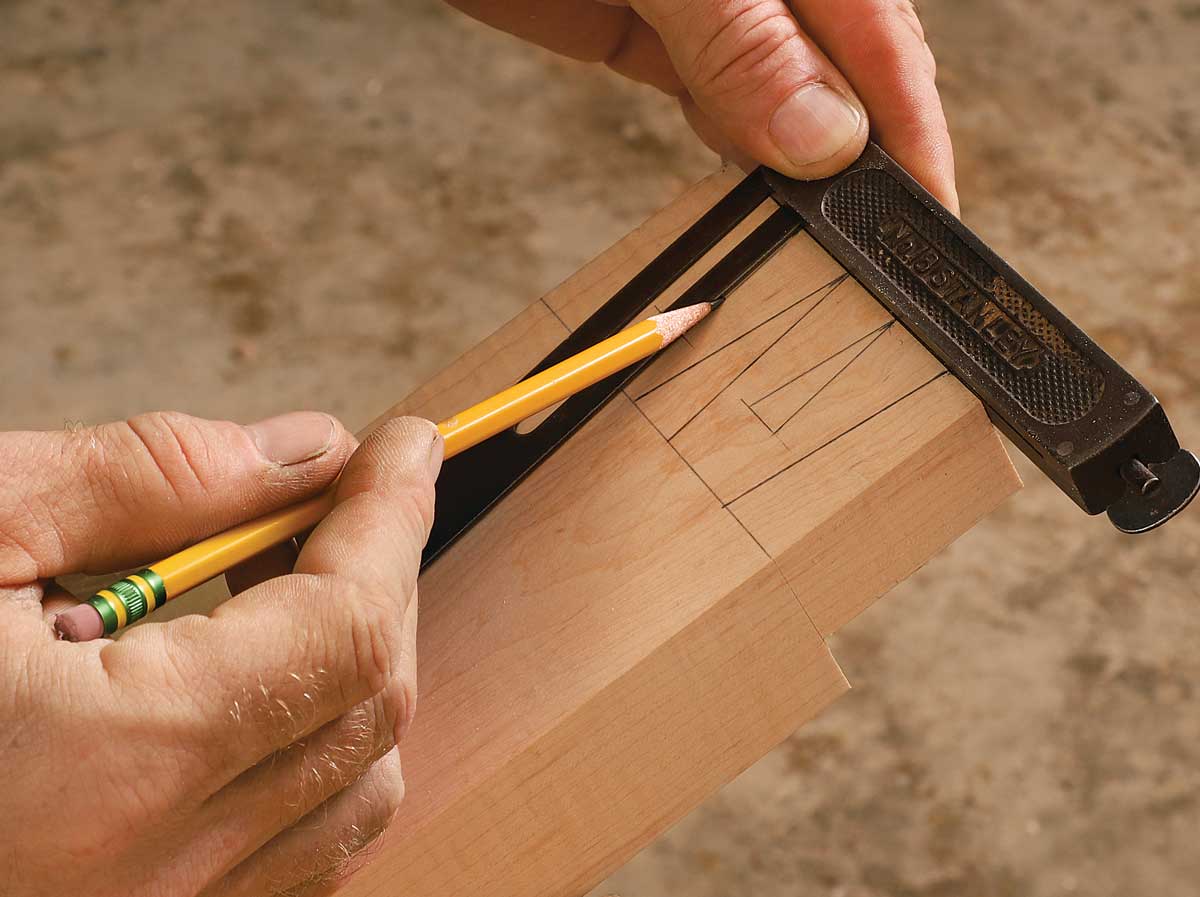 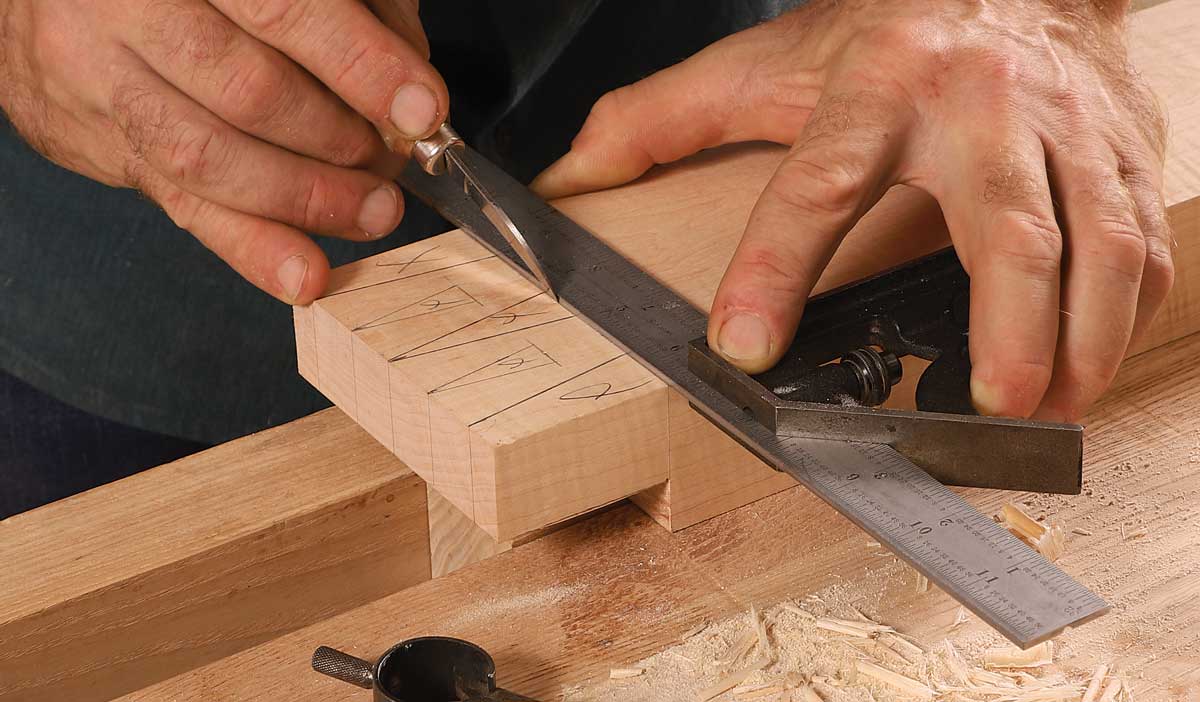 |
Cut the tails
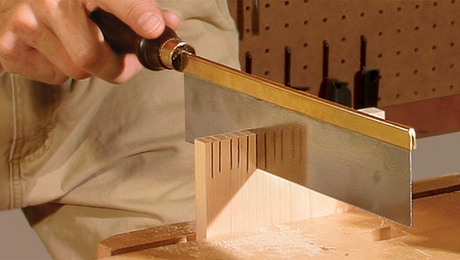
As you begin sawing the angled cheeks of the tails, keep in mind that these cuts must be sawn perfectly square across the end of the board or the joint will not fit. If the dovetail angles are slightly off, it won’t matter as much, because they will simply be transferred to the pin board.
For consistency’s sake, I make all the cuts that are angled in one direction, then reset my body position and make all the cuts angled in the other direction. To make the second cut of each pair that forms a needle point, simply put the saw in the first kerf, press your thumb against the saw plate for guidance, and cut the angle going in the other direction.
 From Fine Woodworking #298
To view the entire article, please click the View PDF button below.
 |
Simple Trick for Cleaner Dovetail Joints |
 |
Strong and Handsome: Half-Blind Mitered Dovetails |
 |
Dovetail Saws |


Log in or create an account to post a comment.
Sign up Log in