How to Dovetail Thin Parts
Mike Pekovich's technique combines machines and handwork for fast, consistent dovetails with a handcut look.
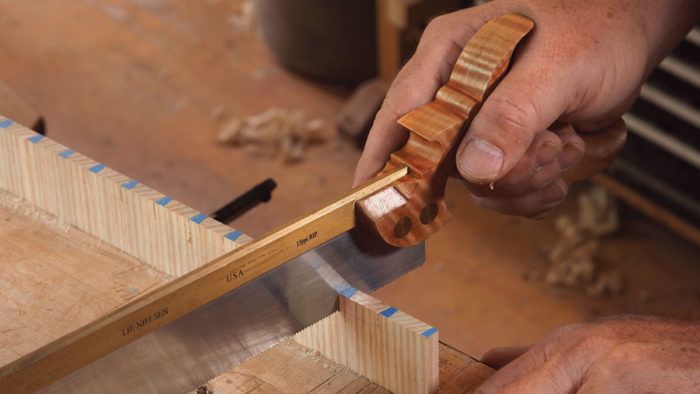
Lots of little dovetails
Rip the case parts to width and then cut them to length. Rather than crosscut all of the parts with a crosscut sled, I square up one end of each panel on the sled, and then use the rip fence to cut them to length. While this is technically a crosscut, which should usually be avoided on the rip fence, the panels are wide enough and short enough to make it a safe operation.
The benefit of this technique is that mating parts will be exactly the same length and the ends will be perfectly parallel to each other, increasing the odds of ending up with a square case once you’re done. The case is joined by dovetails. The twist is that I build a rabbet into the joint for the case back. Start by cutting the rabbet in each case part and then move on to the tails. You can tackle them by hand, but I head to the table-saw and use a blade ground for dovetails. Either way, this step isn’t overly critical because you’ll scribe the pins directly from the tails. Be sure to skip the half-pin socket at the back corners of the case where the rabbet is.
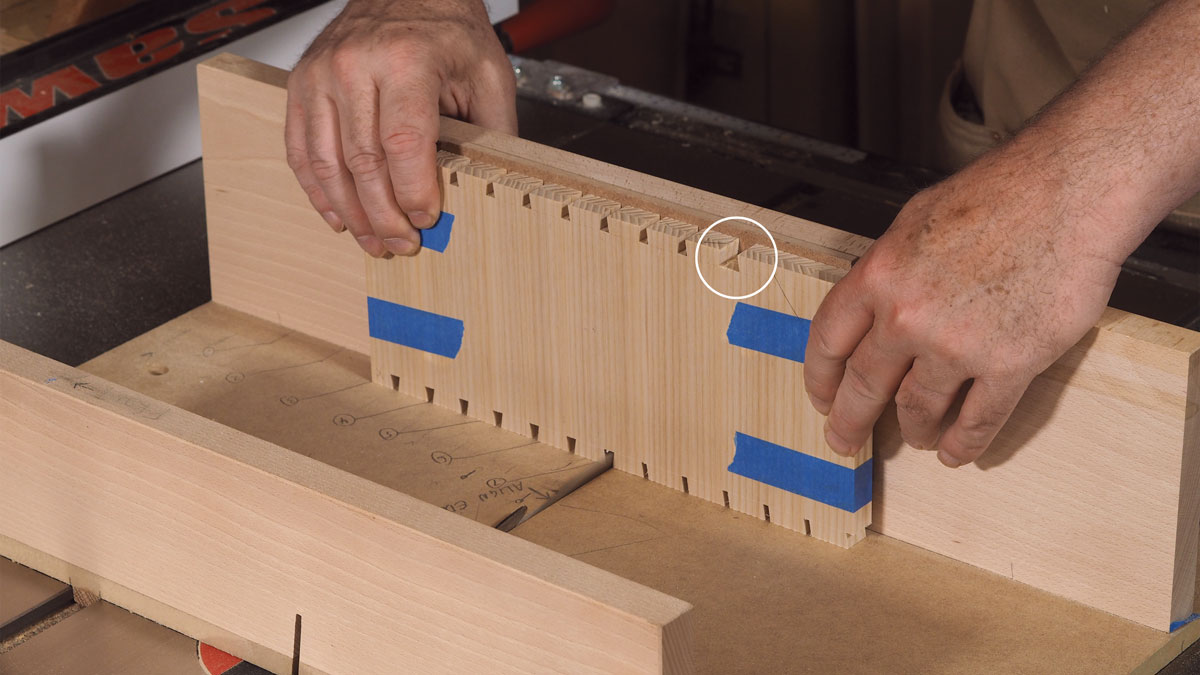
Cut tails in both sides at once. The author uses a tablesaw blade ground for dovetails, but whether you cut them by hand or machine, taping the sides together will make faster work of the many dovetails. Create an extrawide pin socket (circled) at the front of the top edge to make scribing for the case top easier later.
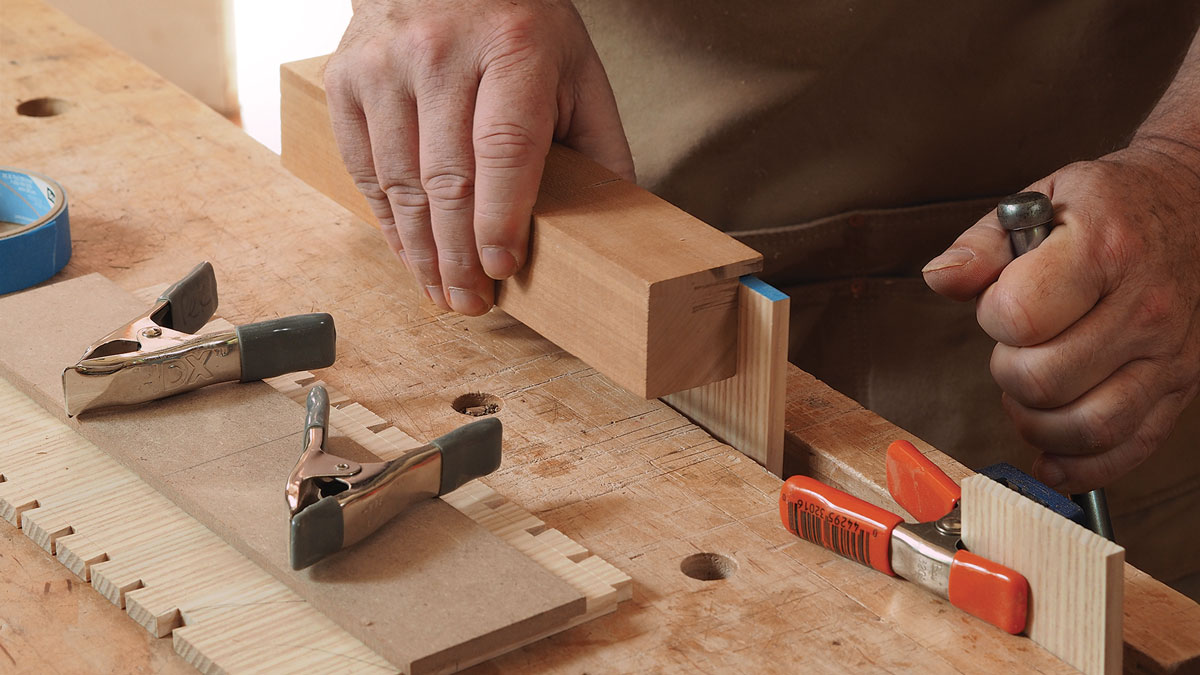
Minimize flex when scribing the pins. Add blue tape on the end grain and clamp the pin board low to the benchtop. If the panel is wider than your vise jaws, clamp the unsupported end to the front edge of the bench.
 |
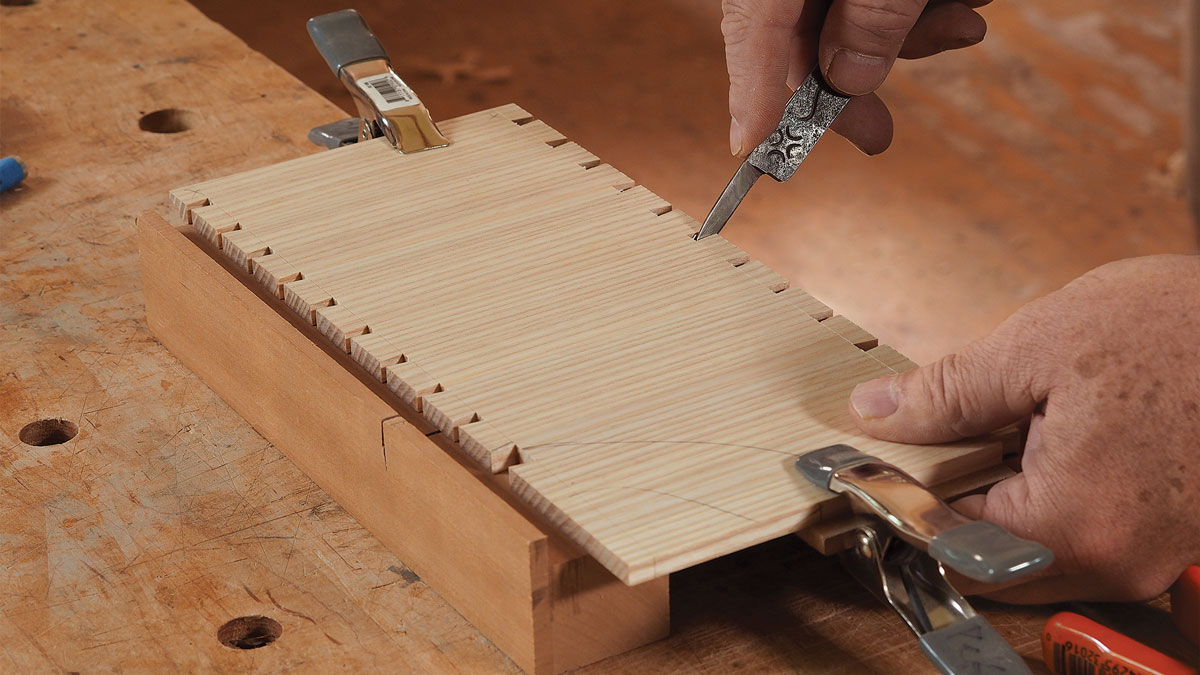 |
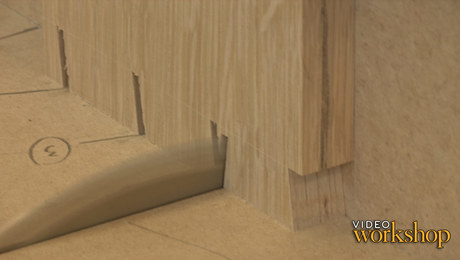
Alignment is everything. Clamp a piece of MDF along the baseline of the tails. This creates a lip that makes it easier to align the parts for scribing. If the parts shifted or flexed during scribing, you’d have a tougher time fitting the joint.
 |
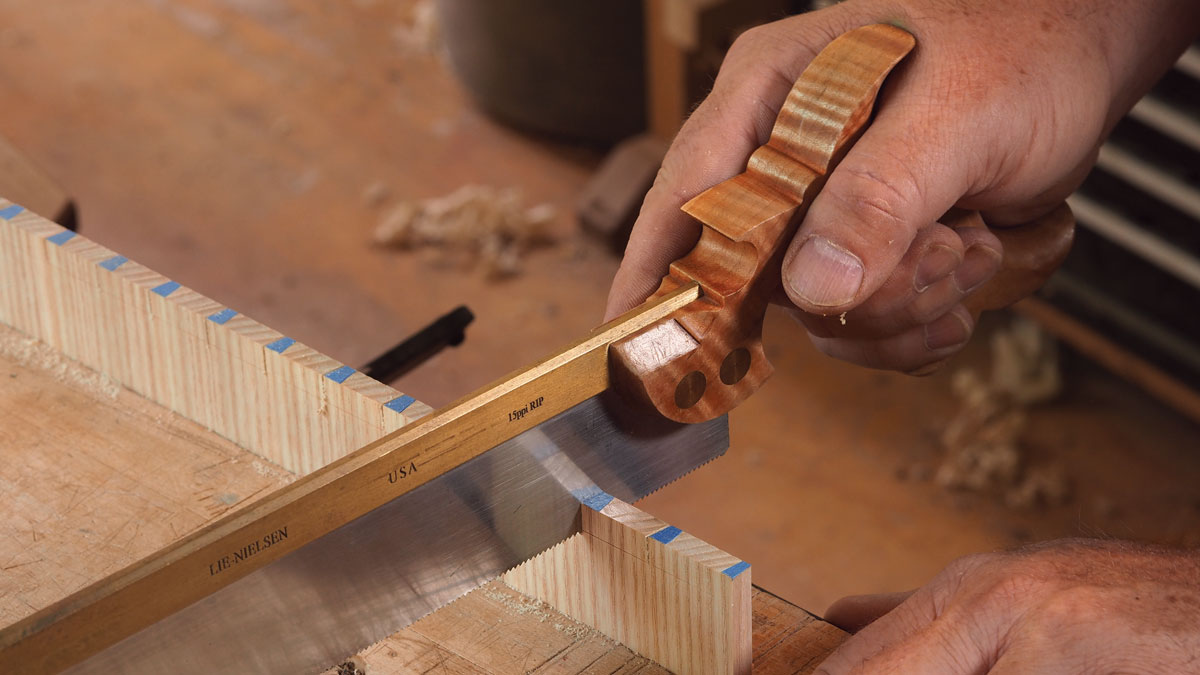 |
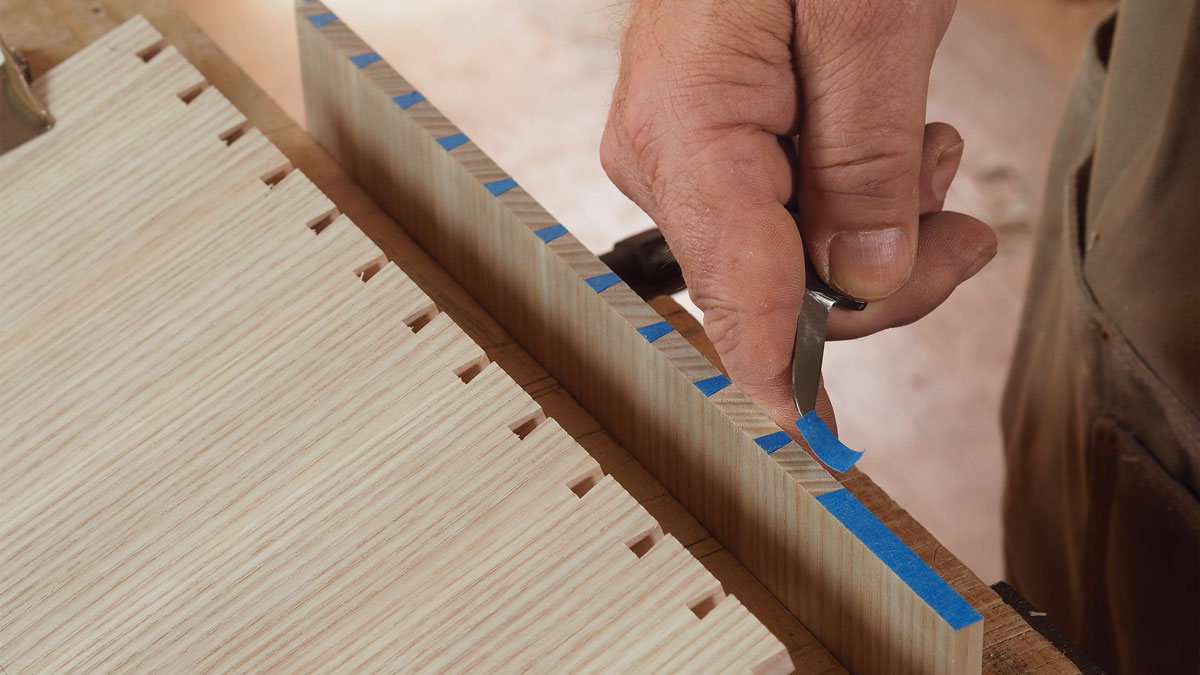
Peel and saw. After scribing though the tape, peel away the pieces from the waste areas, creating a clear road map for sawing. The tape can also help when paring the joint to fit later.
On to the pins
I always do the pin layout and sawing by hand. The challenge is keeping the thin, flexible panels aligned while scribing. To ensure that the pin board stays flat, I clamp it fairly low in my vise, reducing flex. And to help with alignment, I clamp a thin piece of MDF along the tail board’s shoulder line as a registration stop. I use a block to set the height of the pin board above the benchtop, and then use the same block to support the far end of the tail board when scribing. The case top is narrower than the sides, so be sure to register the back edges of the parts. As a visual aid when sawing, I add blue tape to the pin board’s end grain. After scribing the pins, remove the tape from the waste areas and you’ll have a clear road map for sawing.
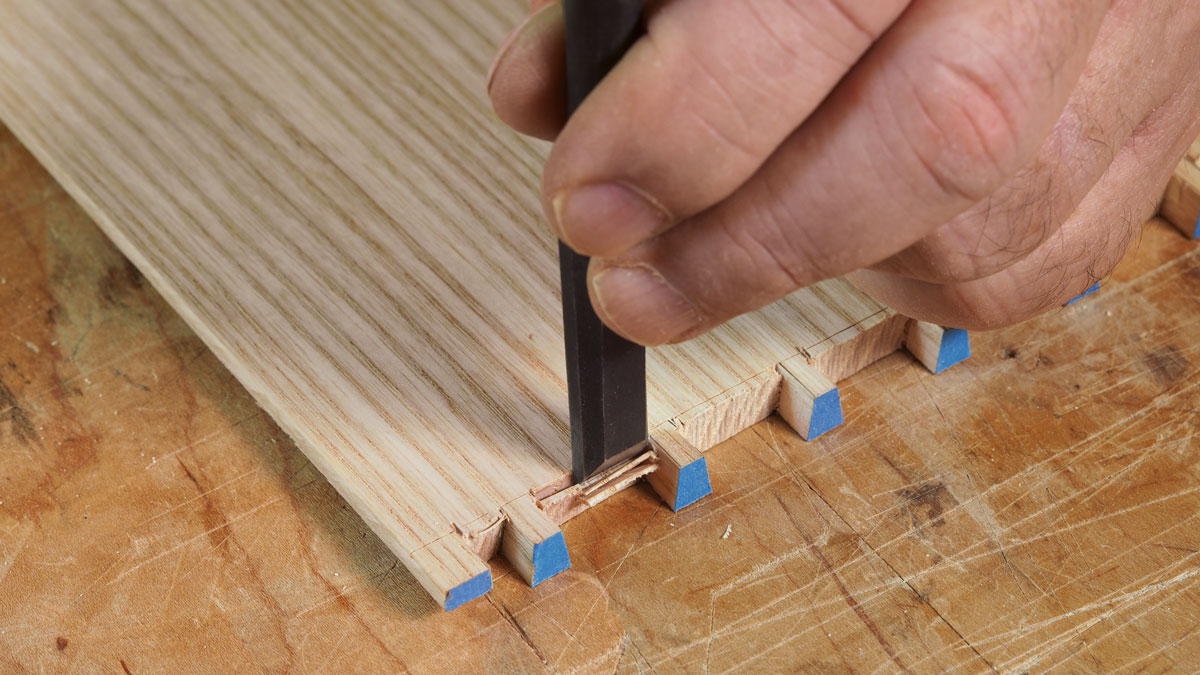
The last task is to remove the waste between sawkerfs. I cut out the majority of waste with a fretsaw, then chop to the baseline with a chisel. Another option is to rout to the baseline with a flush-trimming bit. This creates a nice flat baseline along the width of the board. If I’ll be routing, I still remove most of the waste with a fretsaw. For information on making a support stand for routing dovetails, see “All-in-One Workstation for Dovetails,” FWW #282.
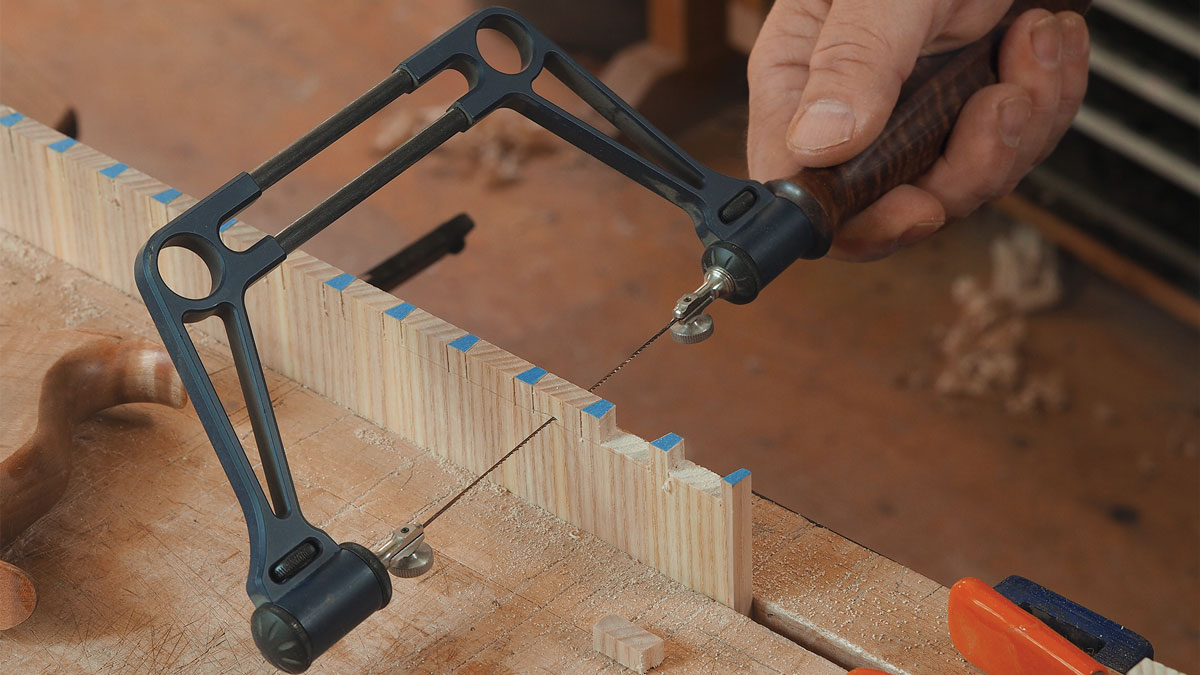
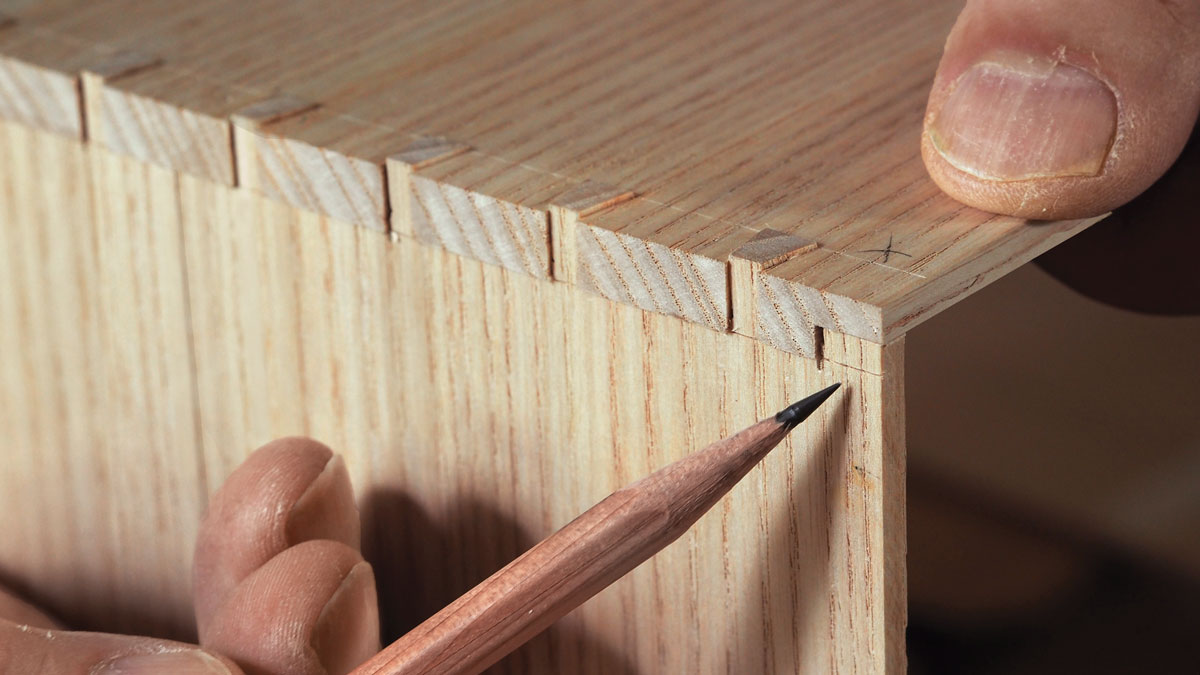
Cope out most of the waste. Use a fretsaw (or a coping saw) to remove the majority of the waste, staying just above the baseline. This makes getting down to the baseline easier and provides an opportunity to test the fit of the joint before moving on.
 |
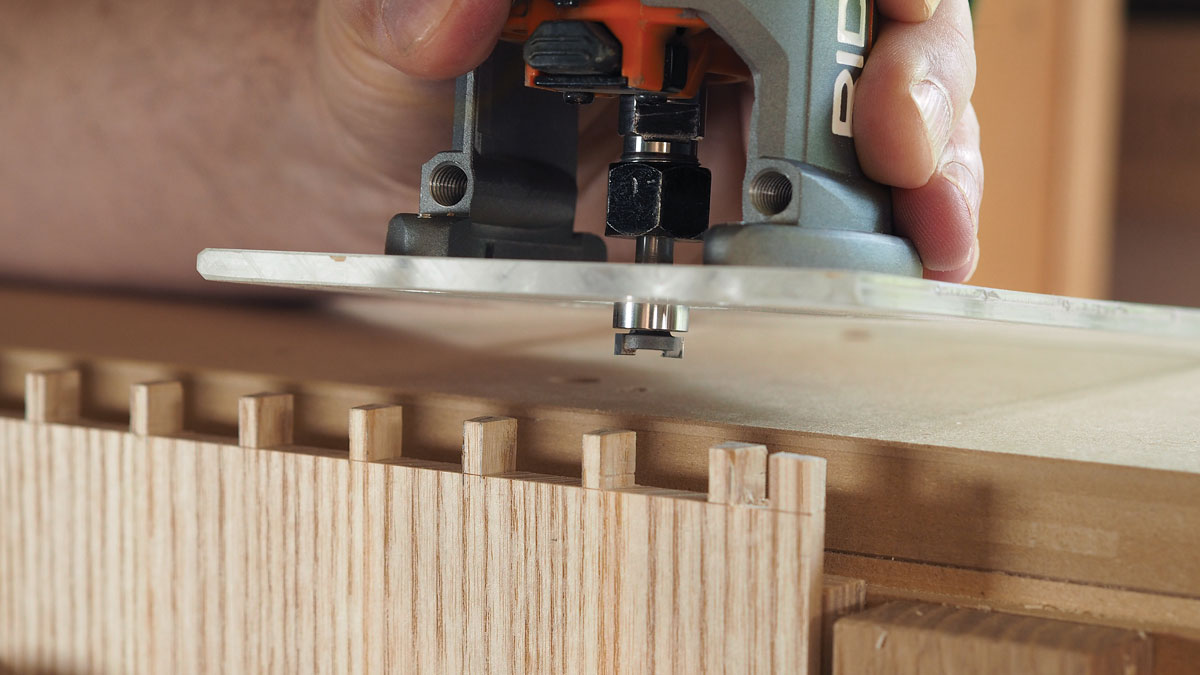 |
Two ways to get to the finish line. With most of the waste removed, you’ve avoided a lot of wear and tear on your chisel from heavy chopping. Now use the chisel to pare to the baseline. Another alternative is to rout to the baseline using a bearing-guided bit. If you don’t mind the noise and dust, a router makes quick work of the job.
From Fine Woodworking #285
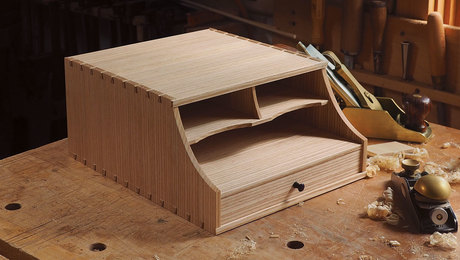 |
Make a dovetailed desktop organizerMike Pekovich’s efficient organizer not only has room for bills, receipts, stamps, and pens, but also holds a lesson in working thin. |
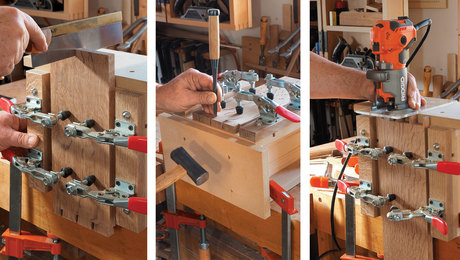 |
All-in-one workstation for dovetails |
 |
Fine Woodworking Recommended Products

Marking knife: Hock Double-Bevel Violin Knife, 3/4 in.
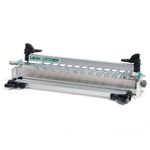
Leigh D4R Pro

Olfa Knife


Comments
I'm noticing that the top bearing bit in this photo seems to have a very short cutting length which is exactly what is required for not routing past the baseline when setting the bit projection so as to match the baseline. When I viewed top bearing straight bits for sale, I realized that most manufacturers didn't go below a cutter height of 1/2 or 9/16. That left little to no room for a bearing to ride against the pins without cutting past the baseline when using thin stock. Then I noticed something called top bearing mortising bits that had cutter heights from as little as 1/8 inch on up. Is that what Mike is using? It sure looks like it.
Log in or create an account to post a comment.
Sign up Log in