Mortise and tenon
In this classic from the archives, legendary furniture maker and teacher Tage Frid explains how to choose and make the basic mortise-and-tenon joint.
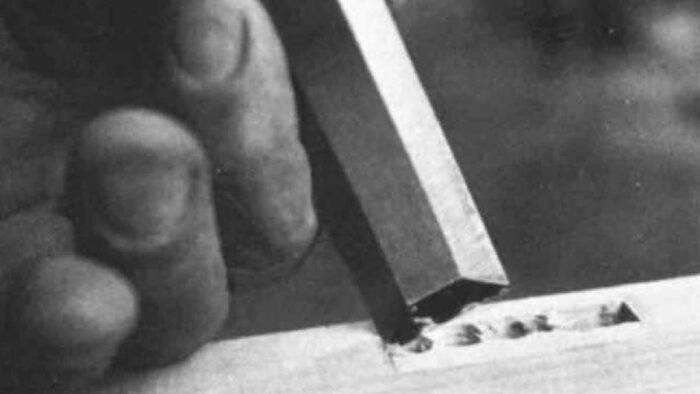
Synopsis: There are a great many variations of the mortise-and-tenon joint, writes Tage Frid, and the task of the cabinetmaker is to know which variation to use for a particular application and why, and then how to make it quickly and well. In this extensive article, he explains the history of the joint and basic differences between mortise-and-tenon types — lap joints, slip joints, haunched mortises, mitered haunched mortises, and more. He examines dozens of mortise-and-tenon joints and their associated strengths and weaknesses, and then explains how to make them with hand tools. Photos illustrate the steps involved.
Furniture construction is broken down into two categories — frame and casegood. Casegood construction uses joints such as dovetails, finger joints, spline miters, rabbets and the like. Frame construction depends on the mortise and tenon joint and is usually used in tables, chairs, paneled doors, windows, etc. There are a great many variations of the mortise and tenon joint, and the task of the cabinetmaker is to know which variation to choose for a particular application, and why, and then how to make it quickly and well.
The mortise and tenon is probably the oldest and certainly the most essential joint in woodworking. An Egyptian sarcophagus now in the British Museum was framed with mortise and tenon joints at least five thousand years ago. During the Middle Ages, the development of the mortise and tenon permitted the framing of chests. The elaborate variations of paneling led finally to a distinction between the two crafts of carpentry and cabinetmaking. In house construction the use of the mortise and tenon has quite disappeared. We no longer have the skill or the patience, nor can we afford the mortise and tenon for the framing of a house. Perhaps we do not expect our houses to endure for much more than a few generations. But we do still find esthetic and practical satisfaction in a well-constructed piece of furniture.
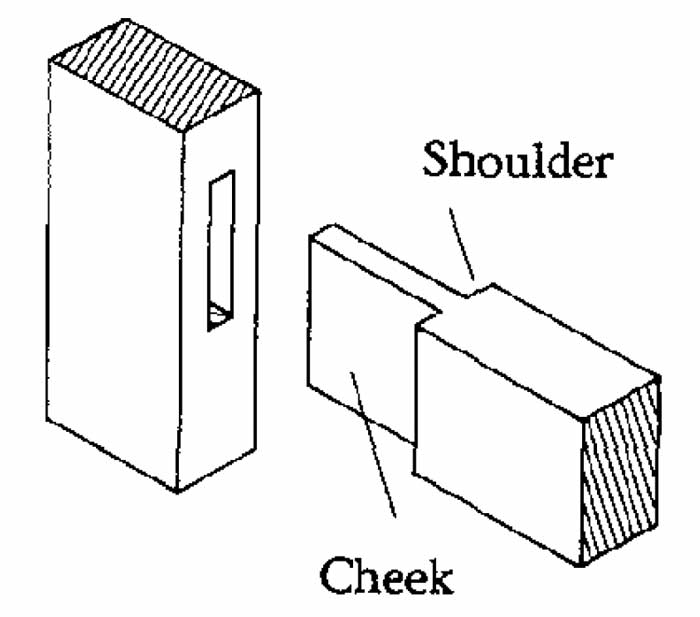
The strength of the mortise and tenon joint depends entirely on the interplay between the cheek and shoulder of the tenon, which is the projecting part of the joint. One can imagine two crossed boards glued together. Despite the holding power of the glue, they can be twisted apart relatively easily.
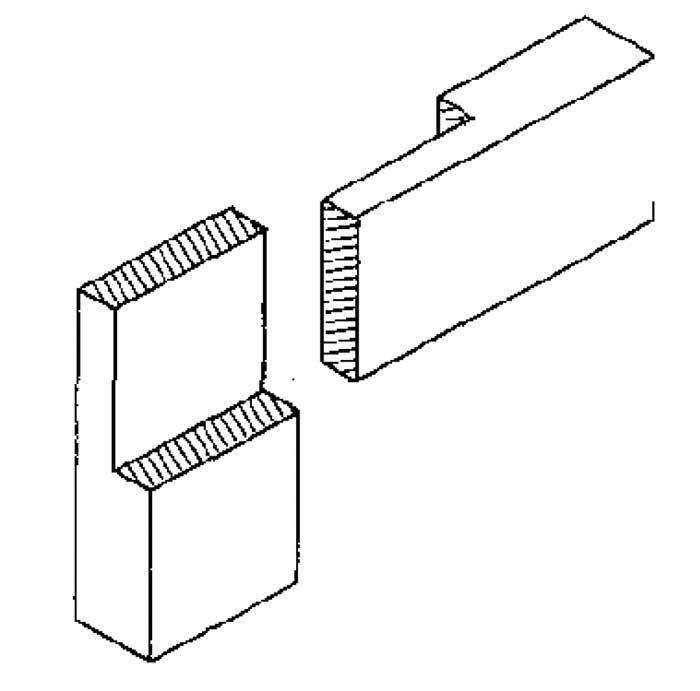
But connect them as a lap joint, and the strength is increased greatly because of the stop-action of the shoulders.
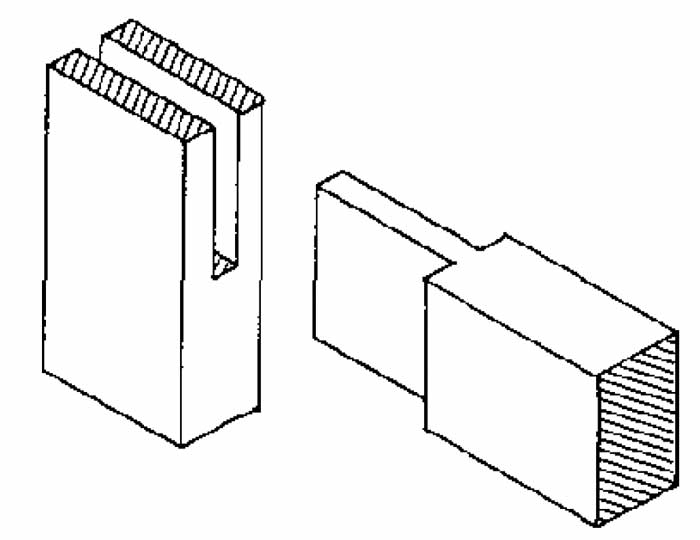
Now double the surface area of the glue by making a slip joint — a form of mortise and tenon — and we have an extremely strong joint that is easy to make and requires minimum tools.
The disadvantage of the slip joint is that not only do we have to clamp the tenon shoulder tightly against the mortise, (as in all mortise and tenon assembly), but we must use a second clamp to make sure the cheeks are glued to the mortise sides. Moreover, the tenon is completely exposed.
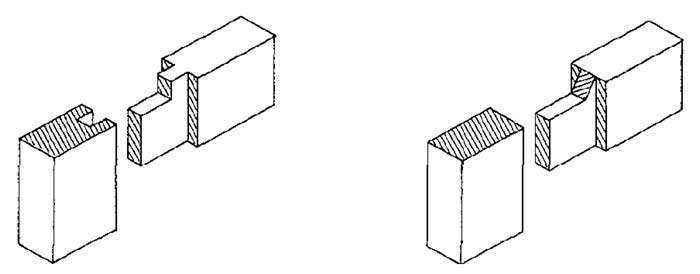
We get around these drawbacks by changing the slip to a haunched mortise, or to a mitered haunched mortise where the tenon is completely hidden. When designing a mortise and tenon joint, one should aim for the maximum glue surface. A tenon of about one-third the thickness of the stock is usually the best choice. If the tenon is thicker, the mortise sides become too thin; if the tenon is thinner, it becomes too weak. (But sometimes in table construction, where the leg is much thicker than the aprons, the aprons may have tenons half or more the apron thickness.)
To view the entire article, please click the View PDF button below:
Fine Woodworking Recommended Products

Starrett 4" Double Square

Drafting Tools

Sketchup Class



Log in or create an account to post a comment.
Sign up Log in