Perfect Dovetails on a Curve
Use nesting blocks to ease layout, clamping, and cutting of dovetails on mating curved parts.
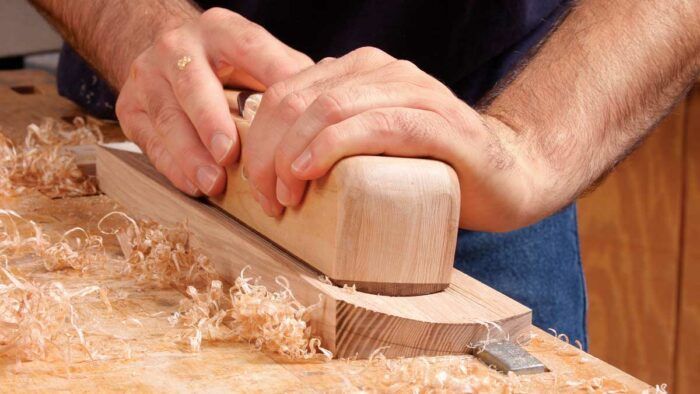
Synopsis: Say you are making a jewelry box with curved sides. Because both pieces are curved across their width, the ends are also curved. With no straight edges to register your square and bevel gauge against, how are you going to lay out and cut dovetails on those curved parts? These nesting blocks are the answer. With mating faces cut to match the profile of the workpiece, they nest together to hold it tightly while laying out, shaping the workpiece, and cutting dovetails.
Most woodworkers have cut dovetails to join two straight boards. Some have even used the joint to bring together a curved drawer front and a straight side. But confronted with two parts that are curved across their width—perhaps for the sides of a jewelry box—many would hesitate.
Because both parts are curved across their width, the ends are also curved. So, there are no straight edges for your square and bevel gauge to register against, which makes layout very difficult. There’s also no obvious way to clamp the bowed parts securely when you saw and chop the dovetails. And how do you keep the shoulders properly curved while cleaning out waste?
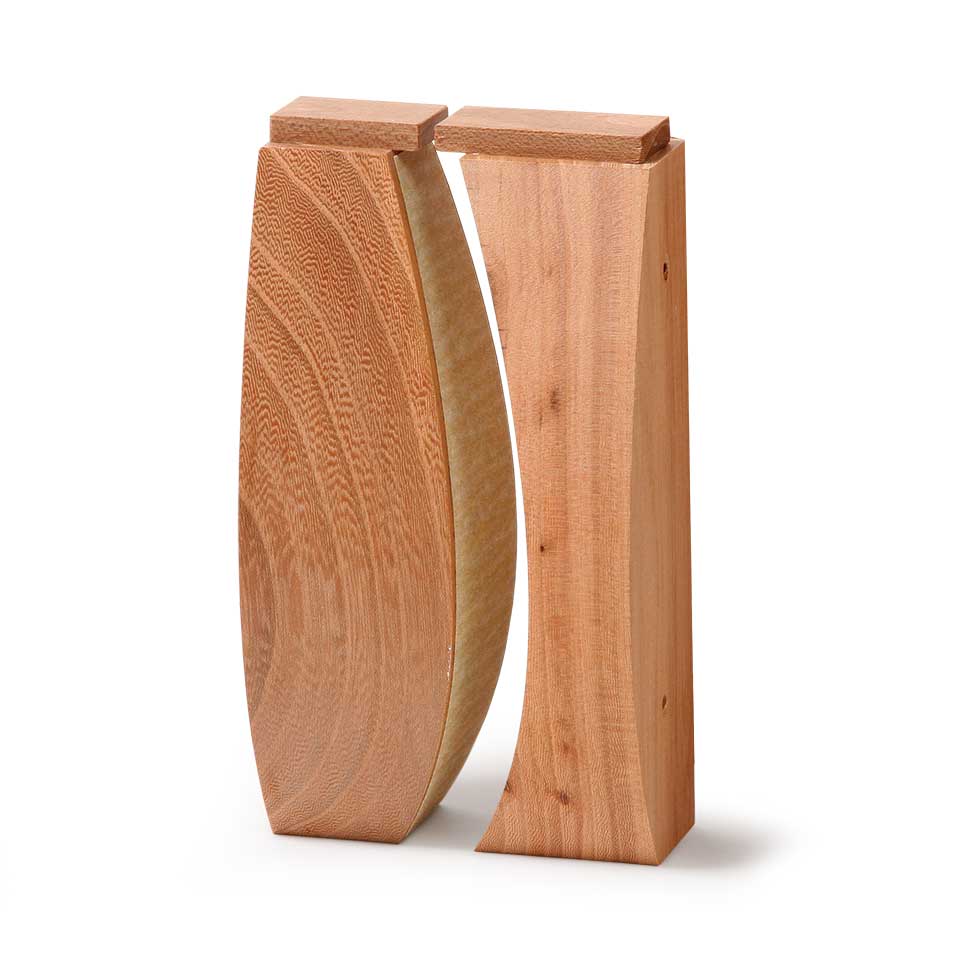
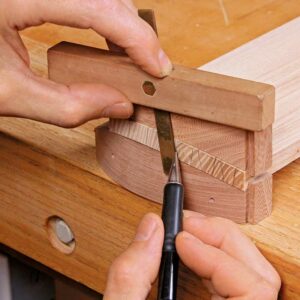
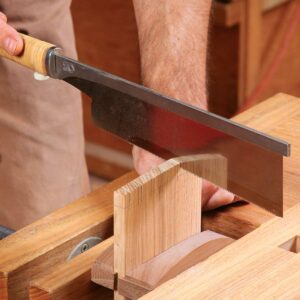
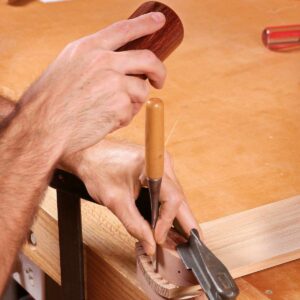
The answer is a pair of hardwood blocks that sandwich the workpiece. Each block has a straight edge that lets you lay out the dovetails. Nested around the workpiece, they can be clamped in a vise, so you can saw the pins and tails. Also, they can be used as a chisel guide when you’re cleaning out the waste. I’ll show you how to make and use the blocks, including some tips on laying out and cutting dovetails on curved parts.
Make the blocks
The blocks are used in pairs. One goes on the inside curve of the workpiece and has a convex face and edge to match its curved face and end. The other goes on the outside and has one convex side and one concave side. To make the blocks, you need two templates (opposite page), made from 1 ⁄2-in.-thick MDF. For an asymmetrical curve like the one shown, I rough-cut the curve at the bandsaw. Then I clean up and fair the curve with sandpaper attached to a flexible caul made from a few pieces of stacked posterboard. For symmetrical curves, I cut the templates with a router and a circlecutting jig.
After the templates are made, make the blocks. Trace the template’s curve onto the hardwood blank and rough it out at the bandsaw. Then trace and cut out the curve on the adjoining face (you may need to tape on the offcut to do so). To clean up the bandsaw cuts, screw the blank to the template and rout it flush.
|
A pair of these blocks gives you a straight edge for layout and clamping, and a curved one that helps you chop perfect shoulders.
|
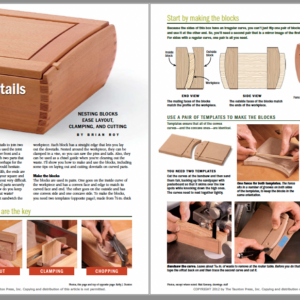 From Fine Woodworking #229
For the full article, download the PDF below:
Fine Woodworking Recommended Products

Veritas Precision Square

Olfa Knife
Leigh Super 18 Jig




Log in or create an account to post a comment.
Sign up Log in