Perfect Tenons by Machine
Fit tenons fast using the tablesaw and bandsaw.
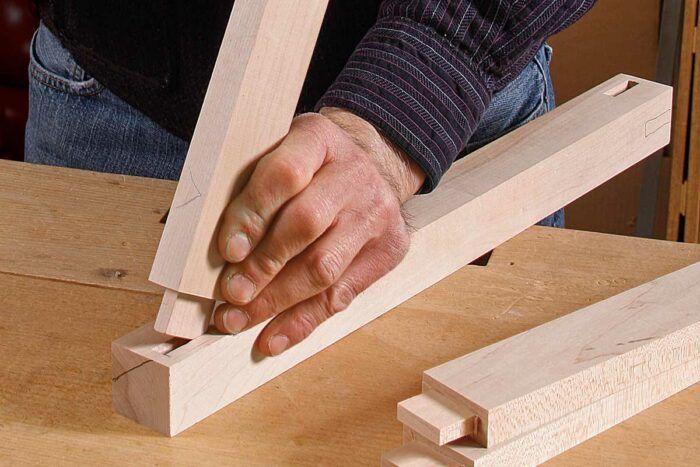
Synopsis: When you need to cut a lot of mortise-and-tenon joints, it can pay to take a page from Timothy Coleman’s book and treat the whole process as a production challenge. He cuts dozens of joints using this system and is able to get a perfect fit every time. Using test pieces for all the setup and fitting, he is able to dial in all the setups and turn out perfect tenons directly from the tablesaw and bandsaw.
When I cut mortise-and-tenons, I look at the job as a production process. Seldom is there just one tenon in a piece of furniture, so it is imperative that I have a way to ensure consistent, repeatable results.
Toward that end, I developed a system for cutting tenons on the tablesaw that allows me to move through the process quickly and efficiently. All the setup and fitting is done with test pieces. Once I get the setup dialed in, I can crank out the tenons in bunches, and all of them will fit right off the saw, with very little fine-tuning by hand.
Make extra stock for test pieces
The process begins with a full-size layout on paper. I draw several views showing the joinery in plan and elevation. With the drawing in hand, I mill all stock to dimension, including plenty of extra for test pieces to set up all the cuts. Accurate tenons begin with accurate milling. Consistent thickness is especially critical, and I wait to do any hand-surfacing until all the joinery is done. I cut all the mortised parts to length, but I treat the tenoned parts differently.
If the tenon length varies, I cut the parts so that all the tenons can be machined to the same length at first, with the shorter ones cut to final length later. This takes a little planning to make sure the shoulders end up in the right place, but it saves me from having to adjust the blade height for different tenon lengths. Make sure the ends are square across in thickness and width. If needed, adjust the blade tilt and crosscut device to correct them.
Cut the mortises first
I cut mortises first, typically with a hollow-chisel mortiser. While I’m cutting the mortises in the real stock, I also cut two extra mortises in test stock. I cut two because repeated test fittings in the same sample mortise will begin to enlarge it and give an inaccurate fit. Once all the mortises are done, you can start on the tenons. By the way, I cut the joinery before I do any shaping of the parts.
Tenons next, starting with the shoulders
Because I cut the tenons all to the same length, I have to do the layout only on a couple of test pieces. That said, I do scribe the shoulders on all the parts, which reduces tearout from the tablesaw cuts.
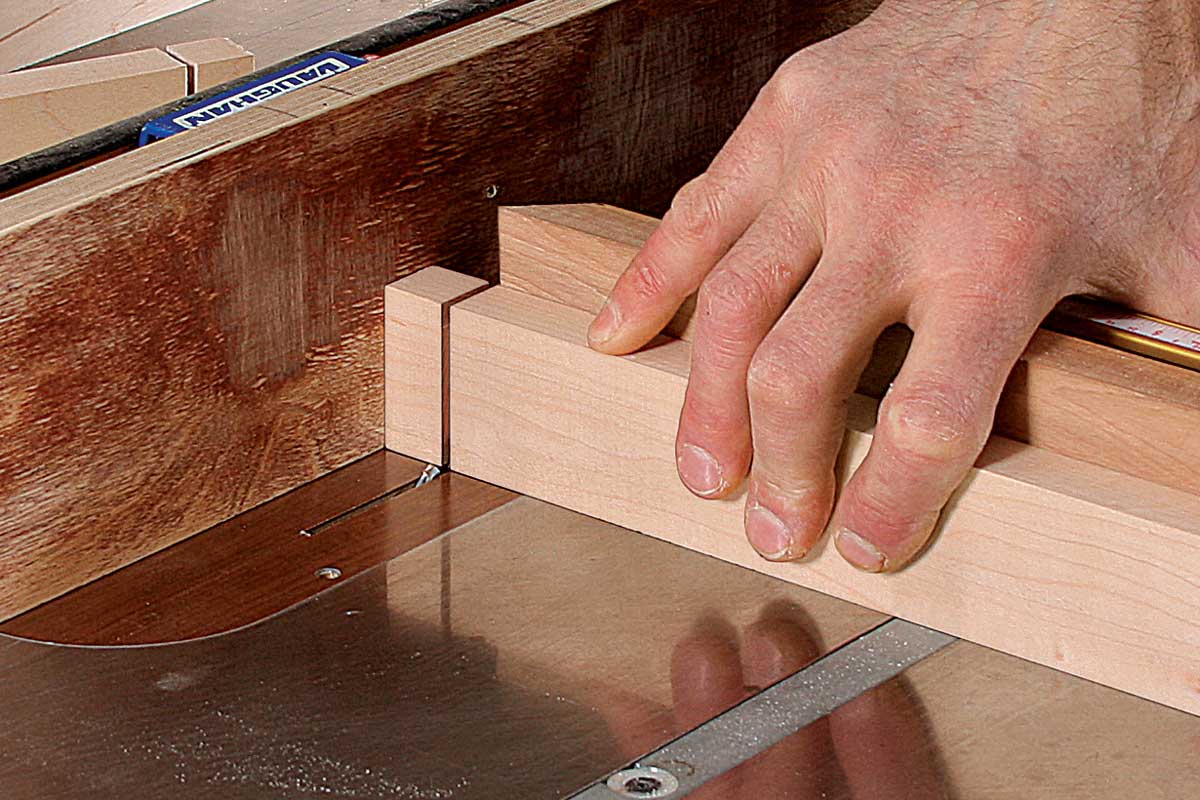
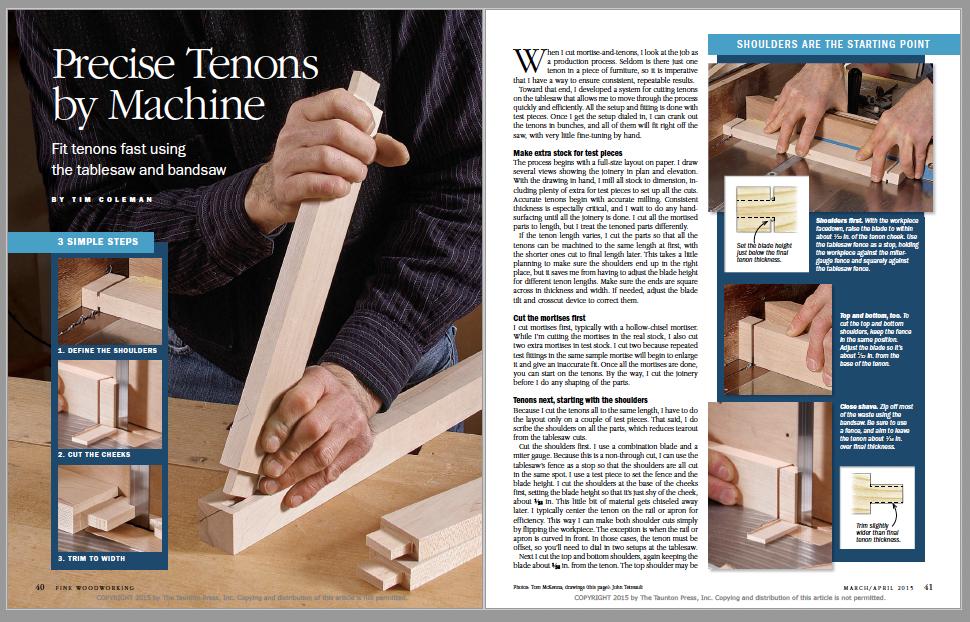
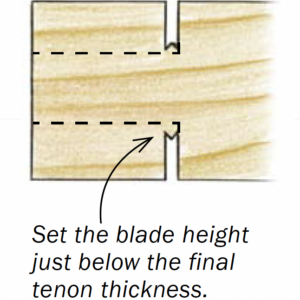
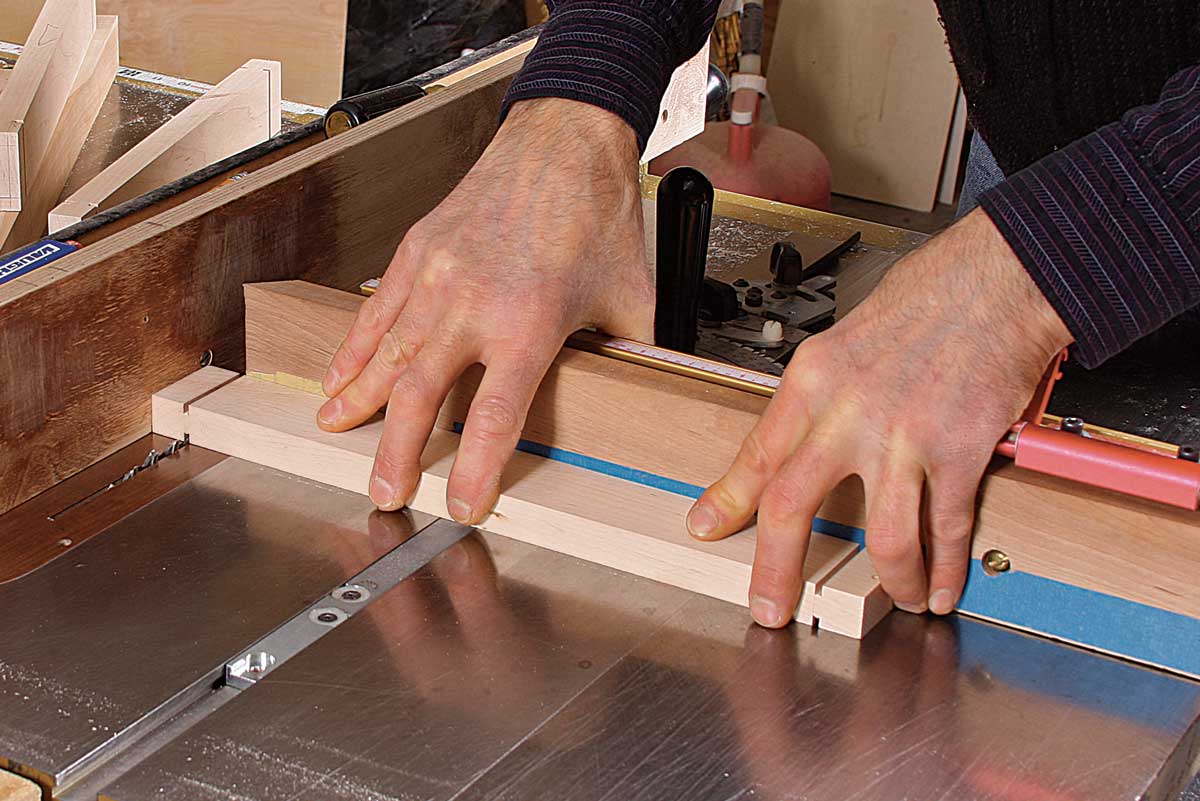
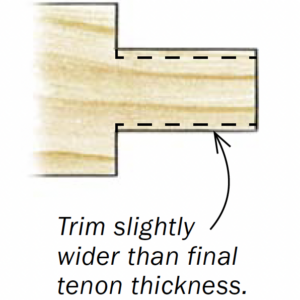
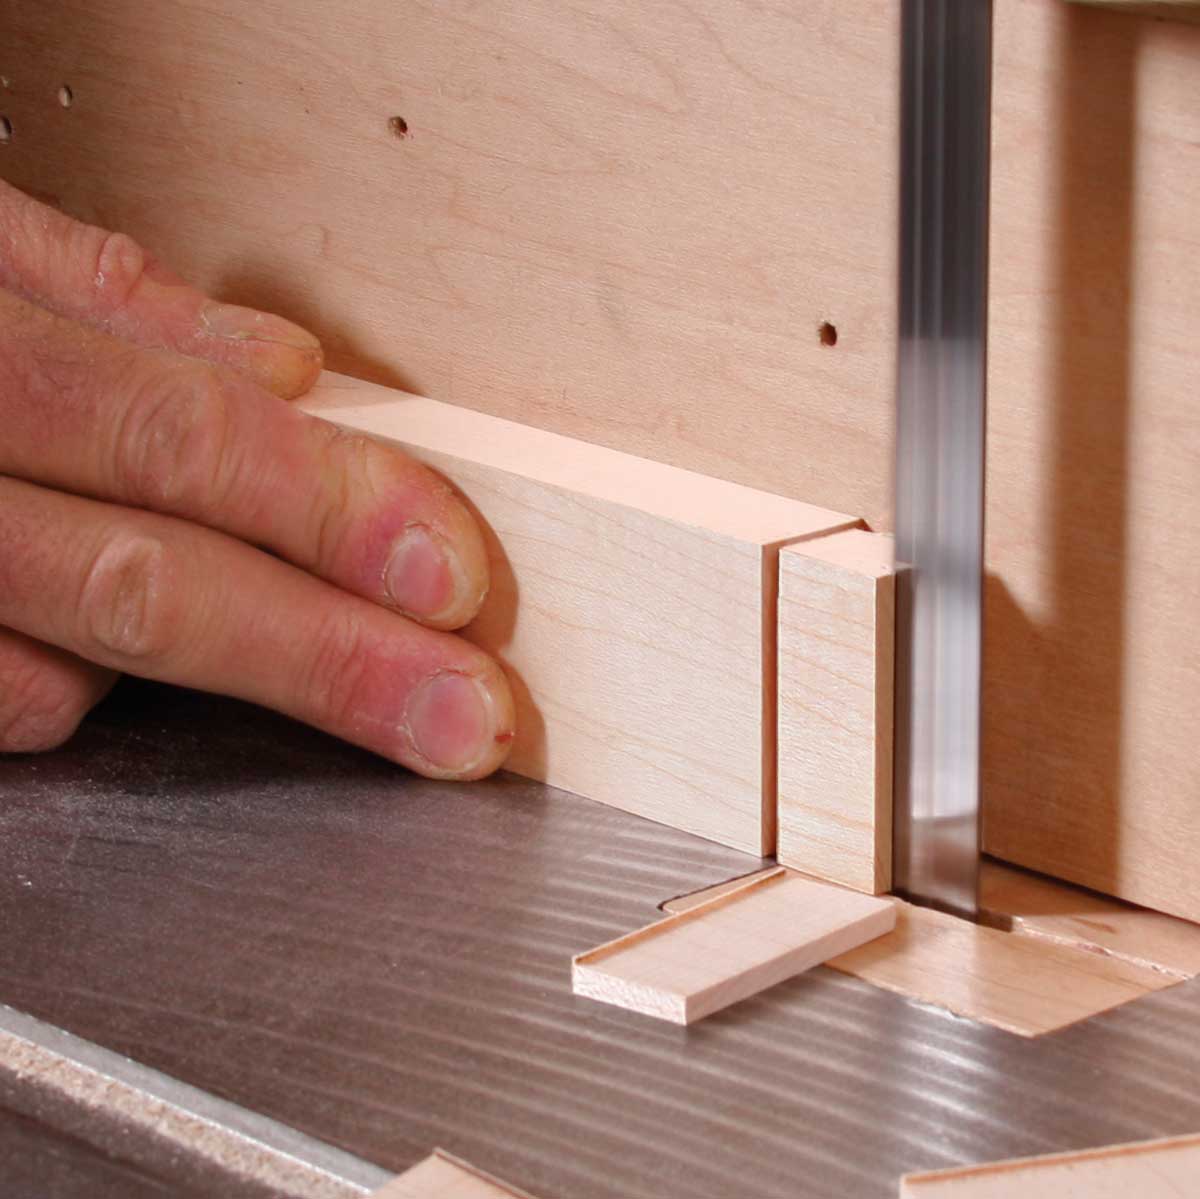
Cut the shoulders first. I use a combination blade and a miter gauge. Because this is a non-through cut, I can use the tablesaw’s fence as a stop so that the shoulders are all cut in the same spot. I use a test piece to set the fence and the blade height. I cut the shoulders at the base of the cheeks first, setting the blade height so that it’s just shy of the cheek, about 1⁄32 in. This little bit of material gets chiseled away later. I typically center the tenon on the rail or apron for efficiency. This way I can make both shoulder cuts simply by flipping the workpiece. The exception is when the rail or apron is curved in front. In those cases, the tenon must be offset, so you’ll need to dial in two setups at the tablesaw.
Next I cut the top and bottom shoulders, again keeping the blade about 1⁄32 in. from the tenon. The top shoulder may be deeper than the bottom and require a change in the depth of cut. For efficiency and consistency, make all the cuts with one setup before moving on to the next: That means cut the top shoulders in all the parts, then the bottom shoulders, or vice versa.
Shoulders are the starting point
|
From Fine Woodworking #246
For the full article, download the PDF below:
Fine Woodworking Recommended Products

Veritas Precision Square
Ridgid EB4424 Oscillating Spindle/Belt Sander
Rockler Dust Right 1250 CFM




Comments
Problem: Cutting duplicate board pieces with a tenon each end. The shoulder to shoulder distance between pieces never seems to be the same. If all the board lengths were exactly equal, then theoretically, all the shoulder to shoulder distances would be the same. Never works out that way for me. At assembly, at least one of the shoulder to shoulder distances is either to long or to short. To long can be fixed, to short scrap and start over.
Log in or create an account to post a comment.
Sign up Log in