
Tackle full-length rabbets at the table saw
Learn how to cut rabbets with a dado set on the tablesaw.
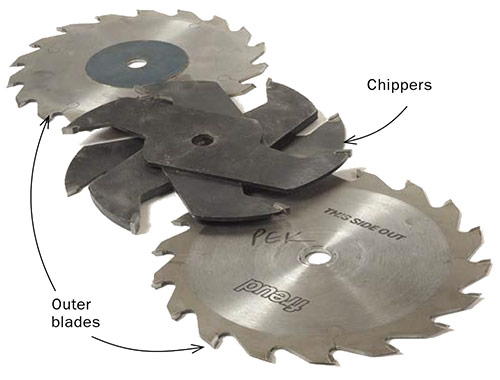
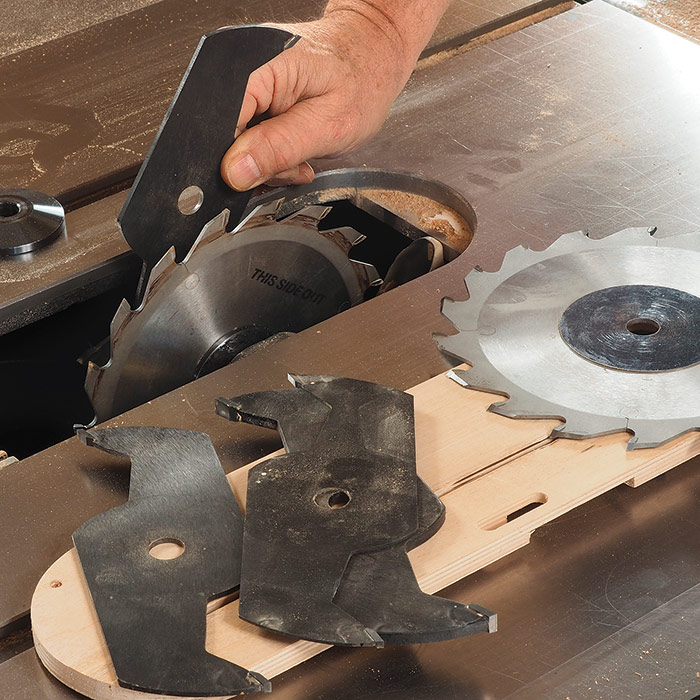
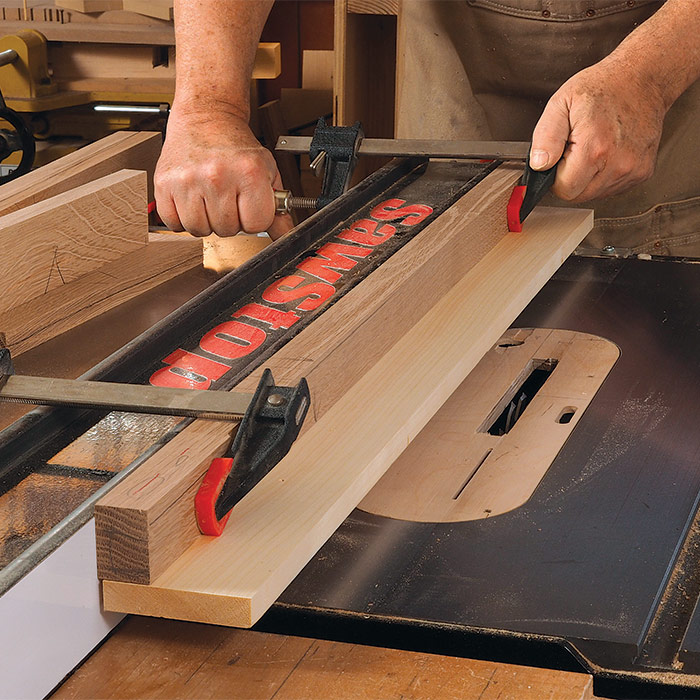
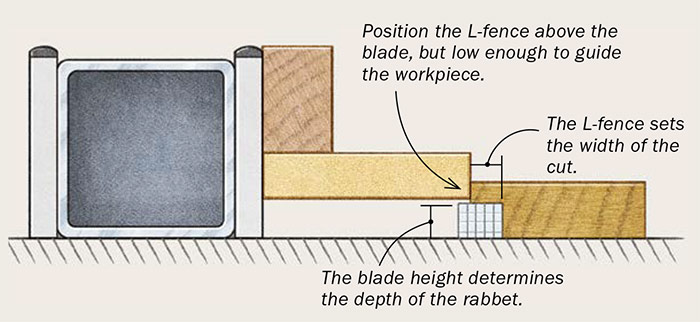
Begin by adjusting your dado set for a cut wider than the intended rabbet (1). Then clamp an L-fence to your rip fence, positioning it just above the blade (2). You don’t want the blade to contact the L-fence, but it should be low enough to support the workpiece along the entire cut. Make sure that it is level front to back as well. It’s easiest to set the height of the blade before sliding the fence into its final position.
 |
 |
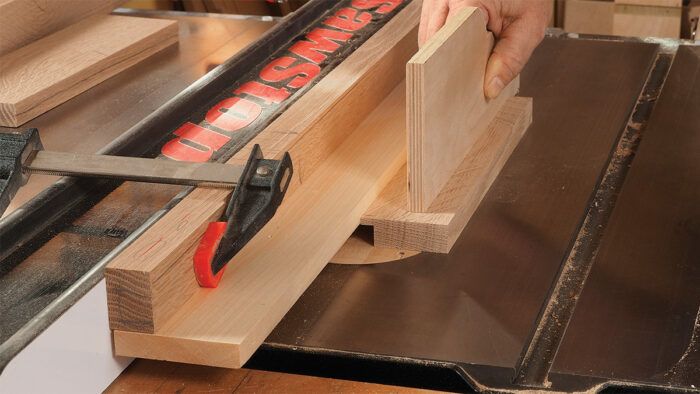
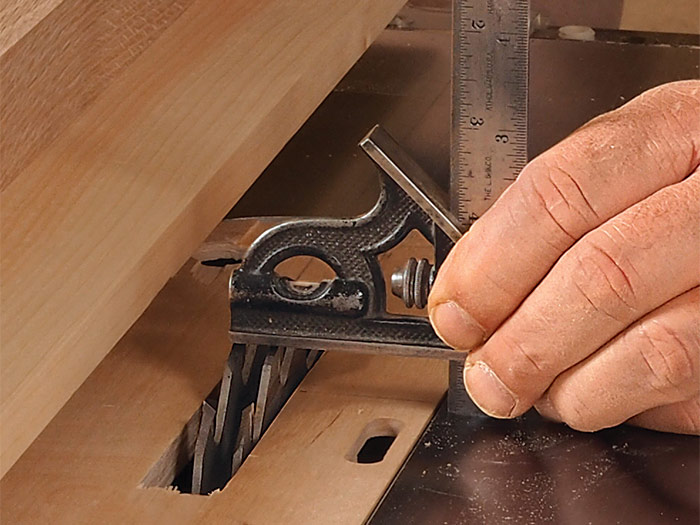
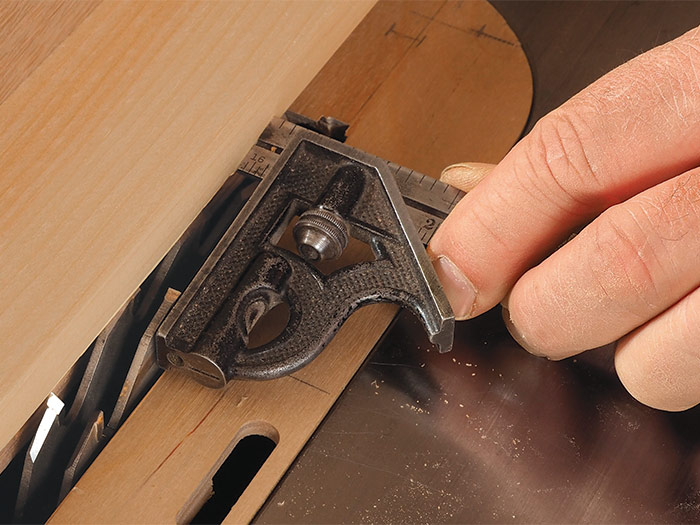
Use a combination square to set the blade height, which will determine the depth of the rabbet (3). It is important that the square sits on the tablesaw top and not the insert, which may not be level with the table. Then reset the square to the width of the rabbet and use it to set the fence location (4).
 |
 |
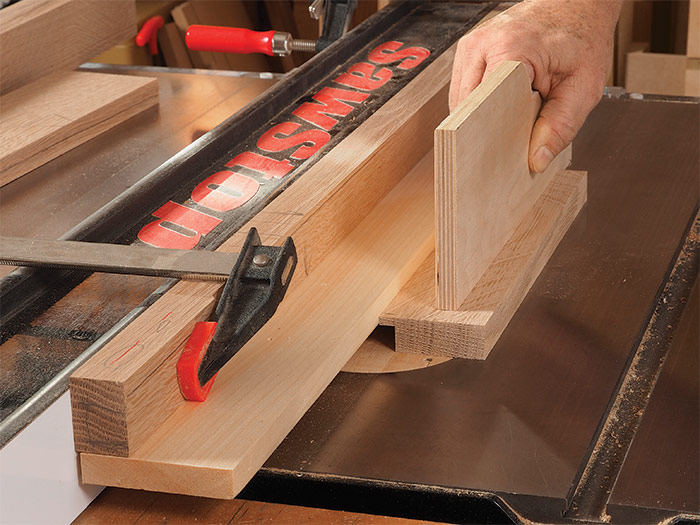
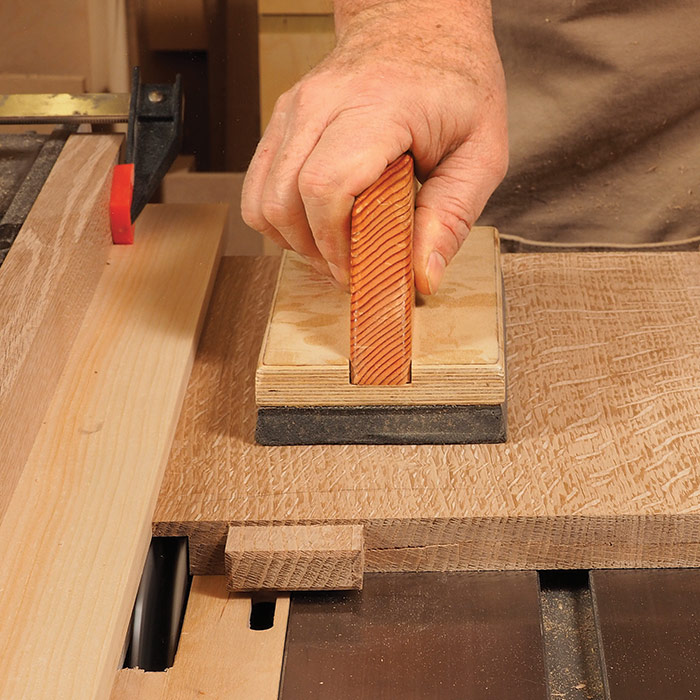
Now you’re ready to cut a rabbet. For long, narrow parts, use a long push stick to keep downward pressure along the length of the part (5).
Use a push pad for panels:
 |
Excerpted from Foundations of Woodworking (The Taunton Press, 2021) by Michael Pekovich.
Available in the Taunton Store and at Amazon.com.
Fine Woodworking Recommended Products

JessEm Mite-R Excel II Miter Gauge
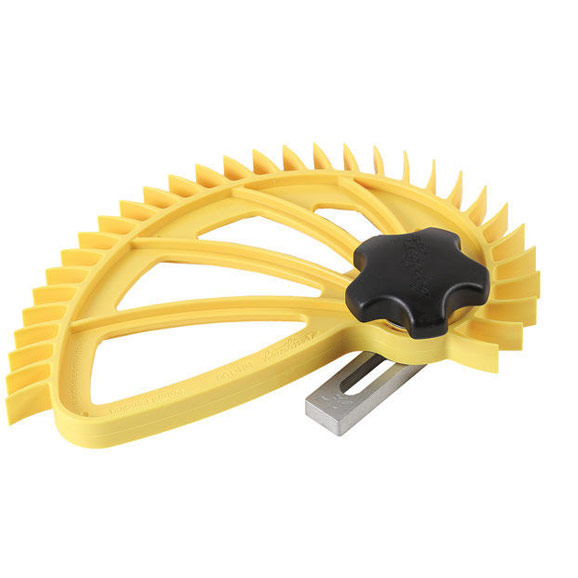
Hedgehog featherboards
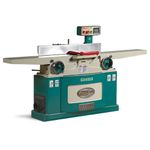
Grizzly G0495X Industrial Helical Cutterhead 8-in. Jointer


Comments
How can we make it tight when the screw loose?
i'm the founder of hayat carpentry
Log in or create an account to post a comment.
Sign up Log in