Tapered Sliding Dovetails by Hand
Specialty plane helps cut a self-locking dovetail joint.
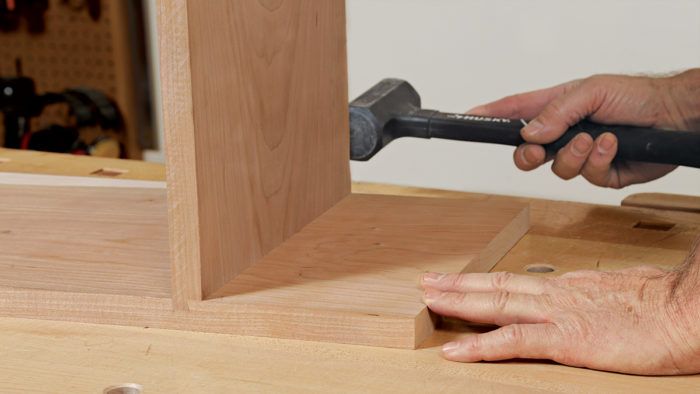
Synopsis: Often used in partitions and to join fixed shelves to cabinet sides, sliding dovetails are a useful joint that can sometimes be frustrating to fit. Chris Gochnour prefers the tapered variety because it is easier to slide in from the back yet still fits tightly at the end of the socket. Learn how to size one and cut it by hand with a dovetail plane.
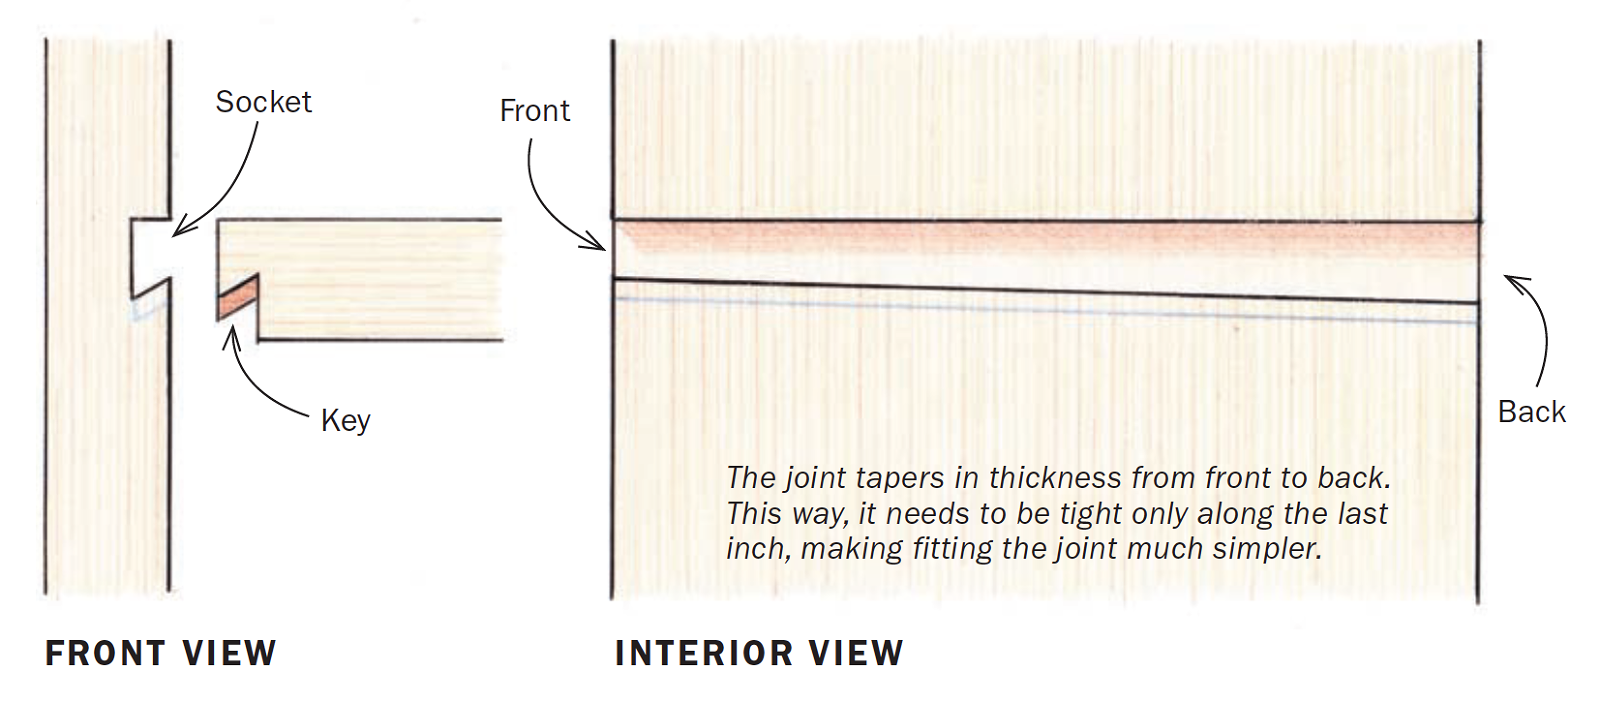
Sliding dovetails are a very useful joint in furniture making. I like to use them for partitions and fixed shelves in cabinets. Getting standard sliding dovetails to fit snugly along their whole length without seizing can be frustrating, however. That’s why I taper the joint, making it narrower at the front than the back. This enables me to slide the key in from the back with ease until the very end, when it firmly tightens in the socket.
These joints are quick to cut by han, and require a modest tool kit. In addition to some chisels and a saw, I use a dovetail plane to form the key, and a router plane to finish the socket. To guide my saw when cutting the socket walls I use a shopmade batten, which is square on one side and beveled to match my dovetail plane on the other. I typically make sliding dovetails as through-joints and conceal them with a face frame, as I did on the cabinet shown below. But making a stopped version doesn’t require much more work.
Lay out and cut the socket
Start layout with the socket. The top line is square across the case side. The bottom one is angled to create the 1/4-in. taper. The dimensions of the tapered socket in the drawing (left) assume a 3/4-in.-thick by 12-in.-wide shelf; if the shelf is thinner or thicker, I recommend keeping the taper at least 1/8 in. over this span.
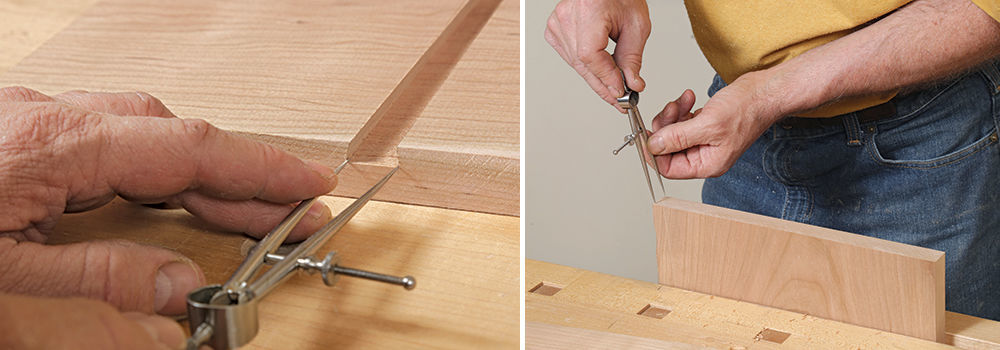
When transferring the layout marks from the face of the workpiece to the edges, use a square for the top line and a bevel gauge set to the angle of your dovetail plane for the bottom line. Scribe the socket’s depth last.
Now it’s time to cut the joint. I clamp my shopmade batten to the case side when sawing the socket walls. The batten is 11/2 in. thick by 21/2 in. wide, and 2 in. to 3 in. longer than the workpiece is wide. One edge is square and the other is beveled to the angle of my dovetail plane.
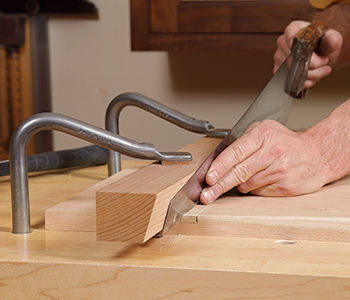
I hold the plate of my saw tight to the batten when cutting both the square and angled kerfs for the two walls, and then I remove the waste with a paring chisel and router plane.
Lay out and cut the key
To ensure the key fits snugly in the socket, pull dimensions from the socket itself when laying out the key. Use dividers, setting them to the width of the bottom of the socket at the front and back edges of the case side. Transfer these dimensions to the end of the shelf and connect them with a straightedge. Scribe the key’s shoulder last.
I cut the key with a dovetail plane, setting the fence to the depth of the joint’s shoulder. Before the first pass, draw the plane backward to score the cross-grain fibers with the scoring cutter. Take a few full-length passes to establish the shoulder before tapering your cuts.
I test the fit when I am just shy of the pencil line. Stopping short now lets me nail a perfect fit later. When you can push the joint together so the key is about 1 in. shy of the front, tap it home with a mallet. You can glue the joint, but it’s not necessary. When you fit the shelf’s other end, be sure the joints seat simultaneously.
Stopped dovetail for sleeker look
If you want to hide this joint but don’t want a face frame, try the stopped version. Layout and execution are nearly as simple as they are for the through-dovetail.
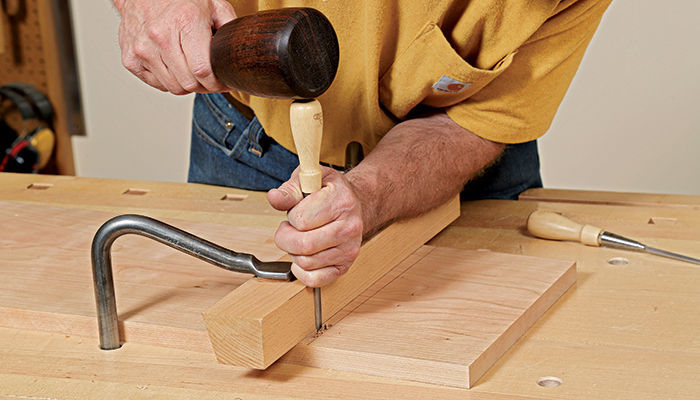
Lay out the socket as you did the through version. Since the joint is stopped, scribe the depth of the socket only on the back edge of the case side. Next, chop a mortise at the front of the socket to give the toe of your saw a place to travel when you cut the socket walls. Use the batten as a guide when paring the cheeks of the mortise. Cut the rest of the socket as you did the through-dovetail.
To lay out the key, scribe the shoulder lines on the face and edges of the shelf. Use dividers again to transfer the width of the socket at its wide end to the shelf.
You’ll need a different tactic for the narrow end. First, set the dividers to your layout lines at the narrowest part of the socket. Transfer this dimension to the scribed shoulder line at the front edge of the shelf. Then, using a bevel gauge set to the dovetail angle, pencil a line from the divider mark at the shoulder to the end grain. Use a straightedge to connect this line to the divider mark at the other end of the key.
Use a plane to cut the joint. Saw off a notch at the front and then begin fine-tuning the fit.
 From Fine Woodworking #274
To view the entire article, please click the View PDF button below.
More on Finewoodworking.com:
- Hot-rod a plane for sliding dovetails by Tim Rousseau
- Ep 4c: Handcut Rabbets and Dovetail Fitting by Chris Gochnour
- How to Cut Sliding Dovetail Joints by Gary Rogowski #190–Mar/April 2007 Issue
- Video Workshop: Enfield Cupboard with Hand Tools featuring Chris Gochnour
Fine Woodworking Recommended Products

Marking knife: Hock Double-Bevel Violin Knife, 3/4 in.

Stanley Powerlock 16-ft. tape measure

Veritas Precision Square


Comments
Mr. Gochnour,
While waiting for my Ulmia dovetail plane to arrive from Germany, I've been thinking of making a batten with a 17 degree angle like yours. I've also been wondering and searching the internet, does anyone make a dovetail router bit with a 17 degree cutting angle?
Thanks.
Log in or create an account to post a comment.
Sign up Log in