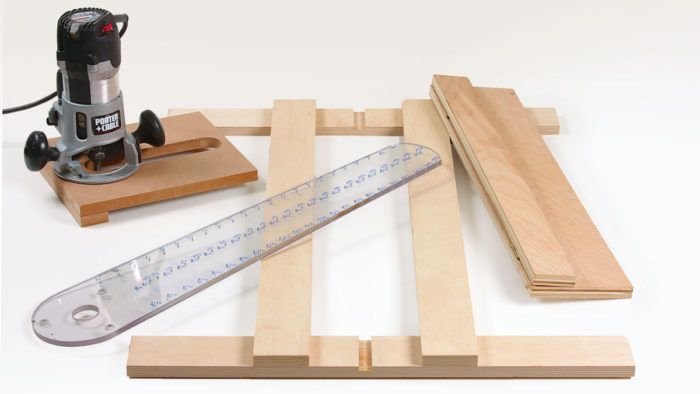
4 Jigs for a Fixed-Base Router
How to build the most useful router jigs for your workshop.

Synopsis: A fixed-base router will likely be the first one you buy, and it’s ideal for use with a variety of jigs. From a simple straightedge with a flip-up fence to a shopmade edge guide, circle jig, and dado/dovetail jig, woodworking teacher Marc Adams shows you how to make and use four valuable jigs that will ensure you get the most from your fixed-base router.
 It’s not uncommon for a woodworker to own several routers—like dollars in the bank, you can never have too many. However, a fixed-base router should be the first one you buy. even if you own a plunge router, I still think you need a fixed-base model.
The standard midsize version is relatively lightweight, easy to manipulate, adaptable to almost any kind of fixture, and can be mounted in a table. Compared to plunge routers, a fixed-base router’s center of gravity is much closer to the cutting action, and so are its handles. This makes it easier to control for most tasks, and it’s why most of my jigs are made for this type of router.
As I point out in “Fundamentals: Your first router”, every router needs some kind of positive guidance. The simplest system is a bearing, mounted on the router bit, which rides the edge of a workpiece. This is where most people stop with fixedbase routers, using them with bearing-guided profile bits to mold the edges of tabletops and drawer fronts. but there is much more these versatile routers can do. Jigs are the secret, and here are a few of my favorites.
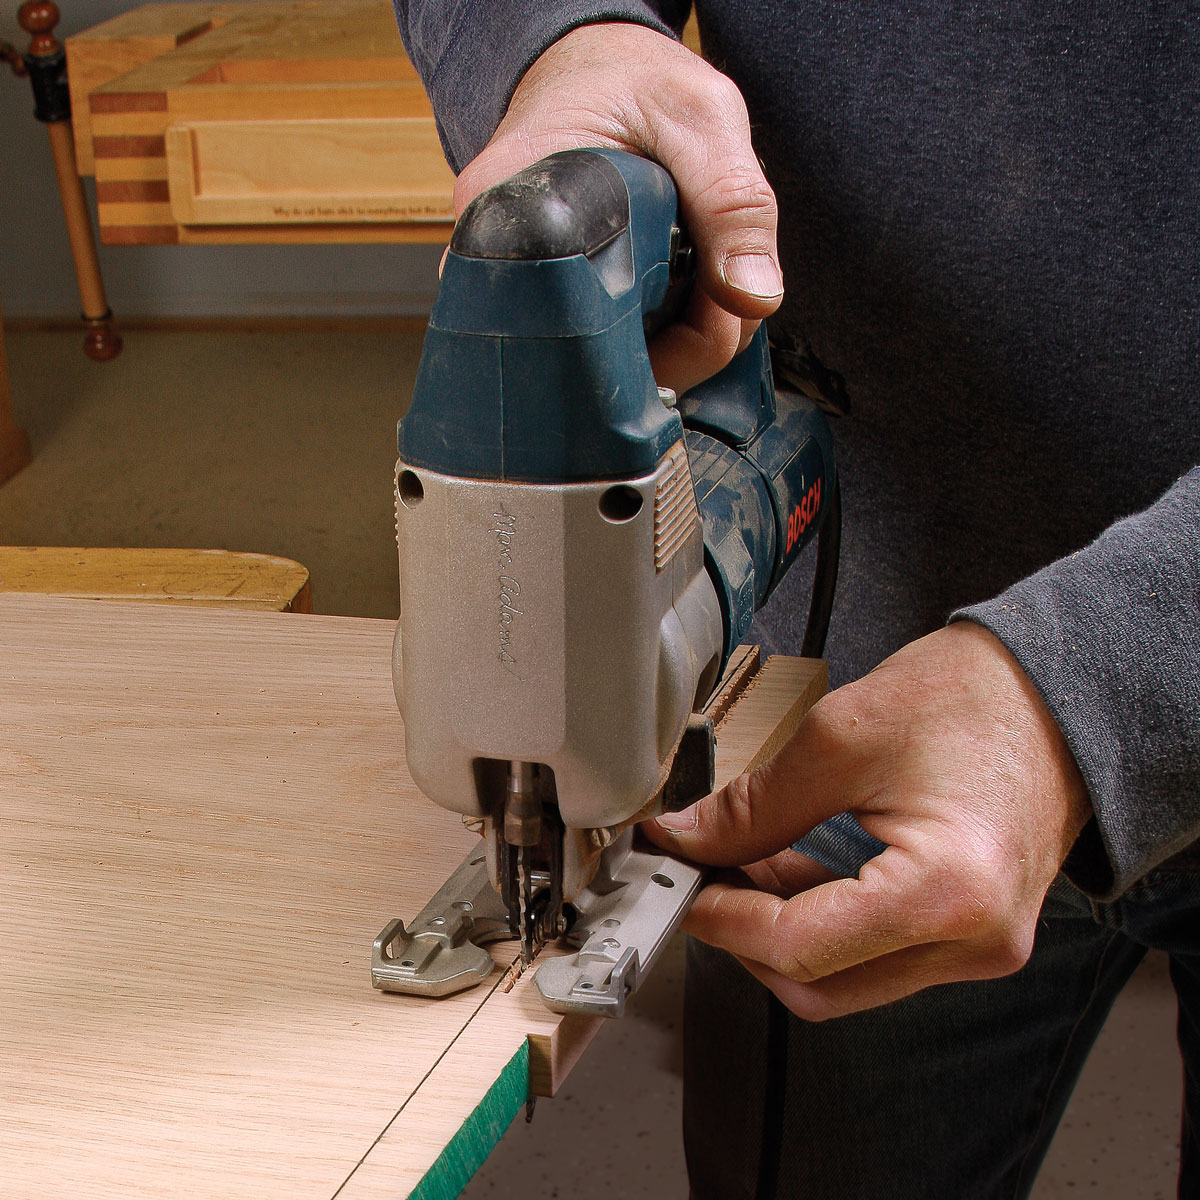
Hinged straightedge has setup built in: One way to guide a router is to run the base against a fence. This works best for straight cuts. Many woodworkers use a board with a straight edge for this purpose. A common job for this fence is trimming the ends of a tabletop that is too wide for your tablesaw’s crosscut sled. To position the fence accurately, you need to measure the distance between the edge of the router base and the edge of the bit you are using, and then position the fence exactly that distance from your layout line.
My version of a straight fence makes setup fast and automatic. It has a hinged section that exactly equals the distance between the edge of the base and the cutters on my favorite 1⁄2-in.-dia. straight bit. You have to measure that distance only once, and rip the hinged section of the jig to that exact width. After that, setup is a breeze. You flip down the hinged part of the fence, line it up with your layout marks, and clamp down the back of the jig. Then you just flip up the front part and rout, knowing the cut will be right on the line.
 From Fine Woodworking #242
For the full article, download the PDF below.
Fine Woodworking Recommended Products

Festool Cleantec CT 26 E HEPA Dust Extractor

Jorgensen 6 inch Bar Clamp Set, 4 Pack

Bessey EKH Trigger Clamps


Log in or create an account to post a comment.
Sign up Log in