Bandsaw or Table Saw?
Furniture maker Mike Farrington shows off a few of the creature comforts that make the bandsaw his favorite tool.
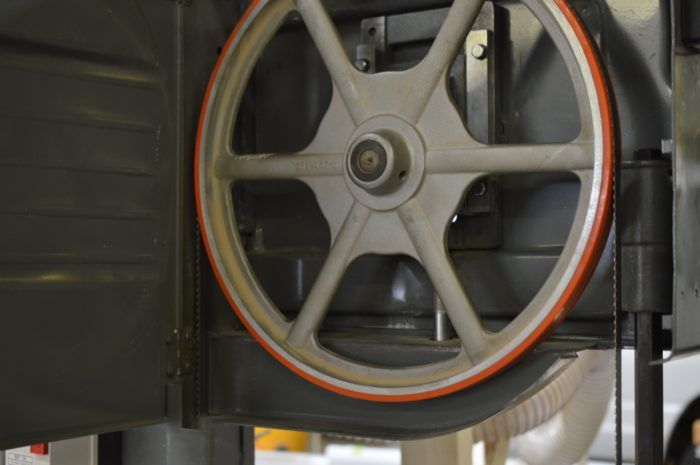
It’s mid July here in Colorado. That means hot temperatures, mowing the lawn, and working indoors on my house. I try to take a few weeks during the hottest time of the year to head inside and build some sweat equity. So what do smooth texture drywall, can lights, and crown molding have to do with a Fine Woodworking blog post? The answer is nothing. However, during this remodel I’ll be using my very favorite tool, the bandsaw, to make all of the doors, door trim, and window casing. I thought it would be useful to share my opinions on the bandsaw as a tool for ripcuts.
As the years go by, my tablesaw gets used less and the bandsaw gets used more. When I first got a bandsaw I thought all it could do was cut curves and make bandsawn boxes. Later I learned how to resaw veneer and, in doing so, I spent quite a bit of time setting up the saw to cut as straight and square as possible. After getting the saw tuned just right, I realized it would cut as straight and true as my tablesaw. The only real difference is that the cut quality is (let’s call it) fuzzier on the bandsaw, but if you think about it, a tablesaw still leaves a surface that needs attention before finish is applied. In my experience, a tablesaw leaves a surface that needs two swipes from a handplane and a bandsaw leaves a surface that requires three or four swipes. Not that big of a difference.
So if a bandsaw can cut parallel to an edge and square to the table, wouldn’t it be the best tool for ripping wood? My position is yes, especially if you set it up correctly and add a few extras to make things comfortable. Michael Fortune has a great video on the basics of setting up a bandsaw. I have learned many bandsaw tips from Michael.
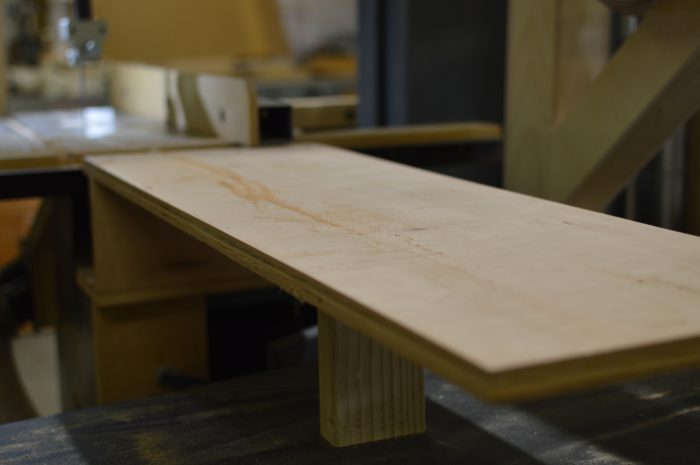
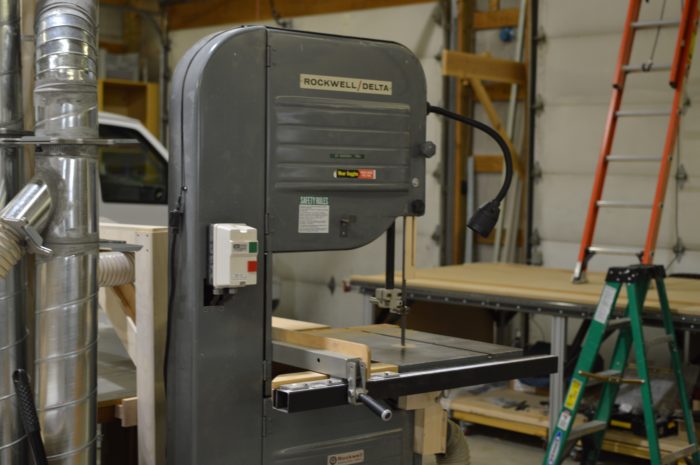
After the basic adjustments, I find the next most helpful add-on is an outfeed support. Bandsaws typically have small tables, which make ripping longer stock challenging. Here is a look at the “temporary” setup on my saw. It’s well over a year old and I don’t know when I will have time to make the permanent version, but this one is working great. I can comfortably rip 8-ft. workpieces and, with a little effort, 10 ft. isn’t too big of a deal. Michael Fortune also has a tip where he attached an outfeed roller to his bandsaw and it flips in and out to save space. Genius if you ask me.

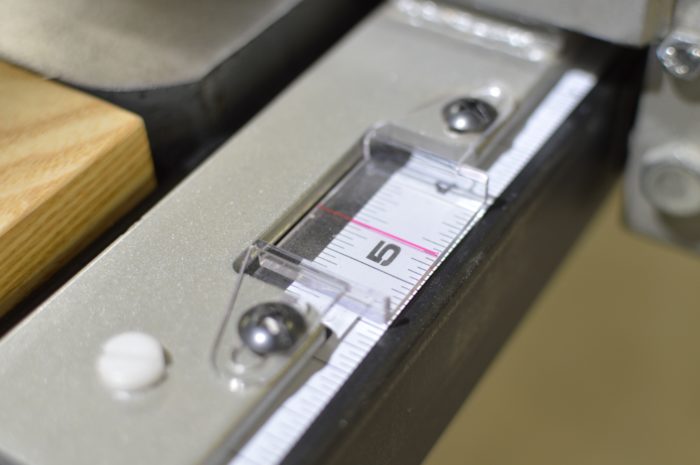
Next on my list is a good fence that can be adjusted to run parallel to the cut. This happens to be a tablesaw fence I repurposed, but any adjustable fence will do.
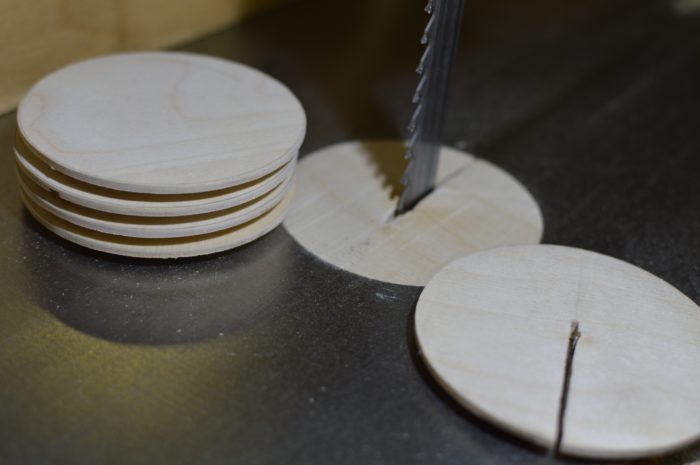
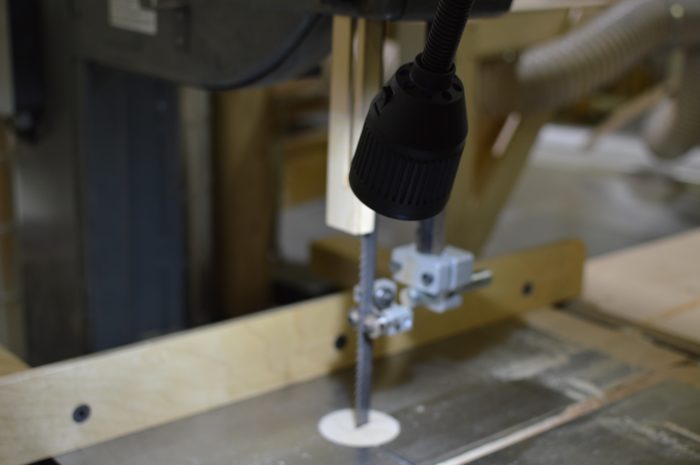
Zero-clearance inserts help keep the exit wound of the cut cleaner and prevent cut-off slivers from falling into the blade. I really like saws with circle inserts, so it’s simple for me to make a bunch of them and swap out as needed.
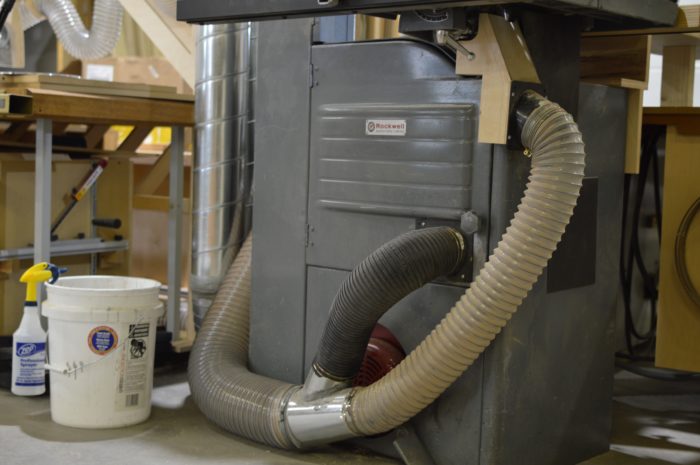
Add as much dust collection to your saw as possible. A bandsaw has a better natural dust collection than a tablesaw. The blade pulls the dust straight down as apposed to throwing it at your face. Take advantage of this; build a shroud if necessary. Less dust in the air is always better.
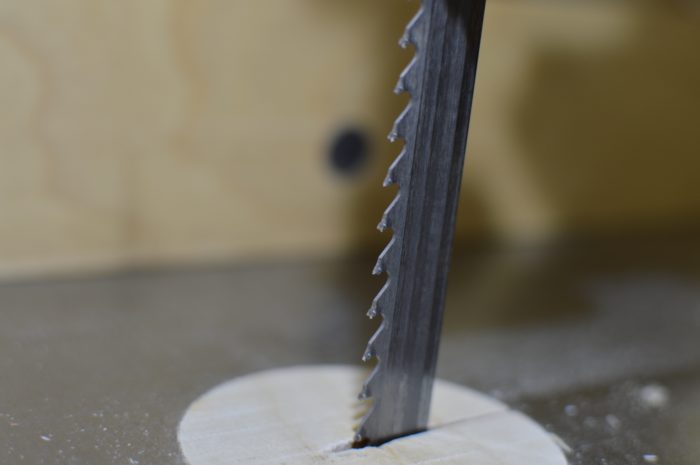
Carbide bandsaw blades are the cat’s pajamas. They cut smooth and last forever. However, they typically work better on larger saws that can properly tension these blades. Do a little research to ensure they will work on your saw. Though more expensive, I think they are a better value over time.
A few final thoughts: Bandsaws are also safer than a tablesaw, especially when making ripcuts. The possibility of the workpiece pinching on the blade as can happen on a tablesaw is near zero. The chance of kickback is also near zero. For me, this creates a less stressful environment that is less physically taxing, allowing me to work more safely for more hours.
Lastly, once a bandsaw is set up for ripping it should be accurate enough for joinery. Cutting half-laps, bridle joints, and tenons will be fun and efficient. Here, Tim “The Man” Rousseau shows a really neat way to cut tenons on the bandsaw.
Thanks for reading.
Fine Woodworking Recommended Products
Makita LS1219L Miter Saw
Freud Super Dado Saw Blade Set 8" x 5/8" Bore
Hedgehog featherboards




Comments
Couldn’t agree more... “O’bandsaw’s Rule!”
Bandsaws are great, but even after reading this I am not sure why I would use it over my Sawstop... Tablesaws are made for straight cuts, if you have a riving knife no worry about kickbacks, no worry about cutting your fingers with flesh sensing technology (last serious cut I had was actually on a bandsaw), and I have over and under dust collection so I don't have sawdust being thrown into my face. So I guess I don't feel "unsafe" using my tablesaw. I love my bandsaw for curves and resewing veneer, but just don't see the point in making straight cuts... Sorry...
Good article. Next step: Buy an additional 10 inch band saw for curves and small joinery tasks and leave the resaw blade on the bigger bandsaw. I did that and never looked back.
Also if you still believe in the myth of bandsaw drift go back and read the Michael Fortune articles again.
I have a large bandsaw, which is now in a small shop. When I downsized the shop, I had briefly brought in my general contractor saw as well, but soon decided to cut it from the team and reclaim a large portion of my precious square footage.
Fast forward a couple of years, and with the passing of my father this past June, I once again have a contractor saw in my small shop. Being a saw I didn’t pay for, other than some maintenance/repairs(my dad was wonderful, but clumsy), I am torn on cutting the devourer of floor space from the team yet again. I think I may, as when I was tablesaw free, I really didn’t miss it. When I had decided that I was done with it for good, I purchased a track saw which solved my sheet good processing dilemma nicely. All this to say that with three smaller machines-bandsaw, router and track saw-you can get rid of a dust belching, appendage hungry beast very effectively. Just my $0.02.
Log in or create an account to post a comment.
Sign up Log in