Cutting It Close Safely
When cutting small workpieces on the tablesaw, you don't have to sacrifice safety for accuracy.
Synopsis: An expert at installing inlay describes proven methods for working with delicate materials. Steve Latta’s tips, such as how to set a fence to cut multiple moldings from large stock, save time and headaches. The virtues of project-specific push sticks are detailed, as well as the safest ways to cut tiny pieces of stock. The article shows how prioritizing the work—such as shaping more complicated moldings before ripping them—results in a better fit. And it details how splitters and sleds simplify the process.
One of the written tests that I give my students includes this question: “Never stick your fingers in the (fill in the blank).” The question is just a freebie for bonus points, but it serves to remind my students to keep safety foremost in their routine work habits.
A lot of the safety techniques I use stem from a background in Federal furniture and the necessity for milling a lot of inlay and banding. Working safely can be a challenge when it comes to milling small pieces of molding, decorative banding, or beading for glass doors. Some common shop practices increase operator safety at the expense of accuracy, but there are ways to execute cuts on the tablesaw that will ensure both.
There are a few basics to keep in mind when milling small pieces of wood, but first and foremost is a healthy dose of common sense combined with a deep respect for the equipment being used. Machinery is both powerful and impartial, and I never let that slip my mind. If the techniques presented here rattle your nerves, don’t use them. The only reassurance I can offer you is that they’ve worked for me for a couple of decades.
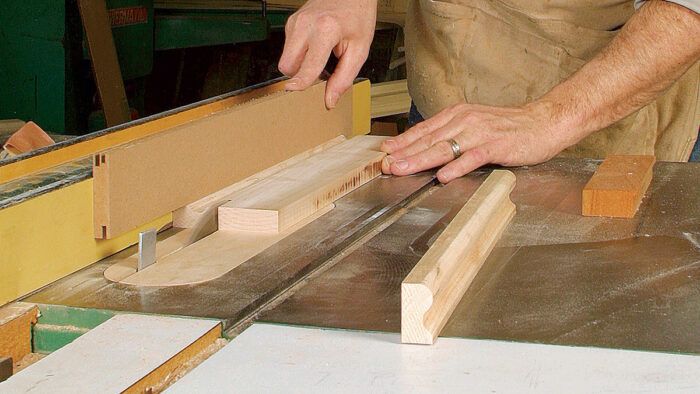
Push sticks are critical for holding down workpieces and keeping your fingers away from the spinning blade. Many people use the long-handle type with a simple notch cut into the end. In my opinion, these things are dangerous. They do little to hold down the stock on the saw table because they contact the stock only on one small area, and they’re also prone to slipping into the blade during a cut. I prefer the longer and lower variety of push stick (often called a paddle or a shoe) because it holds the stock flat on the table and rides securely against the fence.
A long push stick provides more control
Push sticks are critical for holding down workpieces and keeping your fingers away from the spinning blade. Many people use the long-handle type with a simple notch cut into the end. In my opinion, these things are dangerous. They do little to hold down the stock on the saw table because they contact the stock only on one small area, and they’re also prone to slipping into the blade during a cut. I prefer the longer and lower variety of push stick (often called a paddle or a shoe) because it holds the stock flat on the table and rides securely against the fence.
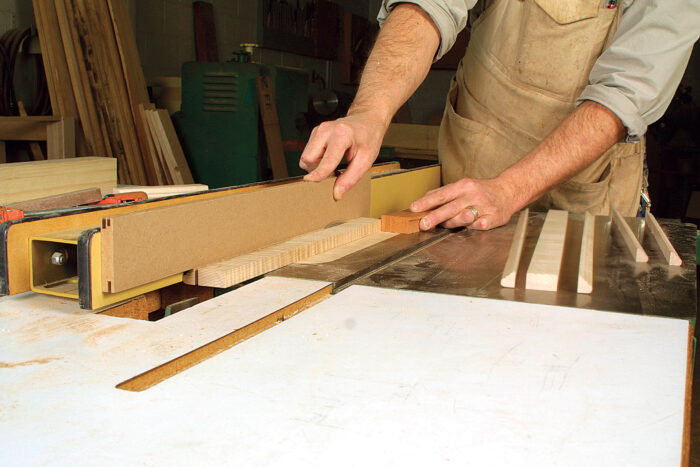
Cut small moldings from larger stock
When making small moldings, such as quarter-rounds, I profile both edges of a piece of wide stock and then rip off the molding in strips. Many woodworkers rip in such a manner that the molding falls away outside the blade and the fence. With that method, the fence must be reset for each cut, which often leads to dimensional differences that can snowball into a variety of small nightmares. To avoid those problems, I rip small moldings between the blade and the fence.
Shape complex moldings before ripping
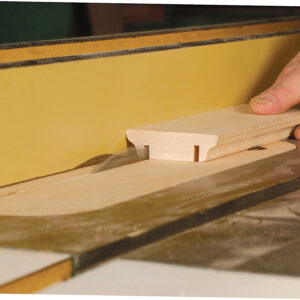
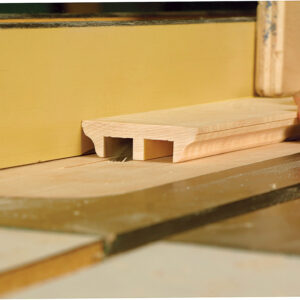
Here is a trick to getting snug-fitting moldings. After shaping the molding profile on the edges of a board, tilt the sawblade a couple of degrees to cut the back edge at a slight angle. That way, the moldings will sit tight in a corner or at the bottom of a cabinet carcase. You can plow out the rest of the waste with dado blades. For two pieces of finished molding, use a board that’s wide enough to leave a small bit of extra wood in the middle, between the dado cuts, because it will be more stable on the saw table.
Use thin push sticks for thin stock
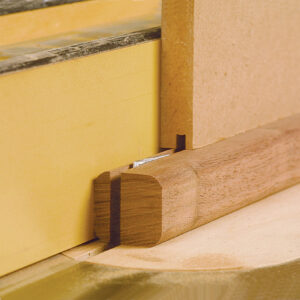
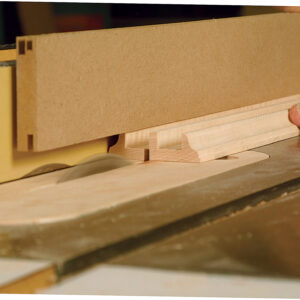
One way to rip shaped moldings such as coves is to make an interlocking push stick that fits into a short bandsaw kerf cut into the end of the molding. Though I normally prefer the larger, paddle-style push sticks, I do sometimes use one made from a thin scrap of wood that fits into the bandsaw kerf and allows me to push the molding easily past the blade. I use thin push sticks only in conjunction with a hold-down clamped to the fence, behind the blade. The hold-down prevents the workpiece from lifting. In some cases you may have to rip the molding with the fence set up to the left of the sawblade, as with the walnut cove moldings shown.
Safety tip
Use a zero-clearance insert and splitter
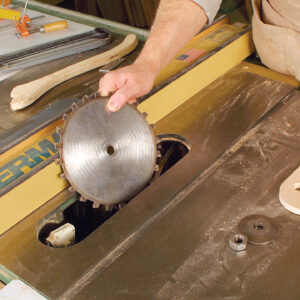
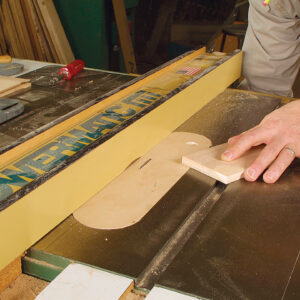
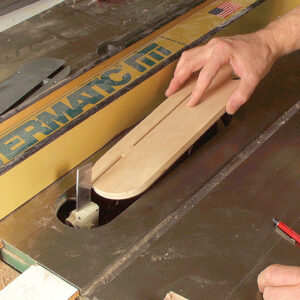
A zero-clearance insert, or throat plate, is a must for cutting small pieces of wood on the tablesaw. On many saws, the factory insert that comes with the machine will accommodate a full 1⁄4-in. dado set. With a space that wide, small workpieces can get jammed in the insert or lost to the dust-collection system, and safety is compromised. The solution is to use the factory-supplied insert as a template to make a replacement, such as the one at right.
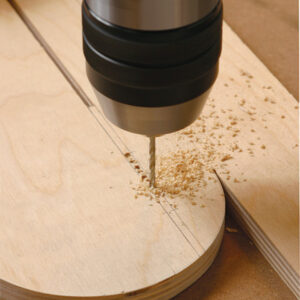
I make inserts out of 1⁄2-in.-thick plywood with small screws in the bottom to act as levelers. On most 10-in. saws, the blade won’t drop down far enough to place the uncut insert in the opening. To solve that problem, switch to an 8-in. single dado blade. Then position the fence over the insert stock. Place another piece of stock to the left of where the blade will emerge. Last, raise the spinning blade all the way through the insert.
Two shopmade splitters
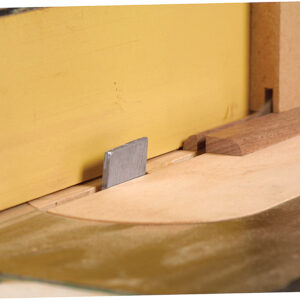
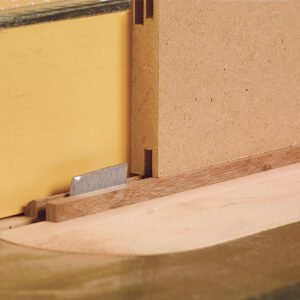
A proper splitter is critical for milling short or narrow stock. I use two types on my saws. The first is the large factory splitter that comes standard on many cabinet saws. I also use smaller shopmade stub splitters that project anywhere from 3⁄16 in. to 5⁄8 in. above the table surface; I make them from wood or steel bar stock available at most hardware stores. These splitters prevent narrow workpieces from pinching on the blade but don’t get in the way of push sticks.
Ripping thin strips
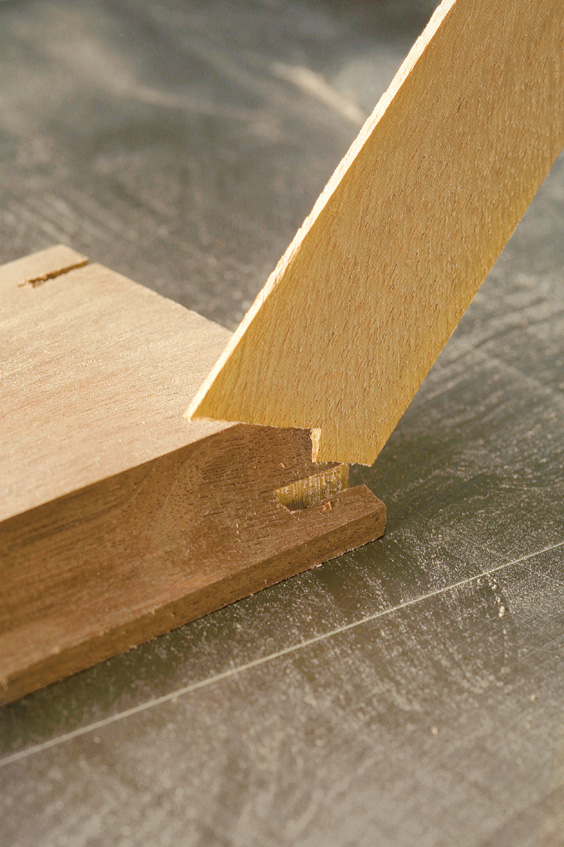
Commercially bought stringing is worthless, in my experience, because it dries out and becomes incredibly brittle. I make all of my own stringing out of 1⁄16-in.-thick holly stock that I cut on the tablesaw. I typically use 2-in.-wide stock about 30 in. long and saw it on edge. I cut a 15° angle on the back end of the board and a mating surface on the front end of my push stick to keep the stock from lifting away from the table. To cut stringing, I use the factory splitter, and the push stick rides through the cut until stopped by the splitter. This allows the holly to clear the blade completely. After finishing the cut, the push stick must be slid back over the blade while it is pressed tightly against the fence. It is critical that the push stick be long enough that the rear portion of it remains uncut and therefore sturdy and stable in use.
Use a sled for small pieces
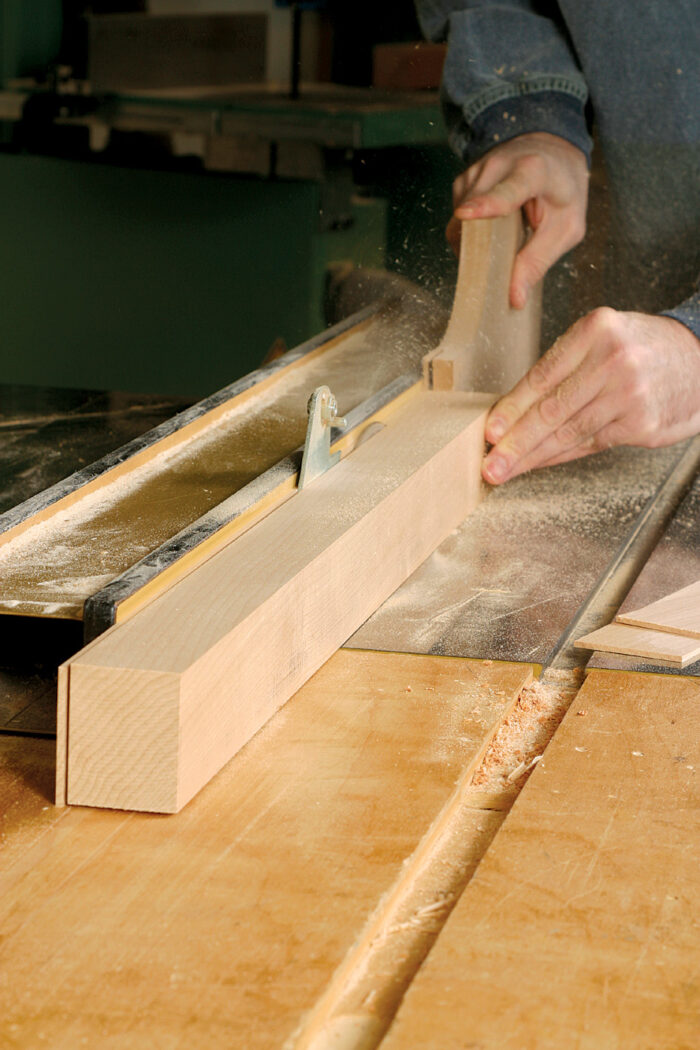
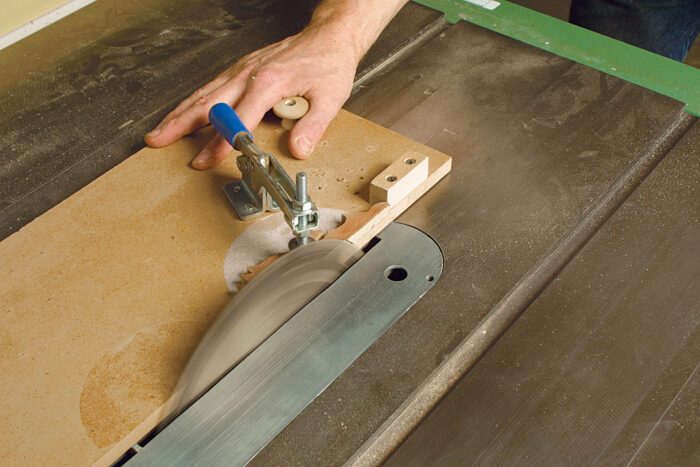
There are a lot of hold-downs, both shopmade and store-bought, that come in handy for securing small pieces during ripping or crosscutting. One jig I use a lot is a store-bought hold-down clamp screwed to a small carriage mounted with a runner that rides in the miter-gauge slot (see the photo at right). Sandpaper mounted to the carriage and a stop block help hold the workpiece in place.
When I use this hold-down jig, I often set the sawblade deliberately high for two reasons. First of all, the downward pressure created by the extrahigh blade actually helps hold the workpiece in place. Also, it reduces the possibility of tearout as the blade exits the cut. A blade set too low tends to lift the workpiece upward during the cut—an unsafe condition. This jig also has a handle on it that is placed well away from the blade.
Crosscutting delicate banding
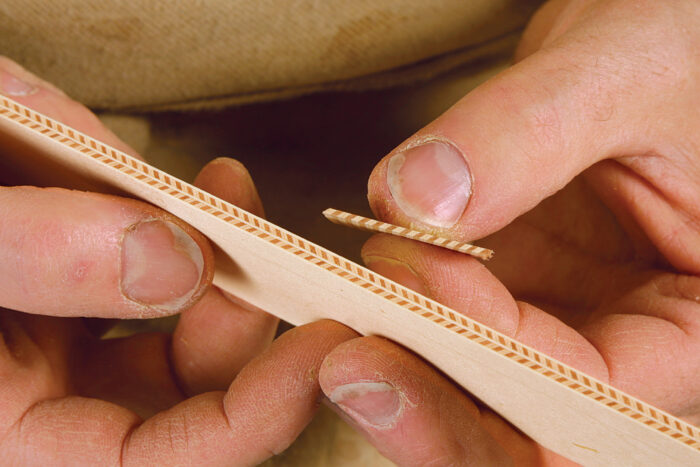
Making decorative bandings involves a whole series of very fine cuts—both rips and crosscuts. For ripping veneer strips down to 1⁄16 in. thick, I follow the method described at left, on the opposite page. For crosscutting thin slices of banding on an angle, I use a crosscut sled on the tablesaw with a sliding stop block. With the sliding block in position for the start of the crosscut, the workpiece is properly indexed for exactly the right thickness so that I can make repeated crosscuts at reliably the same thickness.
The key to making this setup work accurately is to position the alignment block before crosscutting any of the laminated pieces of banding. The alignment block serves as a stop for the sliding stop block, which is beveled on one end at a 45° angle. The thickness of the banding will be the distance between the beveled end of the sliding stop block and the sawblade. Use the sliding stop block to index the workpiece, and then, holding the workpiece firmly against the fence on the crosscut sled, slide the stop block out of the way before making the cut.
 From Fine Woodworking #169
For the full article, download the PDF below.
Fine Woodworking Recommended Products

Stanley Powerlock 16-ft. tape measure

Festool DF 500 Q-Set Domino Joiner

Olfa Knife




Log in or create an account to post a comment.
Sign up Log in