Table Saw Techniques: Build a Crosscut Sled
This simple project increases the accuracy and safety of your tablesaw.
Start your 14-day FREE trial to watch this video
Plus, access more than 500 video workshop episodes when you become a member
Hundreds of students pass through Marc Adams’ woodworking school each year, so he needs rock-solid safety practices for everyone who comes in, regardless of skill level. Tablesaw safety is essential, and in this video workshop series he shares his core principles for staying safe and avoiding kickback during any operation: Maintain control, use a splitter to avoid kickback, and limit your exposure to the blade with essential gear such as push sticks, pads, and the blade cover.
He also gives valuable lessons in:
- Ripping
- Crosscutting
- Building a sled
- Cutting joinery
A knowledgeable operator is critical to staying safe at the tablesaw (and any other woodworking machine or power tool). If you understand how the saw works and know the best practices for its use, the chance for a bad accident can be virtually eliminated. Machines don’t think, but you can.
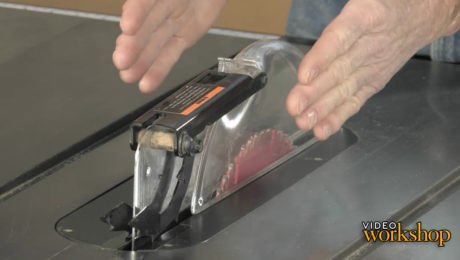
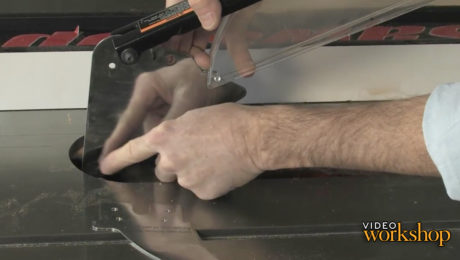
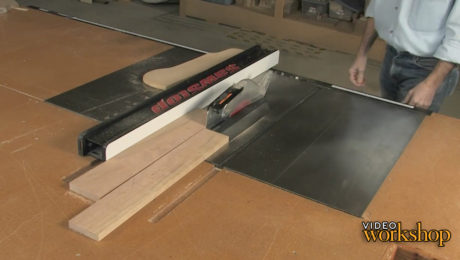
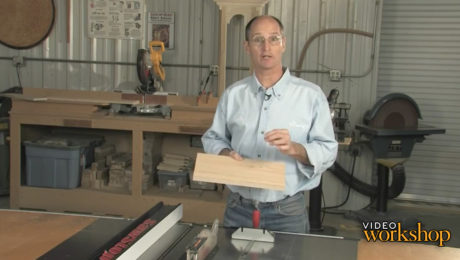
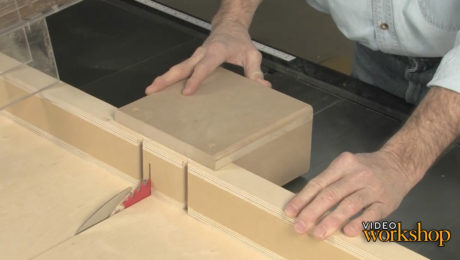
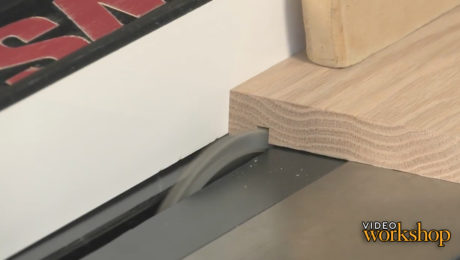
In this episode Marc demonstrates how to build a…
Videos in the Series
-
Table Saw Techniques: IntroductionMarch 26, 2013
-
Table-Saw Techniques: SafetyMarch 26, 2013
-
Table Saw Techniques: RippingMarch 26, 2013
-
Table Saw Techniques: CrosscuttingMarch 26, 2013
-
Table Saw Techniques: Build a Crosscut SledMarch 26, 2013
-
Table Saw Techniques: Gear Up for JoineryMarch 26, 2013
-
Table Saw Techniques: Grooves, Dadoes, and RabbetsMarch 26, 2013
-
Table Saw Techniques: Tenons and MitersMarch 26, 2013



Comments
Re: Crosscut sled. Agreed, this is the most important jig ni the shop. I strongly prefer the 5 Cut Method of squaring a fence, as it gives you very precise direction and amount of adjustment. Sure, it's math, but we're woodworkers for Cry-eye sakes. Any more skilled and we'd be working for NASA. Also, while the box at the back is critical, I'd have used plywood, which holds a screw better, or glued the box together. Finally, really nice option of the safety guard.
Good video, and definitely an important jig to have on hand.
On mine, I actually made the safety box (where the blade comes through the fence) out of polycarbonate. This way, you can see the blade as it comes through, but you are still guarded from accidentally putting your fingers there. Of course, whatever you make that box out of, it's still entirely possible for your saw blade to go right through it. Which is why I like to be able to see it.
Willian Ng You Tube video is best on this subject.
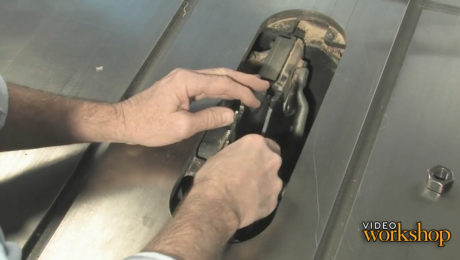
You'd better be sure your blade is parallel to the miter slots before making this jig.
I think he made that clear in earlier video in the series.
Why don't you glue the lexan and the back box?
When one spends $5K plus on a table saw and $’S on blades, I have to ask, why do we need shop built jigs to do the jobs that the saw should do? Example, the humble hammer has not changed since we jumped down from the trees.
Log in or become a member to post a comment.
Sign up Log in