Table Saw Techniques: Gear Up for Joinery
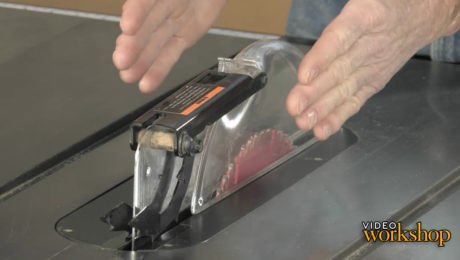
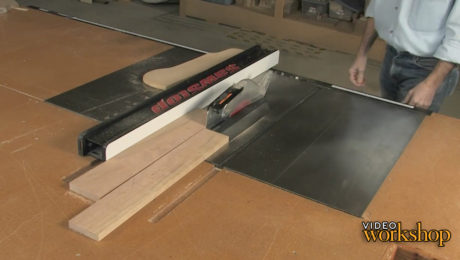
Prepare your saw to cut perfect joinery with tips on blade and sled maintenance and building a sacrificial rip fence.
Start your 14-day FREE trial to watch this video
Plus, access more than 500 video workshop episodes when you become a member
Hundreds of students pass through Marc Adams’ woodworking school each year, so he needs rock-solid safety practices for everyone who comes in, regardless of skill level. Tablesaw safety is essential, and in this video workshop series he shares his core principles for staying safe and avoiding kickback during any operation: Maintain control, use a splitter to avoid kickback, and limit your exposure to the blade with essential gear such as push sticks, pads, and the blade cover.
He also gives valuable lessons in:
- Ripping
- Crosscutting
- Building a sled
- Cutting joinery
A knowledgeable operator is critical to staying safe at the tablesaw (and any other woodworking machine or power tool). If you understand how the saw works and know the best practices for its use, the chance for a bad accident can be virtually eliminated. Machines don’t think, but you can.
In this episode Marc goes through the laundry list…
Videos in the Series
-
Table Saw Techniques: IntroductionMarch 26, 2013
-
Table-Saw Techniques: SafetyMarch 26, 2013
-
Table Saw Techniques: RippingMarch 26, 2013
-
Table Saw Techniques: CrosscuttingMarch 26, 2013
-
Table Saw Techniques: Build a Crosscut SledMarch 26, 2013
-
Table Saw Techniques: Gear Up for JoineryMarch 26, 2013
-
Table Saw Techniques: Grooves, Dadoes, and RabbetsMarch 26, 2013
-
Table Saw Techniques: Tenons and MitersMarch 26, 2013



Comments
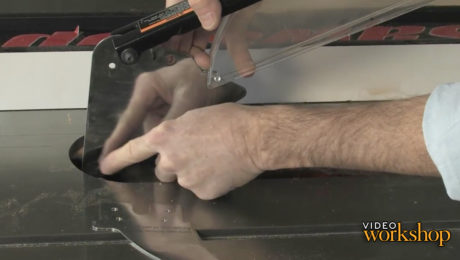
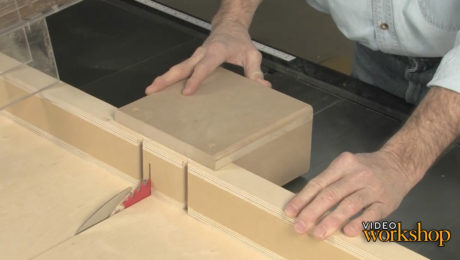
In the Episode No. 5, Gear Up for Table Saw Joinery, you make an insert device of ¼" MDF to maintain the sled's close clearance with your table saw's blade, this add being made to prevent a dado cut on the cross cut sled from making a much wider slot in the sled when used to make dado cuts. But, you never explain much more, and you do not show that when you remove the add-that the slot in the original sled is made much wider, therefore necessitating the removal of the add-on (...using carpet tape? Really?) on when making dado cuts as well as the reinstallation of the add-on when making regular blade cross cuts. I must say that, considering the trouble of this taped on device, that just making one sled for dado cuts and another for blade cuts seems to be at least as good an option when one considers that they must reach for carpet tape each time this conversion of the sled is made (as shown in the video). If you have intent to use the sleds for years to come, I would think just having a cross cut sled and a dado sled would be a far better option, but maybe I have misunderstood? Would you clarify, please? (Oh, and I know the storage of lots of sleds can be difficult, but I have a sled rack under my extension table (RH Side, Machine Direction) that offers a slide-in, slide-out sled storage solution. Thank you. JCH-Memphis, TN.
Log in or become a member to post a comment.
Sign up Log in