Get Safer, Cleaner Cuts on Your Tablesaw
Take a look at this step-by-step tutorial on making a zero-clearance insert--a smart upgrade to any saw.
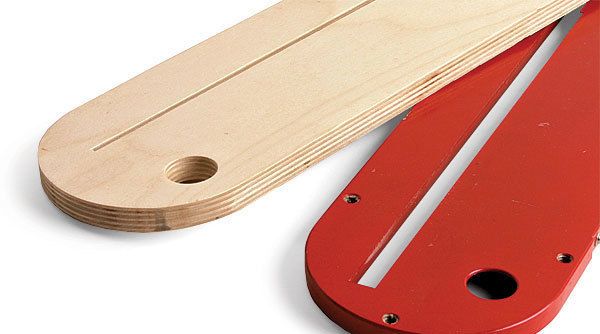
Synopsis: Shopmade tablesaw inserts are easy and inexpensive to make. Made of plywood, these zero-clearance inserts help prevent tearout and keep narrow offcuts from getting wedged near the blade and thrown back at you. Tom Begnal gives a step-by-step tutorial on making an insert for your tablesaw. Once you’ve made one, you’ll want several more — one for each blade setup and dado width you use.
The throat plate supplied with your tablesaw likely has a blade opening that’s much wider than the blade. This allows you to easily set the blade at an angle, but it also has some serious drawbacks. First, because there’s no support under the workpiece near the blade, tearout often occurs along the edge of the cut. Second, narrow offcuts can get wedged in the gap and then thrown back at you.
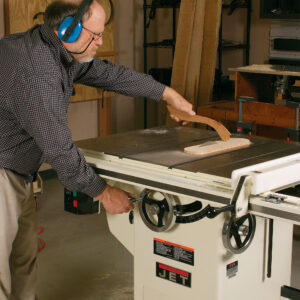
To overcome these problems, make a plywood insert that fits into the throat. Then raise the blade through the insert to create a zero-clearance opening. Because the opening fits the blade, tearout is eliminated and offcuts can’t get wedged.
Making a zero-clearance insert isn’t difficult. You can make several at a time, so you can have one ready for any blade setup. Before you begin, a word of caution: Tablesaw throat design varies by model. So check yours and adjust the steps as needed. Make the inserts from 1⁄2-in. birch plywood. It’s stiff and strong, and it won’t change in width as the shop’s humidity fluctuates. This means it won’t get stuck in the opening in the summer or become too loose in the winter. Also, many saws are designed for a 1⁄2-in.-thick throat plate, or very close to that.
Make a blank with round ends
Once you have an oversize rectangular blank, you’ll need to bandsaw it to rough shape and then rout it flush to the throat plate supplied with your saw.
Use the tablesaw and rip fence to cut a piece of plywood 1⁄8 in. wider than the saw’s throat plate. Then use the miter gauge to crosscut it 1 in. longer than the plate.
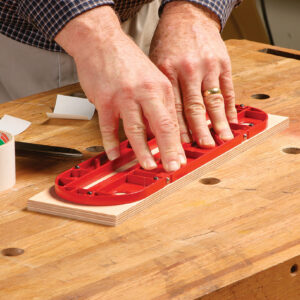
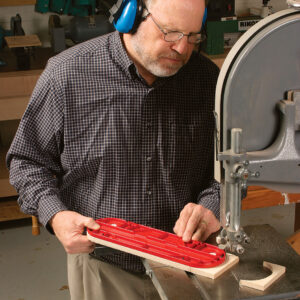
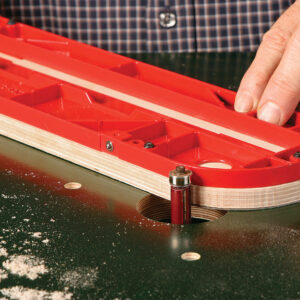
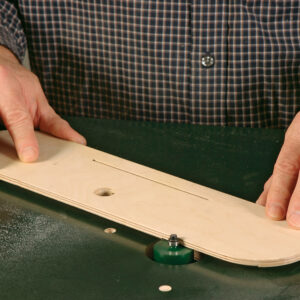
Center the throat plate on the blank and attach it with double-sided tape. Next, using the throat plate as a guide, round the ends of the blank with a bandsaw or jigsaw, leaving about 1⁄16 in. of waste. Trim the waste with a router and a bottom-bearing, flush-trimming bit. A router table makes this easier, but a handheld router can be used. In either case, the bearing runs against the throat plate as the bit trims the waste.
On the router table, feed the insert into the bit from right to left. Keep the bearing on the throat plate and work your way around. Skip over the blade-guard opening, or the bearing will fall into it and cause kickback. You’ll get rid of that waste when you cut an opening for the guard assembly.
With a handheld router, rout from right to left. After you rout the first side and end, rotate the blank 180°. Then rout the second side and end.
Cut the blade and splitter openings
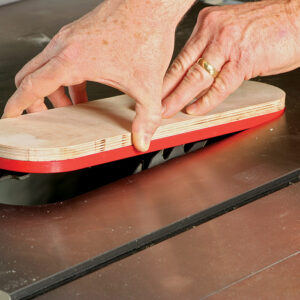
You’re now ready to cut an opening for the blade. Crank the blade to its lowest position and insert the saw’s throat plate into the throat. Slowly raise the blade until it’s roughly 1⁄2 in. above the insert blank.
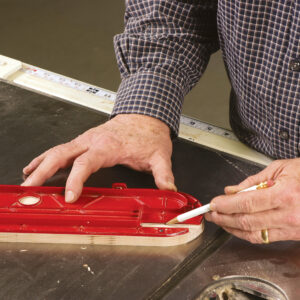
Now, cut an opening for the blade-guard assembly. Use the throat plate as a template to mark the opening on the insert, separate the insert blank from the throat plate, and then remove the waste with a bandsaw or jigsaw. Next, bore a finger hole with a 1-in.-dia. Forstner bit. This hole makes it easier to remove the insert.
Check for level
Typically, the throat plate is supported by a small lip or tabs inside the tablesaw throat. Your insert should be flush to the saw table when it rests on that lip.
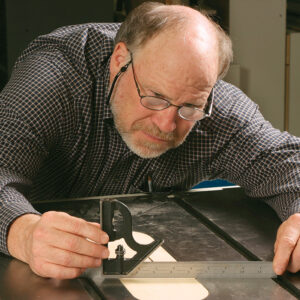
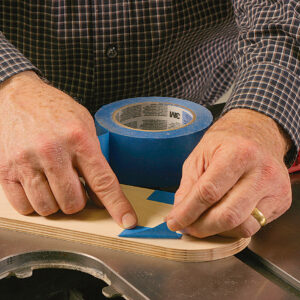
Place the insert into the saw’s throat and use a straightedge to test for level. An insert that’s too low is easy to fix. Just add some painter’s tape at the low spots to raise it up.
An insert that’s too high needs a rabbet routed around its underside. It should be wide enough to clear the lip and deep enough to bring the insert flush with the saw table.
Use a router and a bearing-guided rabbeting bit to cut the rabbet. Rout no deeper than 1⁄16 in. on each pass.
Install a “lock”
It’s important to add a “lock” at the back so the blade won’t lift up the throat plate. A fender washer attached
in a recess on the underside of the insert makes a good lock. The washer slides under the throat’s edge and prevents it from pulling up.
This may not work for your saw. Some throats require a pin-sized arm that sticks out the back of the insert. If yours does, then use either a brad nail or screw as a lock.
Add a few coats of shellac or varnish to give the insert a smooth surface and some wear protection.
Rabbet an insert that’s too high
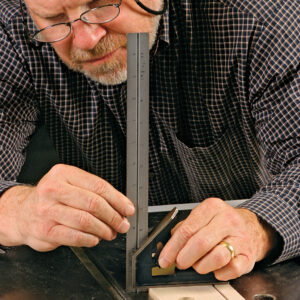
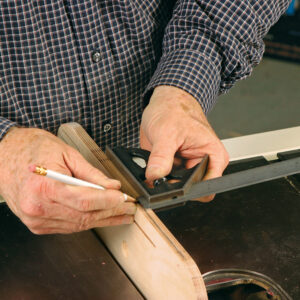
Lowering an insert is a three-step process: Determine the depth, mark the depth, and cut the rabbet.
From Fine Woodworking #200
For the full article, download the PDF below:
Fine Woodworking Recommended Products
Makita LS1219L Miter Saw


Starrett 12-in. combination square




Log in or create an account to post a comment.
Sign up Log in