How to Build a Dado Jig
Clever guide guarantees a perfect fit for shelves of any thickness.
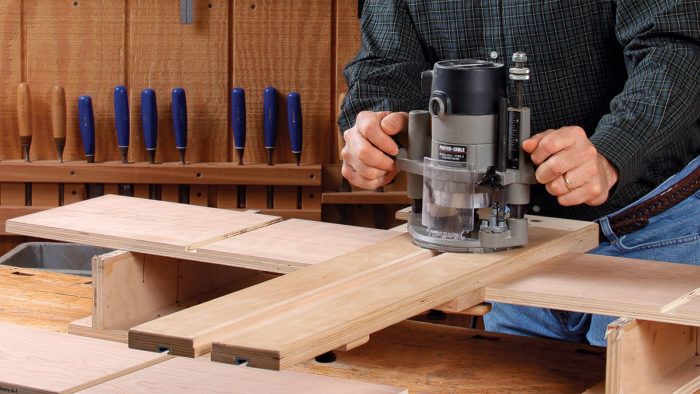
Synopsis: You can get dead-on dadoes in just three steps using this jig. The twin guide rails are custom fit to the router bit and bushing used, and can be set up by eye–no measuring. The integral clamping system is located below the jig, so it makes it easy to secure the workpiece without getting in the way of the router. The rails also act to prevent chipout along the edges of the cut. Just set the width of cut using a scrap of the workpiece that will eventually be fit into the dado, align the rails, lock it down, and rout. Perfect dadoes, every time.
I got my first job in woodworking when I was 9 years old, cleaning up the shop at my father’s shutter business in Lubbock, Texas. When I was 12, Dad let me start using the tools. Early on, I learned a lesson that I carry with me today in my own cabinet-door business—the value of jigs for both speed and safety.
At work and in my home shop, I use dadoes often in a variety of ways, from housing fixed shelves and vertical case partitions to drawer construction. Traditional router jigs involve wrestling with C-clamps to hold them in place and require calculating offsets to align the jig, and in turn the bit, with the location of the dado.
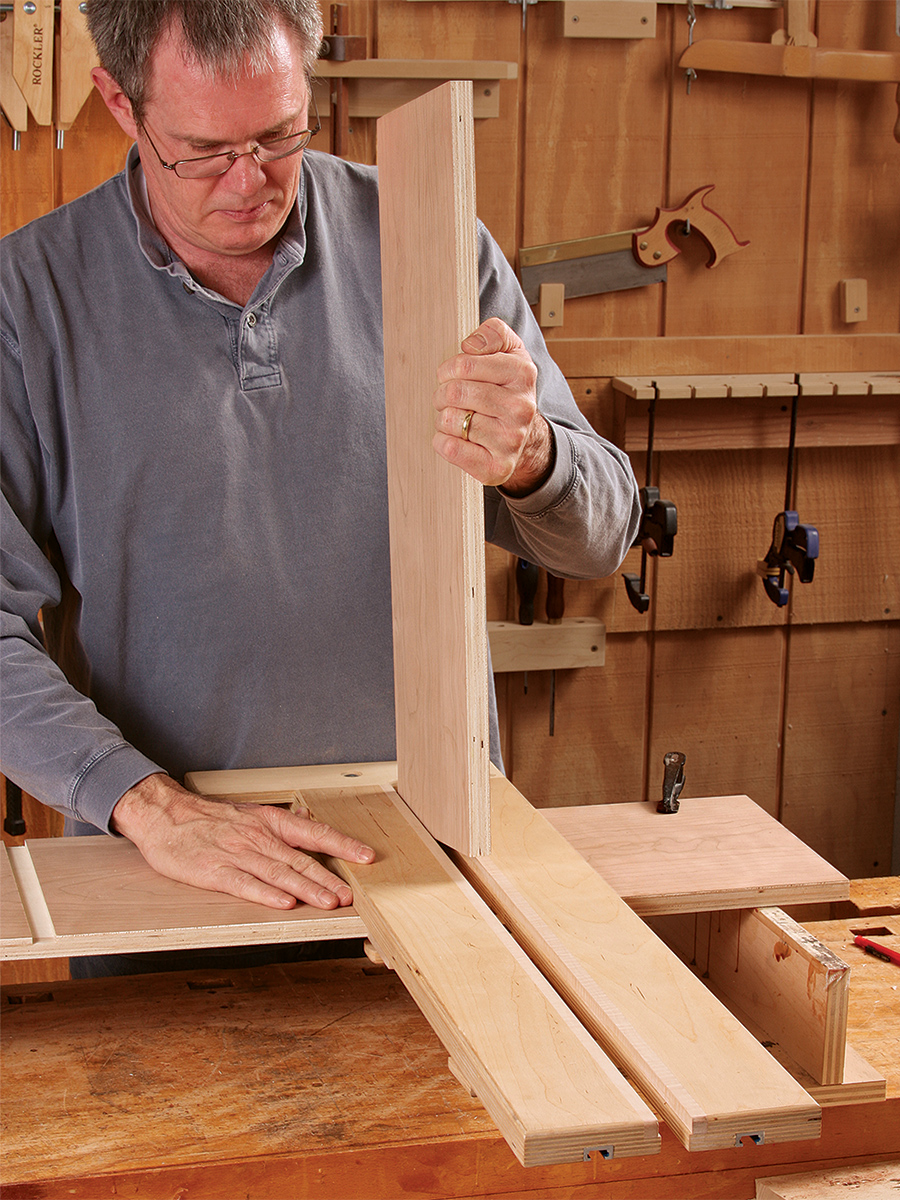
Neither of those requirements appealed to me, so I created this router jig instead. I started with an adjustable, twin-rail design that calls for using a guide bushing in the router. By custom-fitting the jig with the bit and bushing I planned to use for cutting the dadoes, it’s easy to locate and set up the cuts by eye. The inner most edges of the rails show exactly where the bit will run, so you don’t have to factor in the offset between the bit and bushing when setting up a cut. The twin rails—one fixed and one adjustable—make it easy to cut a dado to custom width, exactly matching the thickness of the part it will house.
To do away with C-clamps, I added an integral clamping system that makes it easy to secure the workpiece and lock the jig in place. These built-in clamps can handle stock from 3/8 in. to 1 in. thick, and they work from underneath, so they don’t interfere with the router’s travel. With them, I can quickly release and reposition the jig while keeping the setting for my dado’s width. This makes speedy work of tasks like cutting multiple shelf dadoes in a case side.
The adjustable rail lets you set the jig for a dado that will precisely match the thickness of the mating piece it will house. And one final benefit of the jig is that its inner edges act to prevent chipout along the edges of the cut. It’s a bit of work to build, but the reward is having the world’s most reliable dado jig.
Two rails make for straight cuts
The rails are made from two layers of 1/2-in.- thick plywood, face-glued together. The inside edge of the top layer has a strip of hardwood for the guide bushing to ride against. The bottom layer of each rail is longer, for attaching to the jig’s right-angle fence, and wider to accommodate the offset between the router bit and the guide bushing. When the jig is assembled, one rail is fixed and the other adjusts to set the width of the dado. An elongated mounting hole drilled in the sliding rail lets it travel back and forth while the clamps are loose.
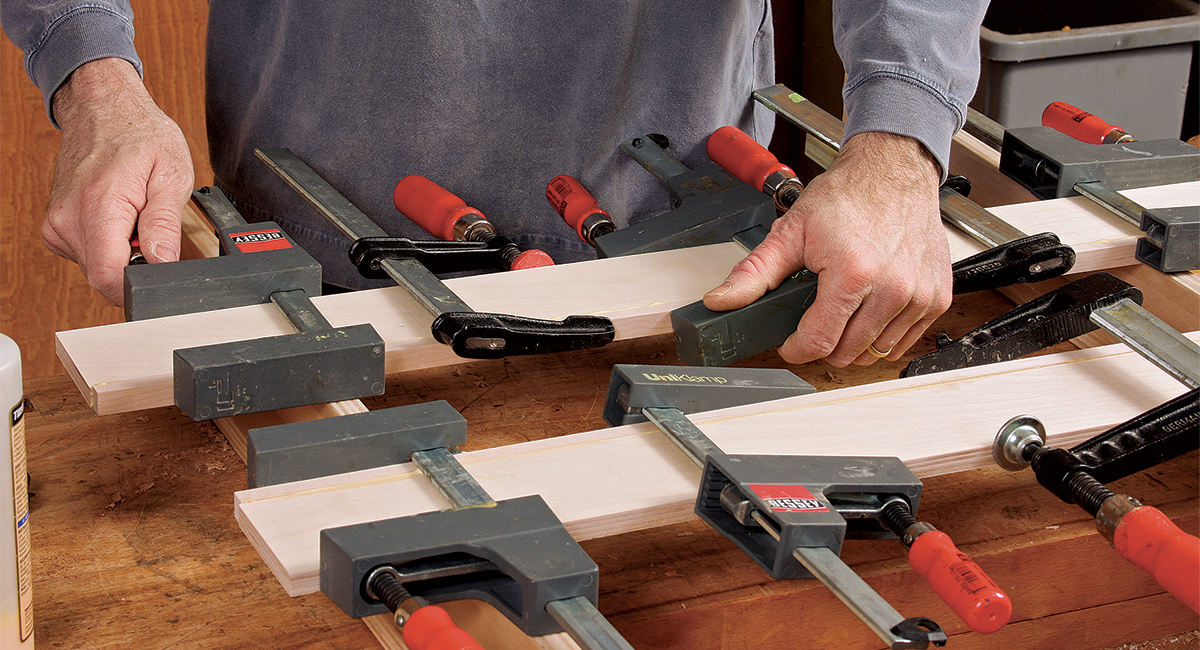
When face-gluing the top and bottom layers of each rail, pay close attention to how the layers are oriented. Viewed side-by-side, the two rails should mirror one another, with the extra length of the bottom layers at the same end and the extra width toward the center. After the glue dries, use a router to trim the inside edge of each lower rail, tailoring it to fit the bit and bushing that you’ll use to make dadoes. I use a 5/8-in. bushing with a 1/2-in. upcut spiral router bit. Later, if you want to cut dadoes narrower than 5/8 in., be sure to use a bit-and-bushing combination with the same offset that you cut into the jig.
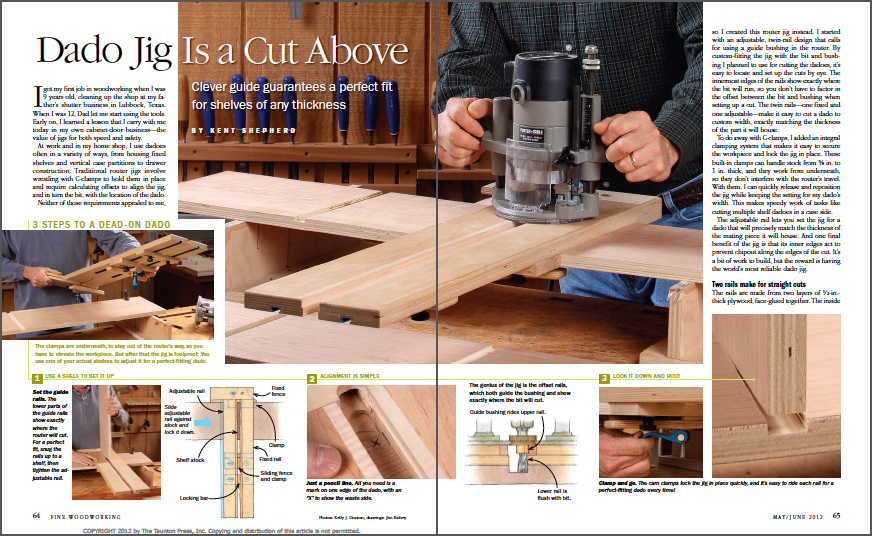
From Fine Woodworking #226
To view the entire article, please click the View PDF button below.
Fine Woodworking Recommended Products
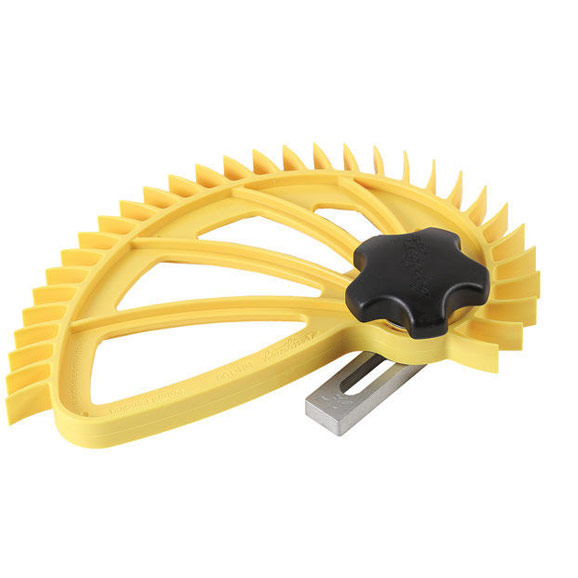
Hedgehog featherboards
Double Sided Tape
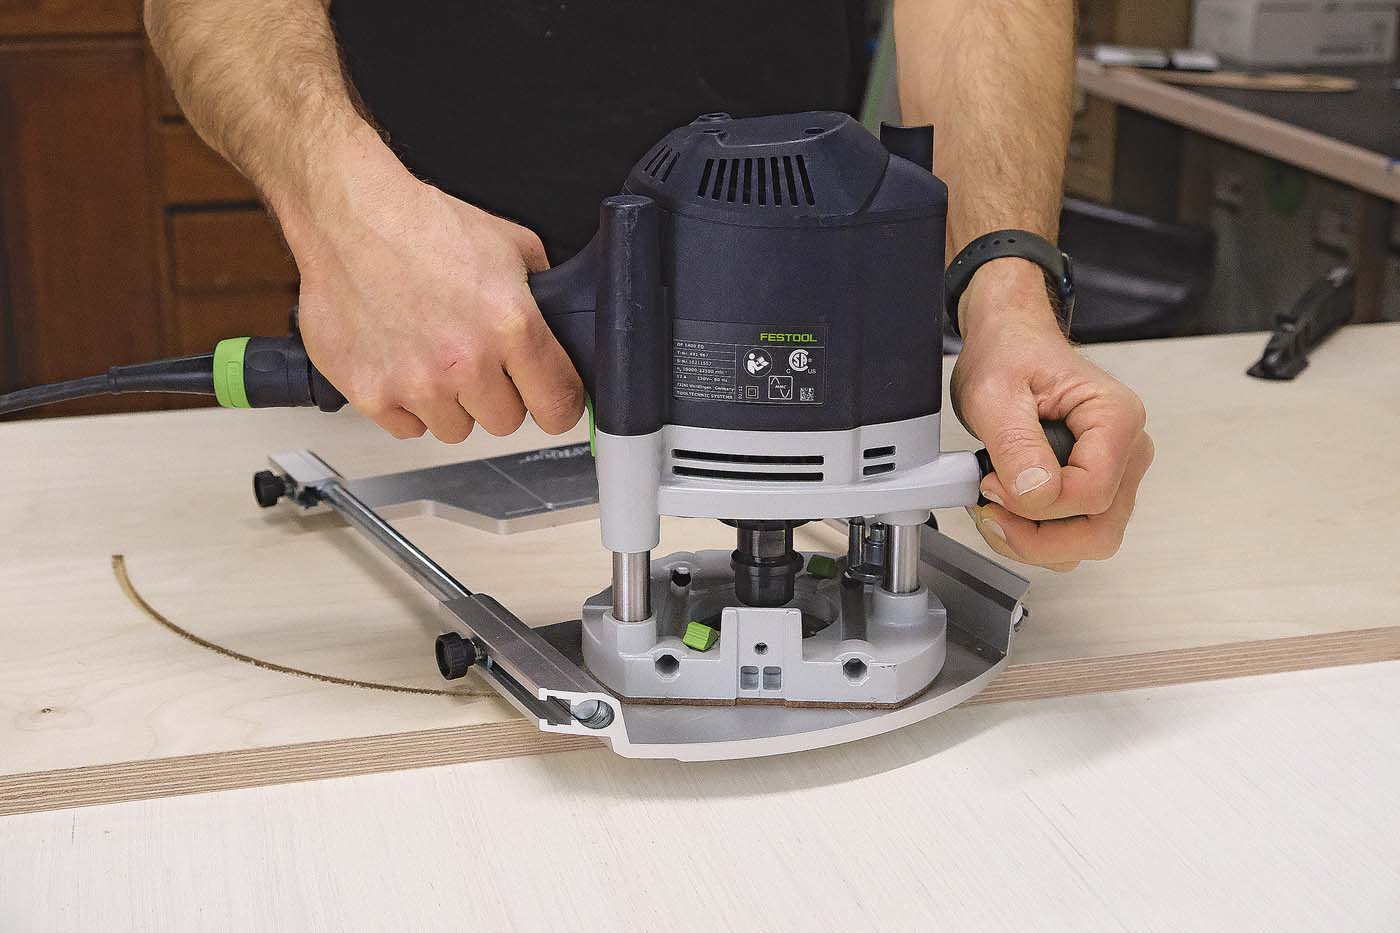
Woodriver Circle Cutting Jig


Log in or create an account to post a comment.
Sign up Log in