How to Make Better Use of Your Shop Space
Asa Christiana presents advice from the pros on smart floor plans for workshops of all sizes.
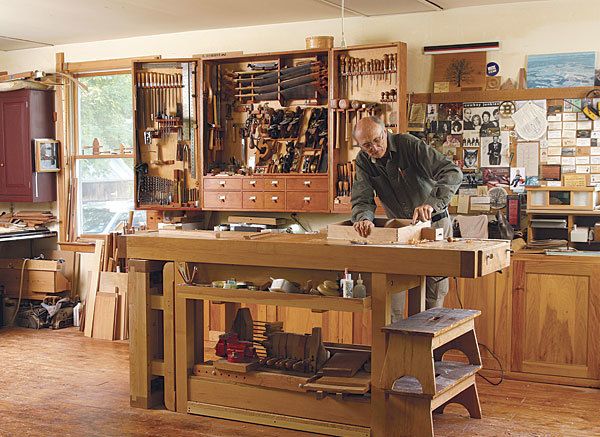
Synopsis: Workshops come in almost as many sizes and shapes as the woodworkers who use them, yet they all have this in common—their layout matters, a lot. If you have to shuffle around to find the tool you need or fuss with moving equipment between tasks, woodworking won’t be as much fun. We took a look at three shops, small, medium, and large, where the layout is a real asset. The large one belongs to Christian Becksvoort, the medium-size one to Michael Pekovich, and the small one to Rob Porcaro. You should find one among them that relates to your space, with tips that will allow you to work more comfortably and efficiently.
Since workspaces vary so widely—from cavernous lofts in industrial buildings to the corners of basements and garages, down to hallways and closets (I’ve seen it!)—it’s hard to make definitive statements about shop layout. Except one: It matters, a lot.
Just like having a workspace that is too hot, too cold, or too dark, a disorganized floor plan means woodworking won’t be as much fun. With too much fussing between every task, your frustration level will mount. Ever wonder why you are hesitating to head out to the shop? If it’s not plain laziness, it might be one of the culprits listed above.
I can’t help with chronic lassitude, but I can give some advice on shop layout, with help from a few of my friends. To fathom the feng shui of an efficient shop, I reached out to a number of FWW authors with well-organized workspaces, and settled on three that reflect the most common situations.
I discovered a number of common themes. For one, while shop spaces range widely, most of us end up with a similar set of equipment. Most also need some storage space for lumber, power tools, and other supplies; a router-table solution; and at least one other waist-high work surface, aside from the workbench.
Another common theme is that each of these woodworkers took the time to think about how he works and what he uses most often. In all cases the tablesaw and workbench were placed first, since they are used the most and require the most elbow room. But after that, these guys came up with a variety of smart layout solutions. Also, space needs vary for hobbyists vs. professionals. That’s because time is money for the latter. The rest of us can live with a bit of shuffling to make things work.
One last note: If you choose to work with hand tools only, many of these rules don’t apply. Even if you make exceptions for a jointer and bandsaw to speed things up, you’ll be able to work comfortably in much less space, with only a workbench and tool cabinet to accommodate.
Large
Working pro needs extra space, but layout still matters
Christian Becksvoort, professional furniture maker
New Gloucester, Maine
Outbuilding, 24×40
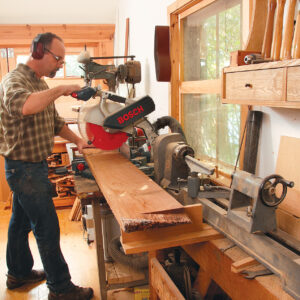
Even if you have a roomy shop space, thoughtful organization will save you some walking, make dust collection easier, and leave open areas for lumber handling, assembly, and more.
Chris Becksvoort built his shop in the early 1980s out of lumber from the local sawmill. He did most of the framing and installed the floor, which is 1-1⁄2-in.-thick hemlock. A few friends helped with the main support beam down the center of the shop, and the roof shingles. An electrician did the 120/240 wiring. This year Becksvoort updated the roof to standing-seam metal, and reports that “snow slides off in a hurry.”
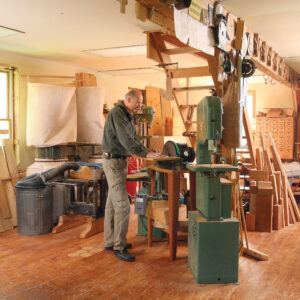
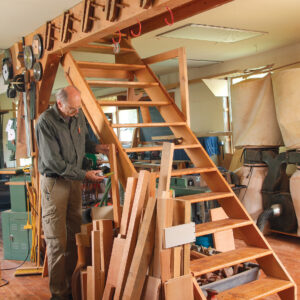
The center of the shop is obstructed by a support post and a set of stairs, which lead up to his lumber loft and can be folded upward if necessary. But Becksvoort has never had to do that. Instead, he parked three machines around the stairs, and tucks scrap bins and other items below.
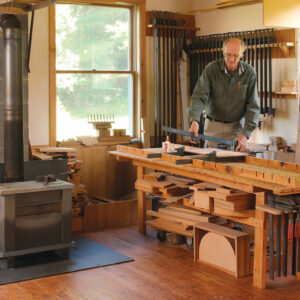
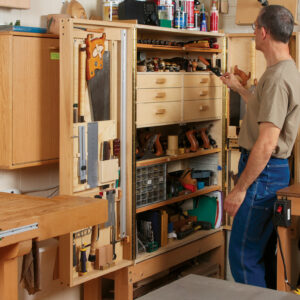
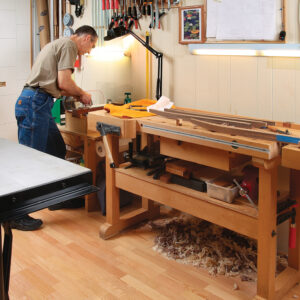
Becksvoort keeps his big Lie-Nielsen workbench out in the open, and most of his work happens on or around it. Nearby is a long counter with storage for routers and bits, sanders, clamps, fasteners, a Bose audio system, and the phone (“It’s a dial phone with a really loud bell I can hear when machinery is running”). Above the countertop and close at hand for benchwork is his big wall-mounted tool cabinet (see FWW #153).
The other dedicated workstation that juts into the shop is Becksvoort’s 7-ft. glue-up table with slotted rails for bar clamps. Most everything else in this shop is along the walls, leaving plenty of assembly and work space in the middle, critical for a working pro. Like many woodworkers, Becksvoort realized that his tablesaw doesn’t need any extra room on the extension end, so he parks that against a wall, leaving plenty of room for infeed and outfeed on both sides. His lathe sits in front of an east-facing window, which offers wonderful light for morning turning sessions.
Medium
A small garage can pack a punch
Michael Pekovich, hobbyist/part-time pro
Middlebury, Conn.
Garage, 20×20
Most of us fall into this category, with roughly the space of a two-car garage or less. With a smart layout, good storage solutions, and a ruthless eye for superfluous tools, this is all the space a serious hobbyist needs.
FWW art director and frequent contributor Mike Pekovich also makes furniture professionally, at least part-time, in his vintage two-car garage. The 20×20 building was small to begin with, but after insulating the cinder-block walls, the usable space was reduced to a cozy 18×18. “I knew that I had to make every inch count,” Pekovich says. “That meant I had to give up on the idea of storing lots of lumber in my shop. A lumber shed is in the plans, but for now, I buy stock as projects come along, and when scraps build up too much, they go into the woodstove. Finally, anything that is only used on occasion goes up to the attic and out of my way.”
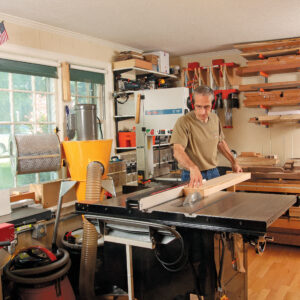
Pekovich has never been a fan of mobile machines, and not just because he doesn’t want to have to stop working to rearrange them. “The rolling bases I’ve used are too wobbly, and once the shop gets cluttered up, it’s difficult to move things at all.” His solution is a central machinery island, an idea favored by many woodworkers. He says the “doughnut of space” around the island serves as infeed and outfeed for the machines, and offers easy access to everything else in the shop.
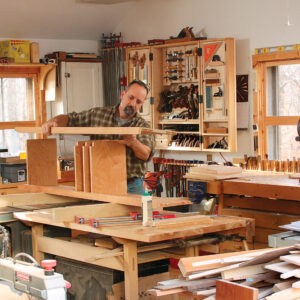
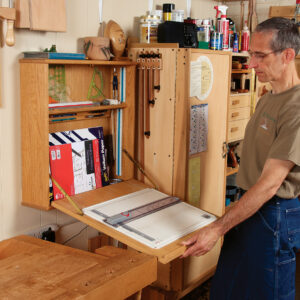
But the heart and soul of the shop is the hand-tool area, Pekovich says. He is not the first to center his workbench under a window, both for the visibility and the view. And a wall-hung tool cabinet is another common touch. But his tablesaw’s outfeed table, which has a solid maple top and cast-iron front vise, is innovative. “I use it both as a workbench and assembly table, and it’s the smartest move I made in my shop.” Also near the bench is a 15-drawer cabinet that holds a variety of fasteners and power tools, with the top serving as a sharpening station.
Small
In the smallest spaces, plan vertically and horizontally
Rob Porcaro, hobbyist/part-time pro
Medfield, Mass.
Spare room, 11×17
Even if you only have a single room in your house, or a corner of the basement, you can be very happy and productive. The key is choosing your compromises wisely, and maximizing every foot of vertical and horizontal space.
Rob Porcaro is “quite proud of his little workshop,” which is in a spare room of his house. That gives him the benefit of hardwood floors, climate control, and a very short commute. Acoustic paneling on the doors keeps the family happy.
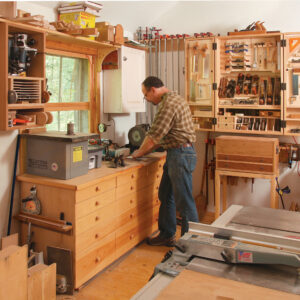
To make the space work for the usual mix of hand and power tools, Porcaro has engineered almost every inch, both horizontally and vertically, the latter by closely matching infeed and outfeed surfaces, letting him place tools much closer together, and building a number of smart racks for clamps, lumber, and parts in progress. He has enjoyed fine-tuning the space and has covered the process extensively in his blogs at RPWoodwork.com/blog.
Porcaro began his layout like most people do, by locating the workbench. His first thought was to put it under the windows, but he decided to place it along the opposite wall for a number of reasons particular to his space. For one, he anticipated that the baseboard heater element under the windows would get packed with chips from the bench. Also, he wouldn’t have as much wall space for placing his tool cabinet nearby. And last, his electrical outlets were on the window side. So it made more sense to park his machines there.
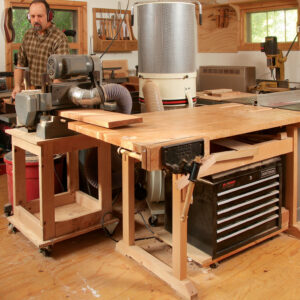
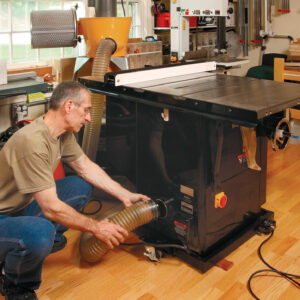
Porcaro took a calculated risk with his tablesaw, cutting down the rip-fence rails to the maximum capacity he tends to use, just over 24 in. That allowed him to create more room around the other side of the saw for infeed, outfeed, and crosscuts. He says he has rarely had to move the saw. A small cyclone dust collector is tucked in near the wall between the saw’s rails. One 4-in.-dia. dust hose reaches all the machines, with a simple press-fit connection. No blast gates needed. This is where having a small shop is a good thing, Porcaro points out.
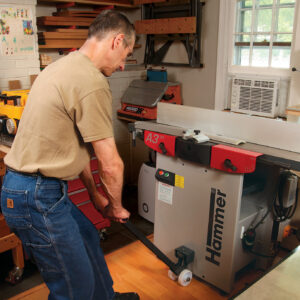
He is able to keep his bandsaw in place most of the time, but his router table and 12-in. jointer/planer must be moved to work. He stores an additional thickness planer (with a Shelix cutterhead) on top of a secondary tool chest. When needed, it goes atop a Workmate stand which normally hangs on a wall. Similarly, he “muscles” a benchtop drill press and an oscillating sander onto the Workmate from their storage places on the long shelf.
To make his cozy workshop work, Porcaro keeps only what he needs: “It’s like the salary cap on a pro sports team—every tool has to perform with value.”
For the full article, download the PDF below:




Comments
There are small workshops, and there are tiny workshops, with room for only benchtop devices. Mine is of the latter sort. No room for a drill press!
Why no mention of a two-zone strategy for the small shop user? I have worked in a small basement shop for years. One tactic I use, not mentioned in this article, is to keep a jointer/planer on a mobile base in the corner of garage and use it there when needed. Since dimensioning lumber is usually just a single phase at the front end of any project, I find that isolating this job and the related equipment, noise and dust to the garage was preferable and doesn't really cause me any extra steps. Also, I often break-down sheet goods in the garage using saw horses, a saw guide and an ancient Makita circular saw with a good blade. With careful set up and a shallow scoring cut, cabinet grade cuts can be obtained.
Log in or create an account to post a comment.
Sign up Log in