How to Set Up Your Table Saw for Success
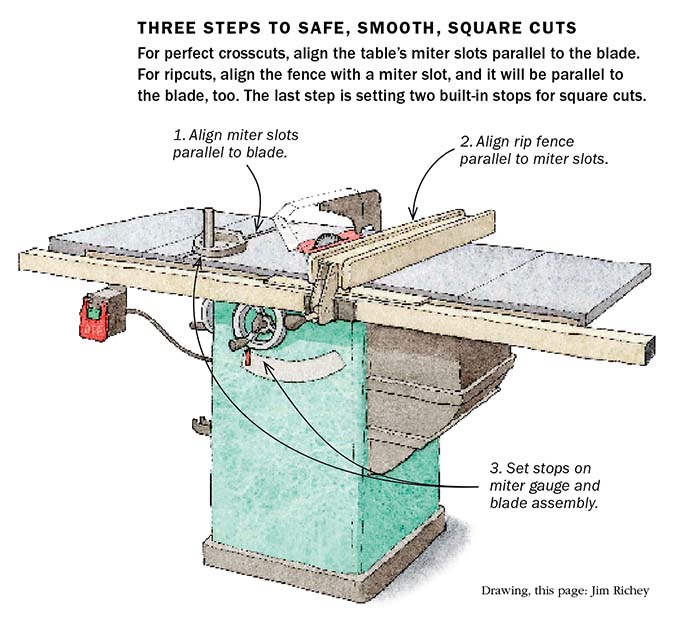
Three steps to safe, smooth, square cuts on your tablesaw.
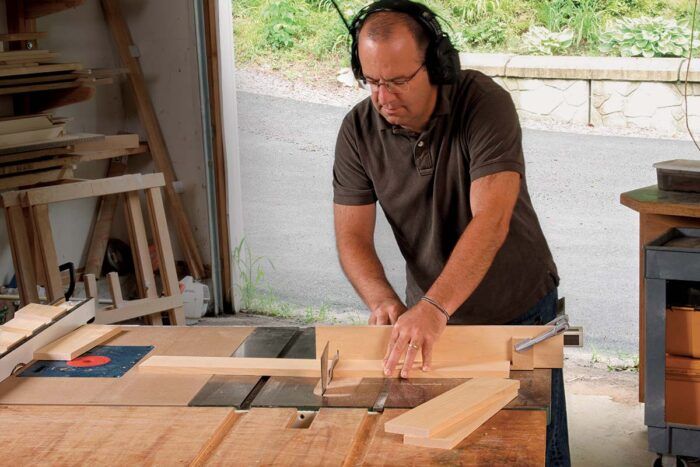
Synopsis: If you’ve recently bought a new tablesaw and are expecting it to do great work right out of the box, think again. Tablesaws need a tune-up before you start using them. First, you need to align the table with the blade, and make sure the miter slots are parallel with the blade. Then you need to align the rip fence perfectly parallel to the blade. This may well be the most important machine you ever buy for your shop, so it makes sense to take the time right at the beginning to ensure that it’s ready to do its best work.
Some power tools will do their best work right out of the box. Don’t expect that from your new tablesaw. Unlike a cordless drill or router, a tablesaw needs a tune-up on day one.
If you are incredibly lucky, every part and accessory will arrive perfectly aligned. I’ve heard of such miracles but never witnessed one myself. The trouble is that a misaligned saw is a dangerous saw, and you won’t know until you make a cut. At best it will be rough and inaccurate; at worst the board will kick back at you or become jammed against the fence or blade midcut.
A tablesaw is designed so that the teeth at the front of the blade do all the cutting, and the teeth at the back spin freely, without rubbing or cutting into the board. For that to happen, the board needs to travel in a perfectly straight path through the blade.
So the first step is aligning the table so that the miter slots are parallel with the blade. The rip fence also needs to be set perfectly parallel to the blade.
From there, the tune-up switches from parallel to perpendicular, as you set the blade and fences square to the table. Those 90° angles are essential if you want to end up with tight joints and square projects. so before you plug in a new or used machine for the first time, go through the following steps. once your saw is dialed in, it will stay that way for a very long time.
Align the blade parallel with the miter slots
To align the table (and its miter slots) with the blade, you’re going to have to go under the hood, at least a little. Most tablesaw manufacturers attempt this step at the factory, but even the best machines can get knocked out of line during shipping, and used machines are a crapshoot.
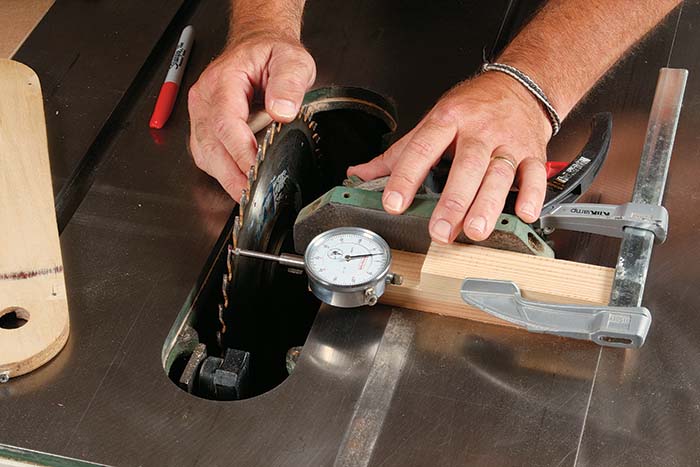
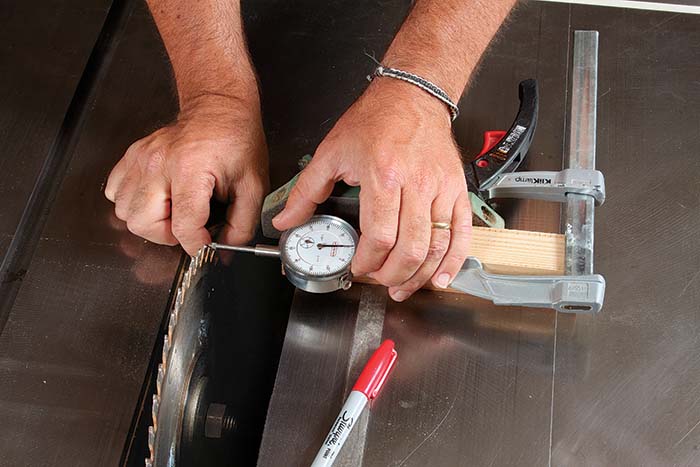
How you check this alignment is the same on all saws, but the way you adjust them differs a bit. To check, take a measurement from the edge of one of the miter slots to the front and back of the blade. If the measurements are the same, the blade and table are aligned. I recommend using a 0-to-1-in. dial indicator for this step. get the plunge style. You can find one on Amazon.com for $20 to $30.
Start by raising the blade as high as it will go to increase the distance between back and front, which will give a more precise measurement. In case the teeth are a little uneven or have some pitch built up on them, rotate the blade and use the same tooth for each measurement. The two numbers should be within 0.001 in. of each other, 0.002 at the most.
If your measurements match on the first try, buy a Powerball ticket. If not, you’ll need to make an adjustment.
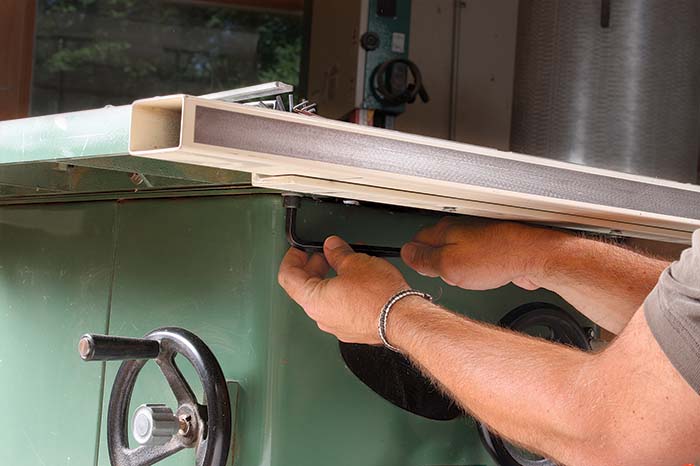
Adjusting cabinet saws—On these saws, the trunnions (the assembly that holds the blade) are attached to the cabinet, and the table is attached independently, meaning you can move it and the blade stays put.
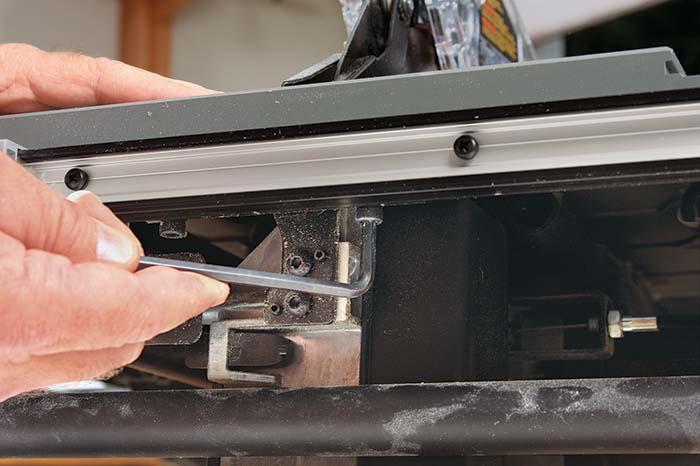
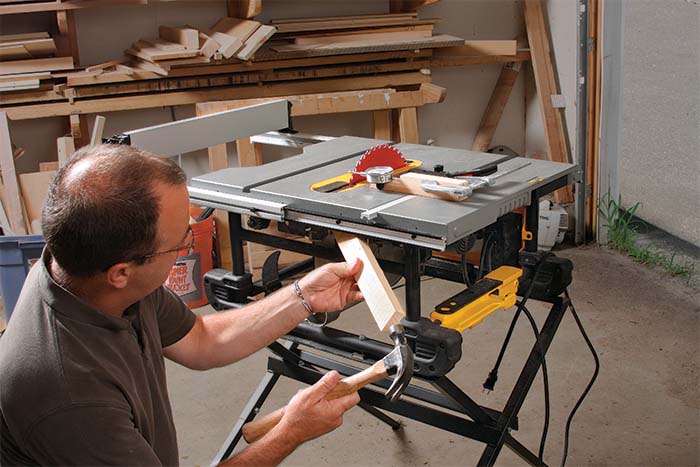
Adjusting job-site saws—On smaller saws—called job-site, portable, contractor, or hybrid saws—the blade assembly is usually attached directly to the tabletop. That means you’ll have to go a little farther under the hood. Check your manual, and take a look under the table for the attachment points. Newer saws make them easier to access.
Align the rip fence and check the splitter
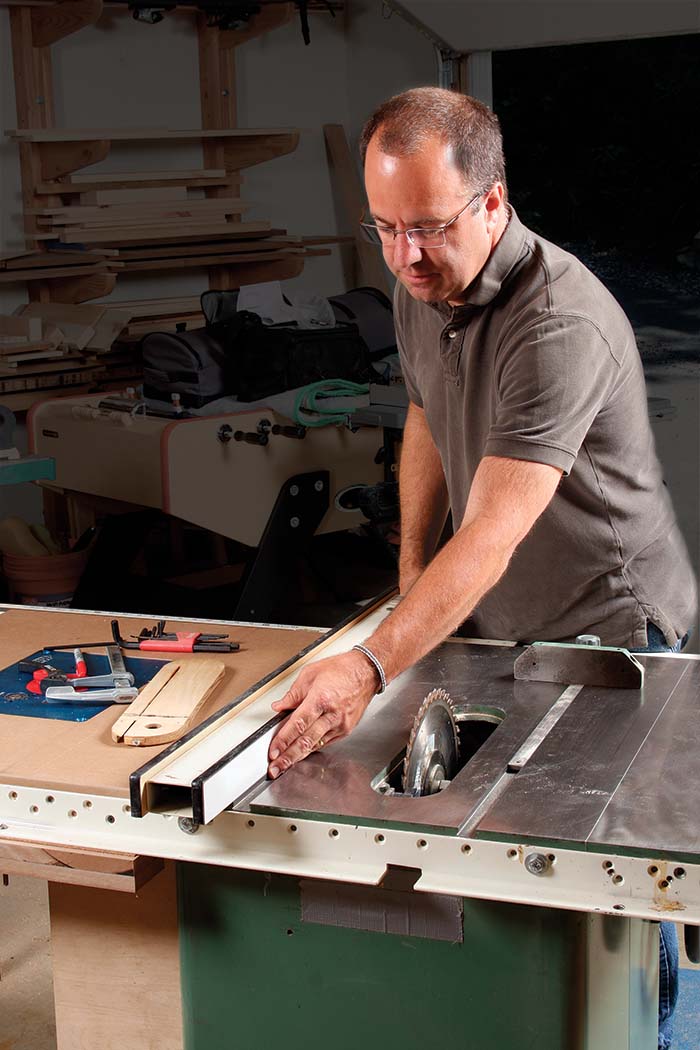
The rest of the tune-up is easy. Now that the miter slots are parallel with the blade, you can simply align the rip fence with one of the slots and know that it is square to the blade, too. Just line up the fence with a miter slot, feel for misalignment using your fingers, and adjust the fence.
All saws should have some form of splitter behind the blade, designed to sit in the slot that it cuts, preventing the board from turning sideways and kicking back. If the splitter is not aligned with the slot, the board will pull away from the rip fence or jam against it—both bad situations. On some saws, you can simply flex the splitter sideways to align it; on others, there will be a way to adjust it at its base. If all else fails, use thin shims or washers at the attachment point to shift it slightly one way or the other.
Two stops make accuracy more convenient
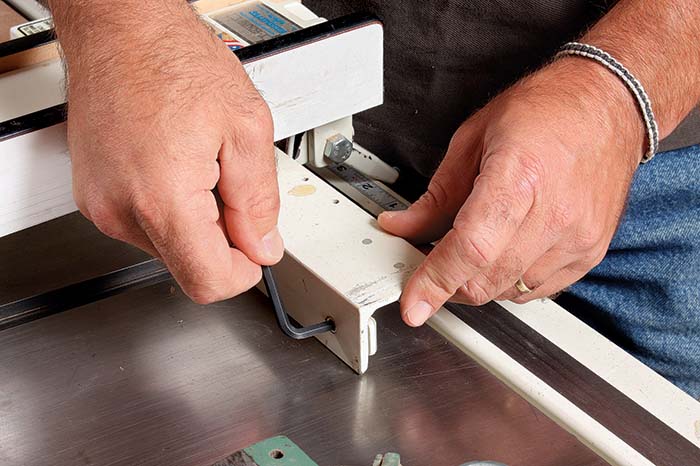
For ripcuts and crosscuts alike, you also need the blade to be square to the table. There is a stop on the saw to help you return the blade to a perfect 90° every time. You can use a square to realign the blade after each bevel cut, and test cuts to be really sure, but it’s nice to have a stop you can rely on.
The miter gauge that came with your saw also should have a stop on it for the 90° setting. If that stop is wiggly or sloppy in any way, replace the miter gauge with an aftermarket model (see p. 54 for a review of these). Before squaring the fence, add a long sacrificial piece of plywood or MDF to it.
The tablesaw is the most important machine in the shop. Invest in a good one, and then invest the time it takes to set it up for success.
Align the blade and table
The miter slots must be parallel to the blade, and a plunge-style dial indicator is the best tool for checking. Screw it to a small wood block, clamp the block to the miter gauge, and slide the gauge back and forth to take readings at the front and back of the blade.
1. Check alignment
2. Adjust as necessary
Cabinet saws: Shift the table
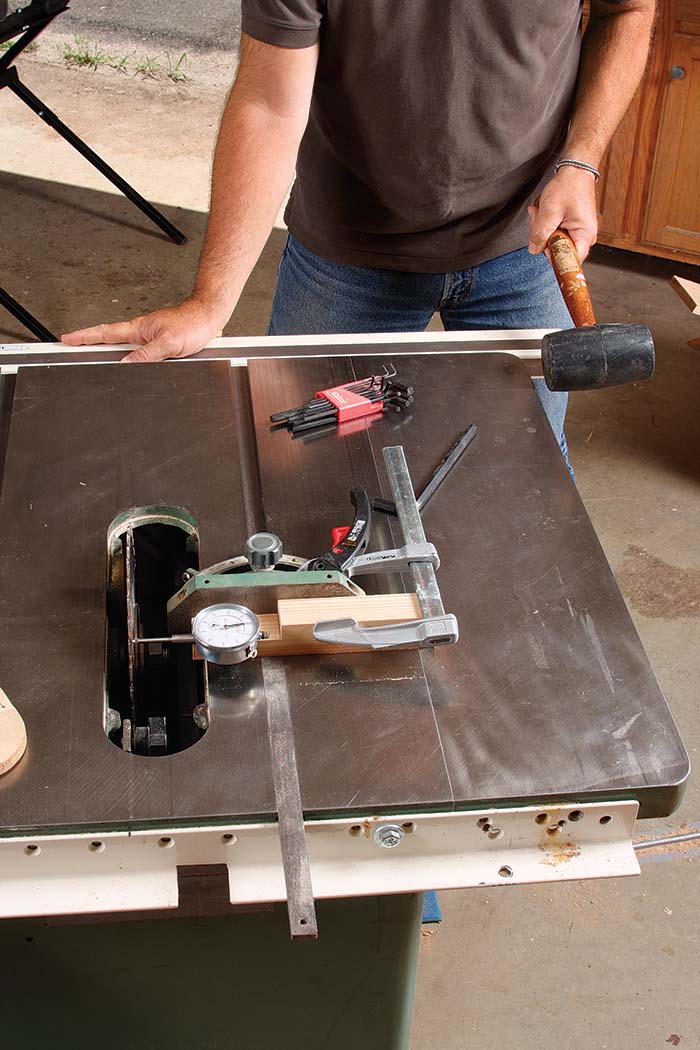
Smaller saws: Shift the blade assembly
Align the rip fence
Once you have the miter slots aligned with the blade, you can simply line up the rip fence with a miter slot to see whether it is parallel to the blade, too.
Set the stops
Both the blade and miter gauge have built-in stops for returning them quickly to 90° after making an angled cut. Set these now and you’ll save time later.
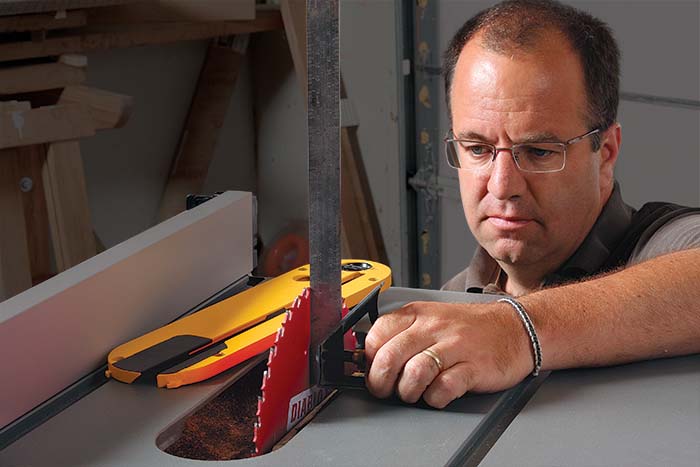
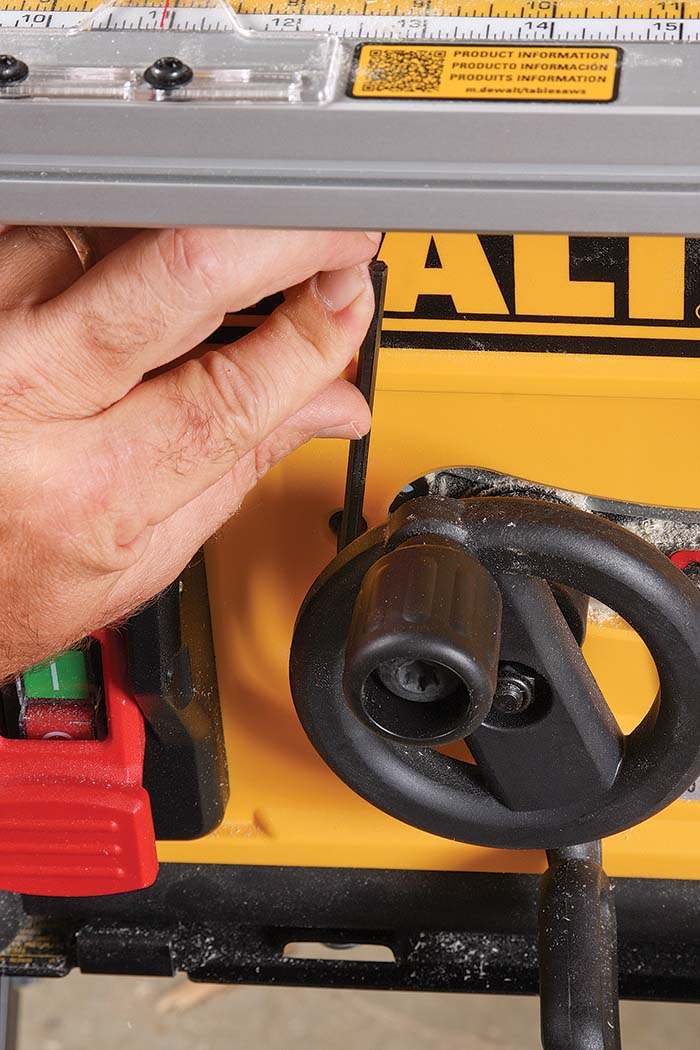
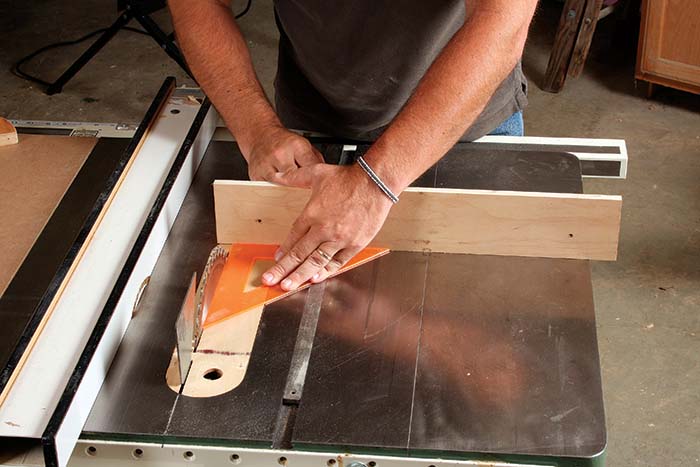
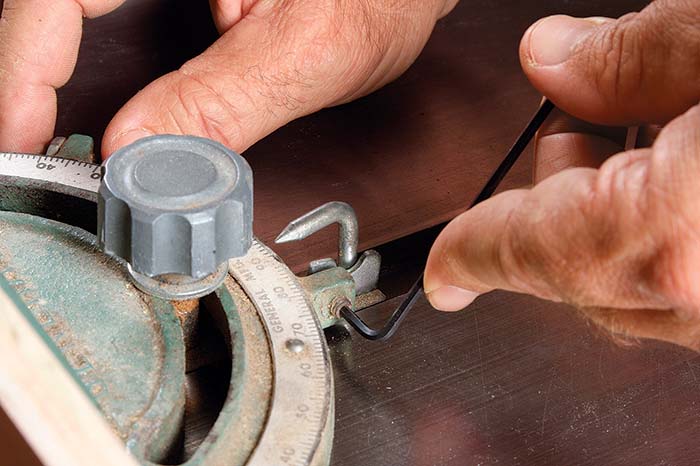
Photo: Kelly J. Dunton
For the full article, download the PDF below:
Fine Woodworking Recommended Products

Starrett 12-in. combination square
Grizzly G0495X Industrial Helical Cutterhead 8-in. Jointer
Freud Super Dado Saw Blade Set 8" x 5/8" Bore




Log in or create an account to post a comment.
Sign up Log in