How to Tune Up Any Jointer
How to align the tables and knives for flawless results.
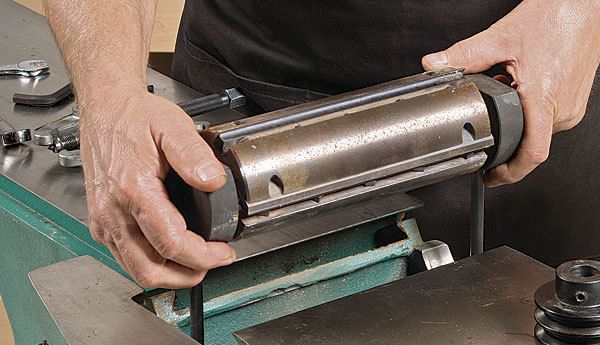
Synopsis: There are two keys to a smooth-running jointer: tables that are perfectly parallel and sharp knives that are set to the identical height. A jointer with sagging tables won’t cut correctly no matter how sharp the knives are. Likewise, perfectly aligned tables won’t make dull knives work better. You need to check and fix both, or your jointer will never flatten or square anything properly. Jointer whiz Roland Johnson shows how to do both jobs with tools you already own. He also offers some tips for upgrading if you want to take your jointer to the next level.
The thought of tuning up a jointer intimidates many woodworkers. So they play a waiting game, tolerating poor performance or dull, nicked knives until the jointer’s shortcomings can’t be ignored.
What many folks don’t realize is it’s not that difficult to get your jointer in top-notch shape. There are two keys to a smooth-running jointer: tables that are perfectly parallel (actually, coplanar) and sharp knives that are set to the identical height. A jointer with sagging tables won’t cut correctly no matter how sharp the knives are. Likewise, perfectly aligned tables won’t make dull knives work better. You need to check and fix both, or your jointer will never flatten or square anything properly.
That process can take a little bit of time and effort, but it can be done with tools you probably already have. To check the tables, I use a long straightedge but a high-quality box level works just fine, too. To set the knives, I use a block of wood and a pencil. Barring major problems, most woodworkers can get their jointer tables righted and their knives replaced in about an hour.
And a couple of equally simple upgrades will make knife-changing even faster. If you want to stick with knives, disposable kits can be installed in minutes. If you want a serious upgrade, segmented cutterheads forgo knives in favor of carbide inserts that hold their edge far longer and can be changed in a minute or two.
No matter what, start with jointer tables that are dead flat and perfectly parallel.
Tables first
A jointer’s infeed and outfeed tables must sit in the exact same plane. otherwise, a board can rock or pivot as it moves over the cutterhead, resulting in a board that isn’t perfectly flat or square. It’s best to check the tables before replacing the knives because you’ll have to raise the outfeed table, which you normally wouldn’t do after the knives are set. If there is a problem, it should be fixed before installing new knives.
First, check the infeed and outfeed tables separately to see that they are flat and straight. I do this by raising each table to its highest position and laying a straightedge on top of it to look for gaps of light. Examine both sides, the middle, and the corner-to-corner lengths, to see if there’s any wind. If you see gaps thicker than about two sheets of paper, consult the manufacturer about whether the table needs to be flattened or replaced.
To check whether the tables are parallel, I use a 50-in.-long straightedge (Veritas 50-in. aluminum, $85, leevalley.com), long enough to span a good amount of both tables. Place the straightedge to bridge the cutterhead, and check the middle, sides, and diagonals for gaps.
Occasionally, jointers sag at an end or corner. To fix this, you need to raise or lower the position of the table on the jointer base until any gaps disappear. Making that adjustment depends on whether the jointer is a parallelogram design or one with dovetailed ways.
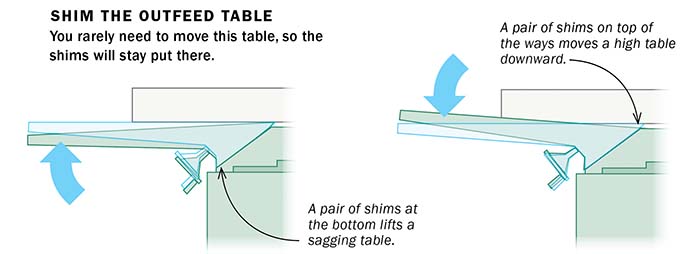
On a dovetail-way jointer, use thin metal shims to adjust only the outfeed table. Except for setting the knives, the outfeed is rarely moved, so the shims are less likely to shift or fall out. Before adding shims, I loosen and retighten the metal strip, known as the gib, that sits in the ways. Often this will release tensions in the mechanism that can shift the table back in place and eliminate the need for any shimming.
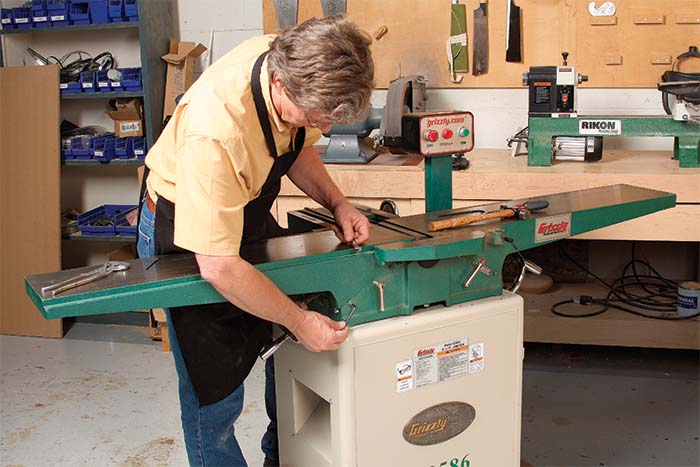
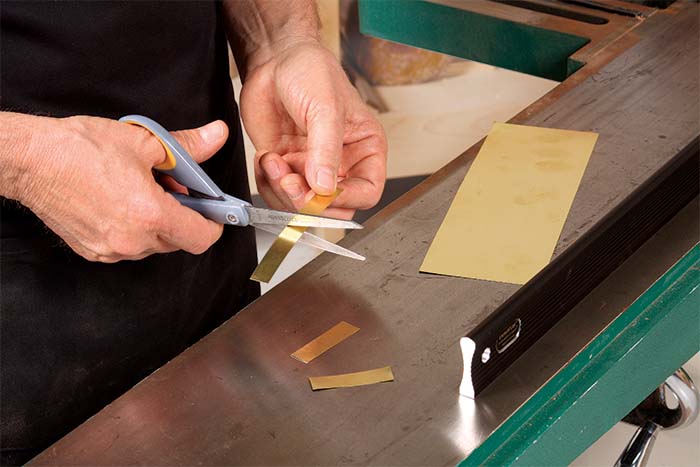
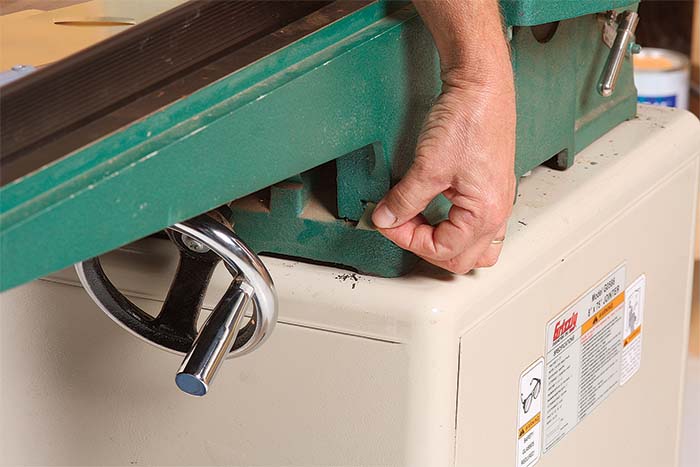
Determine where to shim by sighting underneath the straightedge, then loosen the gib to slip shims between the ways. Short shims on both sides of either end of the way will raise or lower the table. A long shim centered on the sagging side of the way will fix winding. Snug the gib and keep checking and shimming until the outfeed table is co-planar with the infeed table.
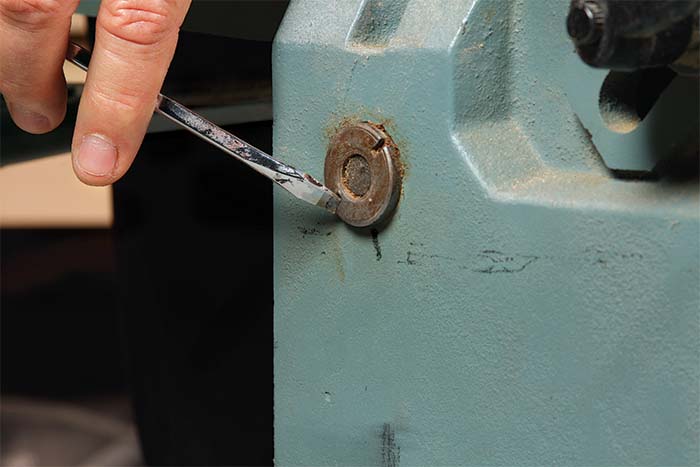
On a parallelogram jointer, you can adjust either table. Just raise or lower the tables by loosening a set screw and turning an eccentric bushing or similar adjustment that connects the table to the base.
Repositioning tables is easier on a parallelogram design because each corner can be raised or lowered by rotating a bushing that connects the table to the base. To move the table evenly, make the same adjustment on each side.
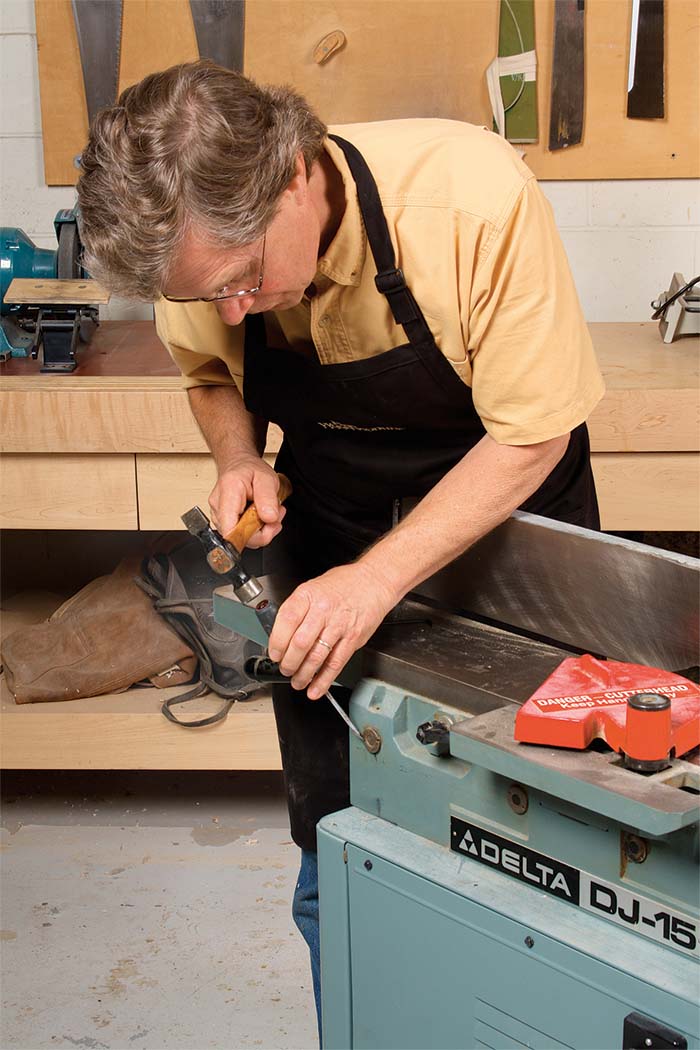
Replacing the knives
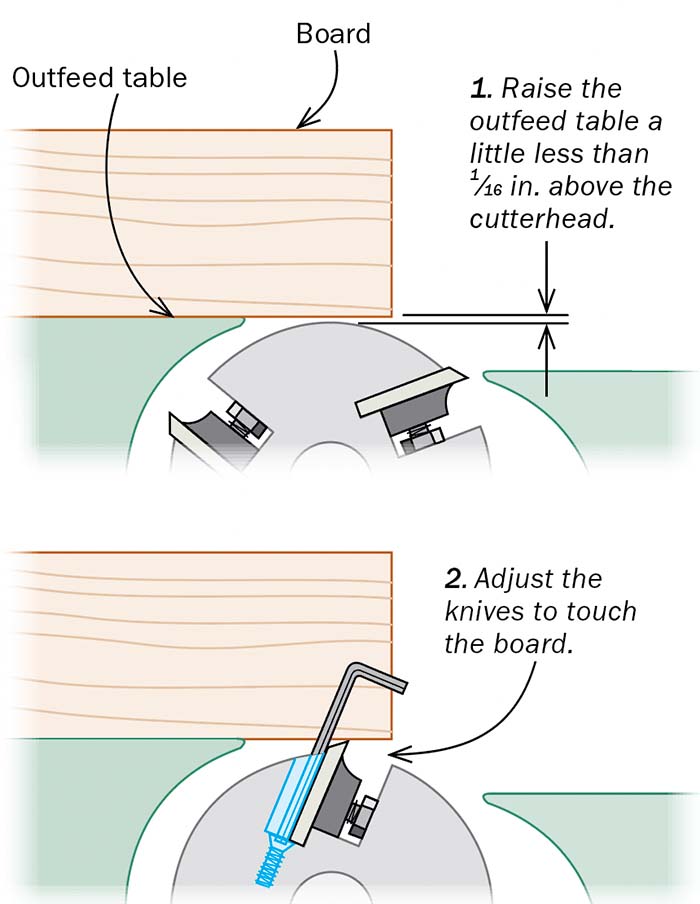
To install new knives, start by moving the outfeed table so that it sits about 1⁄16 in. above the surface of the cutterhead, or about half the thickness of a knife. That distance determines how far the knives stick out of the cutterhead and creates a reference surface for setting the knives.
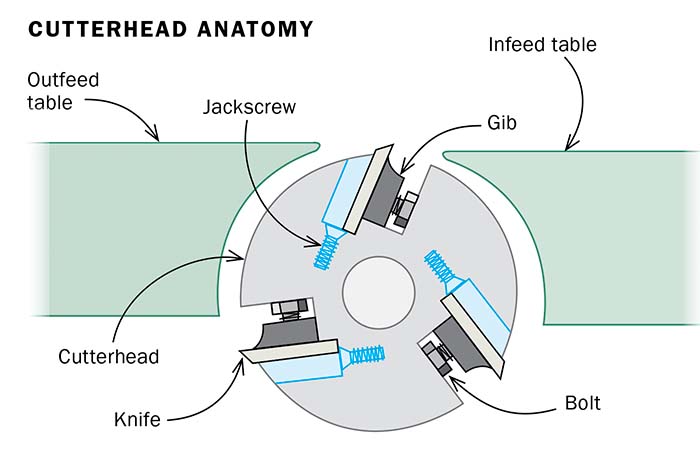
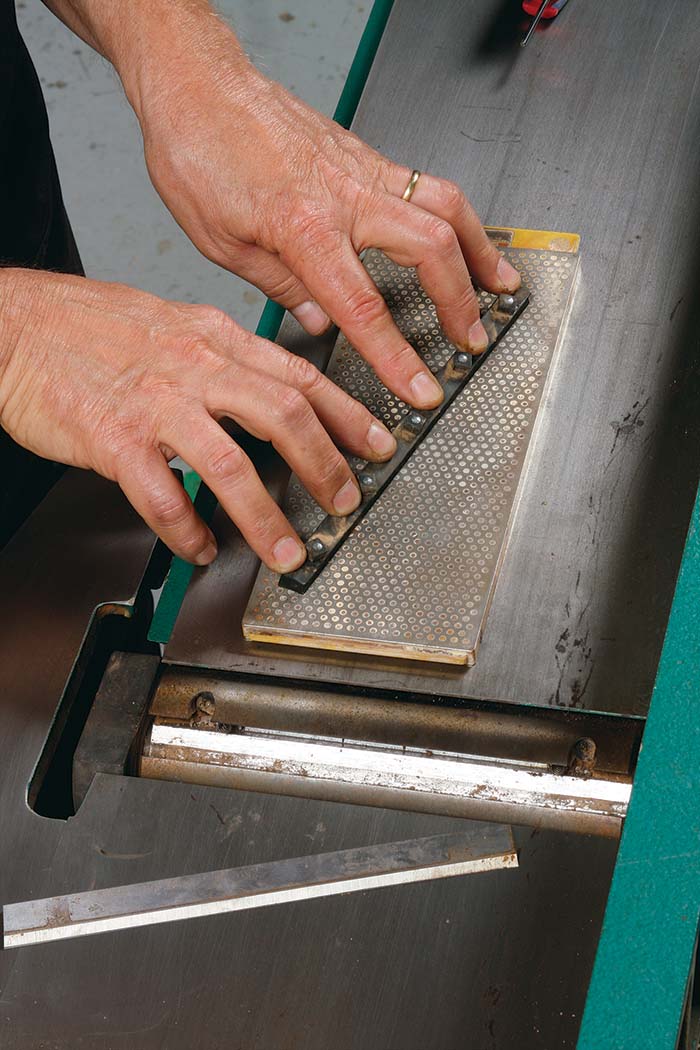
Then remove the knives and install a fresh set. On most jointers, the knives are held in place by a metal gib with a series of bolts that push against the slot in the cutterhead and keep everything wedged in place. Loosen the bolts to pop out the gib and knife, and install a new knife the same way.
Get each knife close to its final height, hang a board with a straight edge over the end of the outfeed table, and adjust the jackscrews until each knife barely touches the board when rotating the cutterhead. Tighten the gibs enough to keep the knives firmly in place until they’re set.
Shopmade setting jig
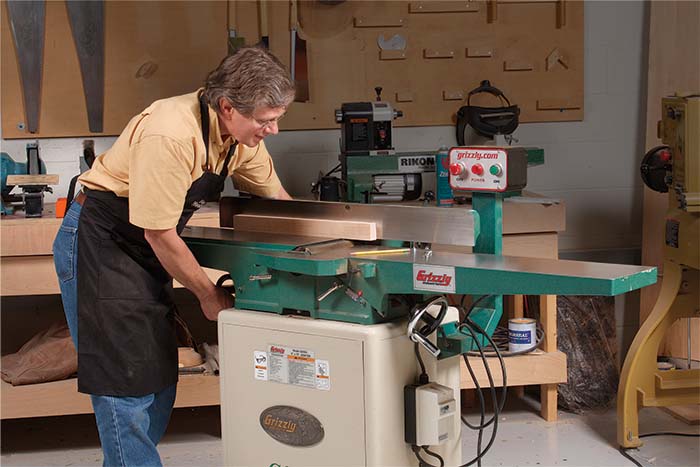
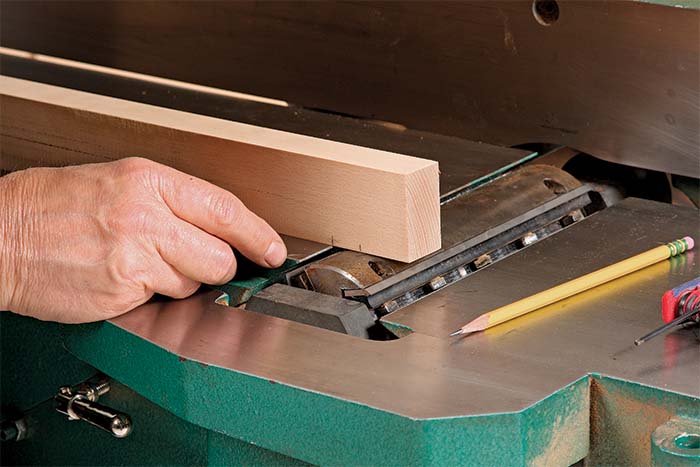
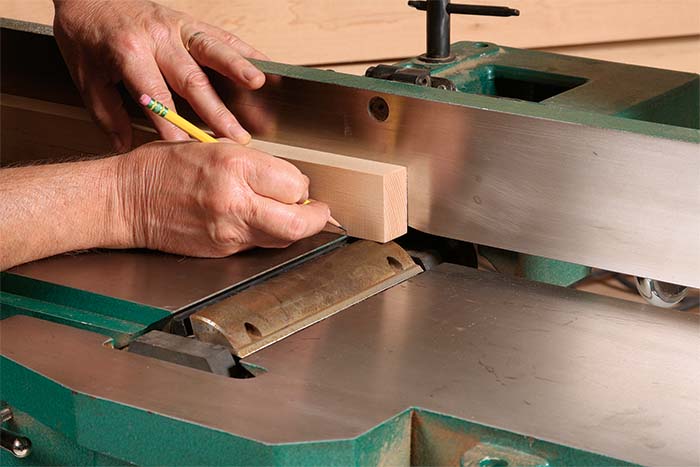
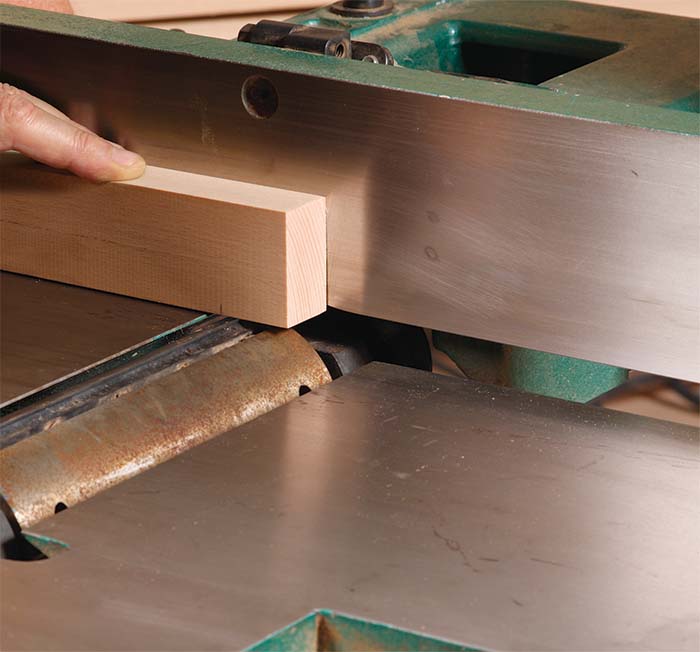
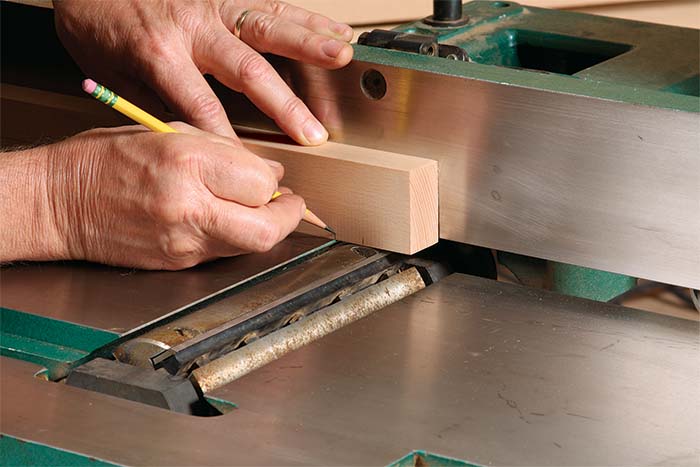
Most jointer knives can be set precisely with a sharp pencil and a straight board. The basic technique is to lower the outfeed table, hang the board over the end, and hand-rotate the cutterhead so that it picks up the board and drags it a short distance. By marking where the board meets the end of the outfeed table before and after dragging, the board becomes a story stick that can be used to set every knife to the same height.
To set the other knives, just line up the first mark on the end of the outfeed table and rotate the cutterhead. When the board drops, check that the second mark falls exactly at the end. If not, raise or lower the knife using the jackscrews, and keep checking with the board until it does. Repeat the procedure for both ends of each knife, then lock down the gibs once everything’s set.
Now, raise the outfeed table so that it’s perfectly flush with the highest point in the rotation of the knives, which is known as top dead center. I do this by extending the straightedge over the cutterhead. Raise the table so that the knives barely miss it as you hand-rotate the cutterhead.
Magnetic jig for springs
On a cutterhead that has springs instead of jackscrews, a magnetic jig works better because it compresses the knives down into position. Magnetic jigs also work on cutterheads with jackscrews, but in either case, you’ll need to make a scribe line on the outfeed table before using the jig.
Find top dead center on the cutterhead, and then mark the fence where the tip of the knife lines up. Place the jig on the outfeed table, aligning the front mark on the jig with the mark on the fence. The jig will have a second mark on the rear of its bar; use it to locate and scribe a line squarely across the outfeed table. Now, whenever the jig is placed on the outfeed table, the mark in the front shows top dead center. Set each knife so it touches the jig at that point.
To install new knives, place the jig on the outfeed table and align the mark, then rotate the head until a knife is directly under the top-dead-center mark. Loosen the gib so that the springs push the knife against the jig, while the magnets pull the jig tight to the table. Then retighten the gib to lock the knife in position.
After everything’s locked up and dialed in, the outfeed table should be perfectly in place, and you’ll be ready to joint boards flawlessly.
Setting the jointer knives – Step by step
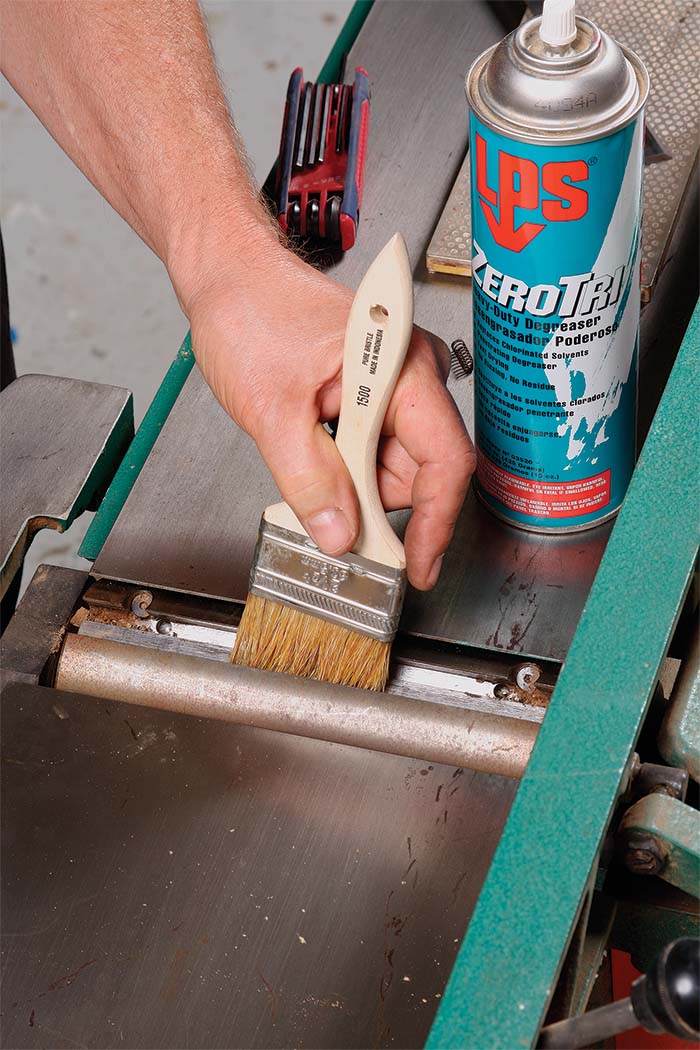
1. Make a clean start
2. Get them close
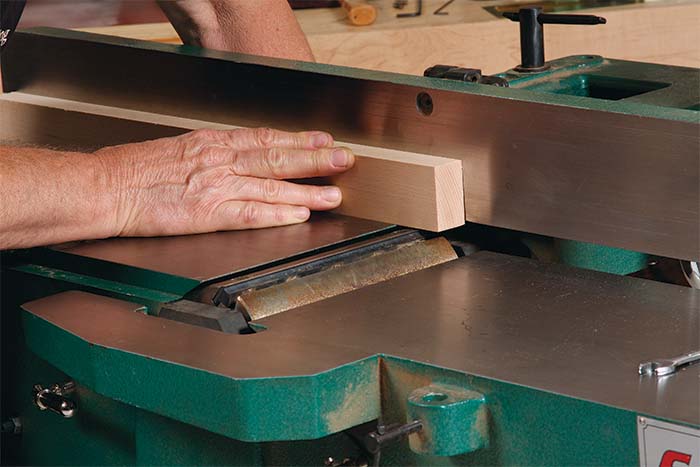
3. Use the board trick to fine-tune them
Work to the lines. Start at the same mark to check the height of the other end of the knife (above), adjusting the jackscrews (left) until the board moves the correct distance. Then do the same at both ends of the other knives.
 |
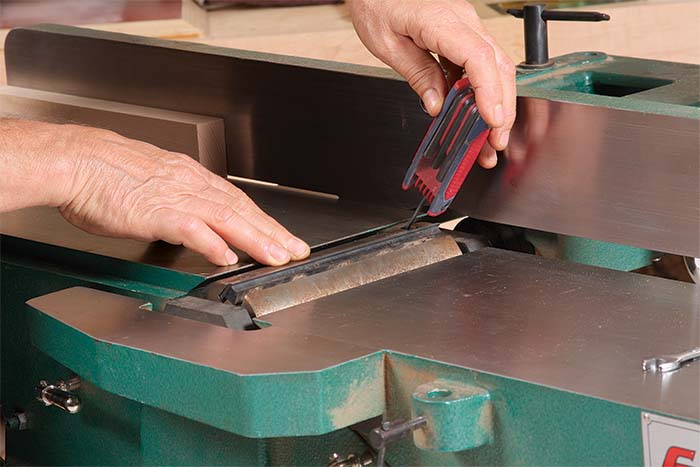 |
Work to the lines. Start at the same mark to check the height of the other end of the knife (above), adjusting the jackscrews (left) until the board moves the correct distance. Then do the same at both ends of the other knives.
From Fine Woodworking #230
For the full article, download the PDF below:
Fine Woodworking Recommended Products
Rikon 10-3061 10-in. Deluxe Bandsaw
The saw has two speeds: 3,280 sfpm (surface feet per minute) for wood and 1,515 sfpm for soft metals and some plastics.
Rockler Dust Right 650 CFM
Makita LS1219L Miter Saw







Log in or create an account to post a comment.
Sign up Log in