Jigs for Routing Perfect Curves
Tips and techniques for making an assortment of pattern-routing jigs.
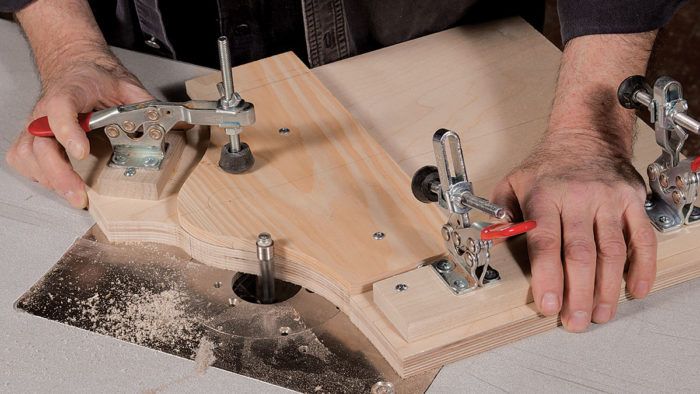
Synopsis: Pattern routing is a good way to add curves to your furniture, especially when a piece requires multiple identical parts. The right jig can ensure that you use this technique safely and effectively. Here, Bob Van Dyke shows how to make and use some of his go-to jigs: a reusable jig for gentle curves, a half-pattern for tight curves, and a template that attaches directly to the workpiece. Also included is a look at the various types of pattern-routing bits.
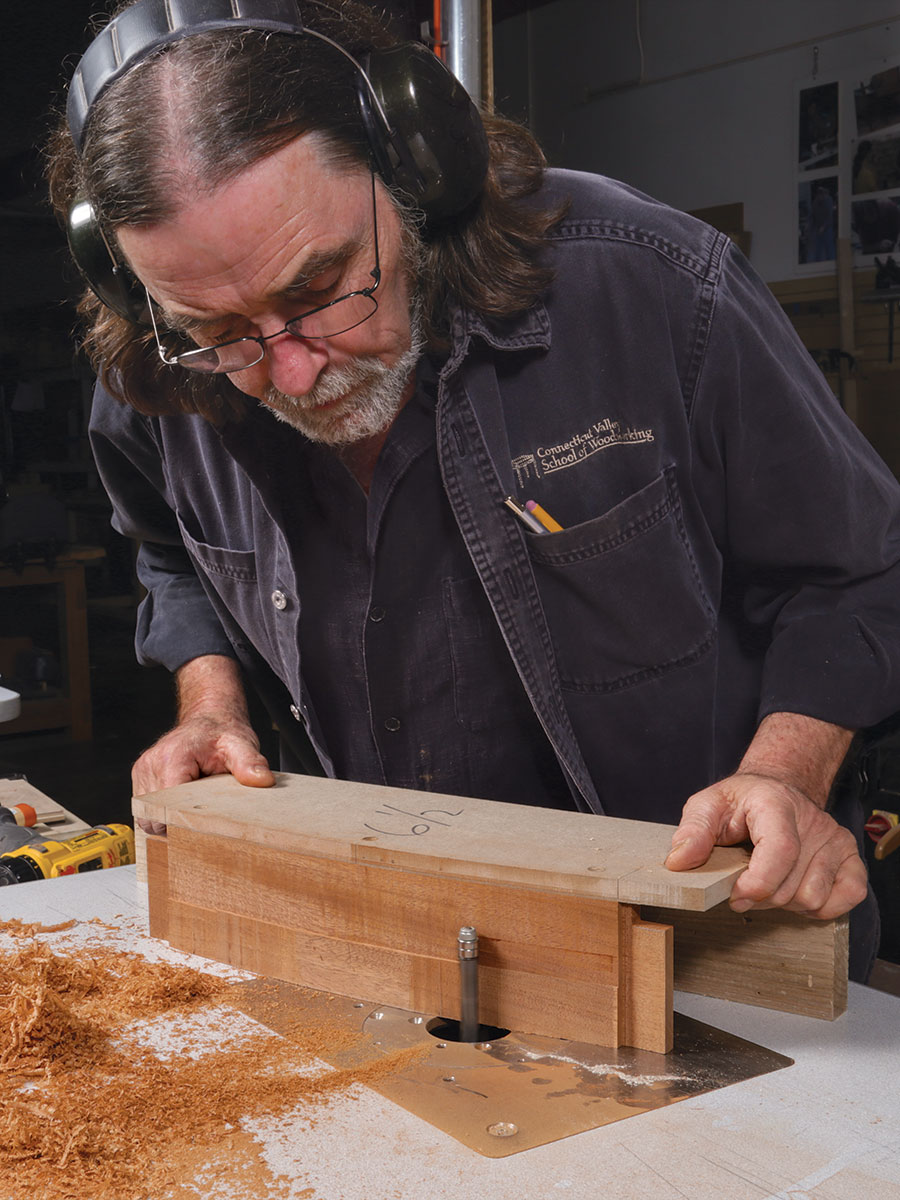
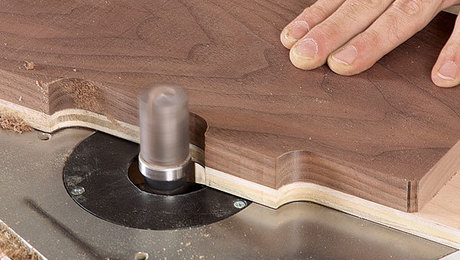
Incorporating curved parts into your work expands your design possibilities dramatically. Although curves can be achieved with hand tools, pattern routing with a router table may be a better option, especially if you must make numerous identical parts. With this technique, parts are attached to a shaped pattern that rides against a bearing-guided router bit, letting you duplicate parts quickly and easily.
There are different styles of jigs to choose from. Your choice hinges on how frequently you expect to use it, how you’ll secure the workpiece, and, most importantly, the steepness of the curve you are routing and whether it has dramatic grain changes.
Watch a replay of Bob’s
webinar or pattern routing
Routing uphill (against the grain) can cause tearout, so avoid it when you can. Climb-cutting, moving the workpiece left to right, should always be avoided as it risks losing control of the workpiece and drawing your hand into the cutter. With the right jig, you’ll always be able to rout safely, from right to left, while cutting entirely downhill (with the grain) or uphill only on shallow curves. For more on router table safety and feed direction, see my Fundamentals “Getting started with router tables,” (FWW #270).
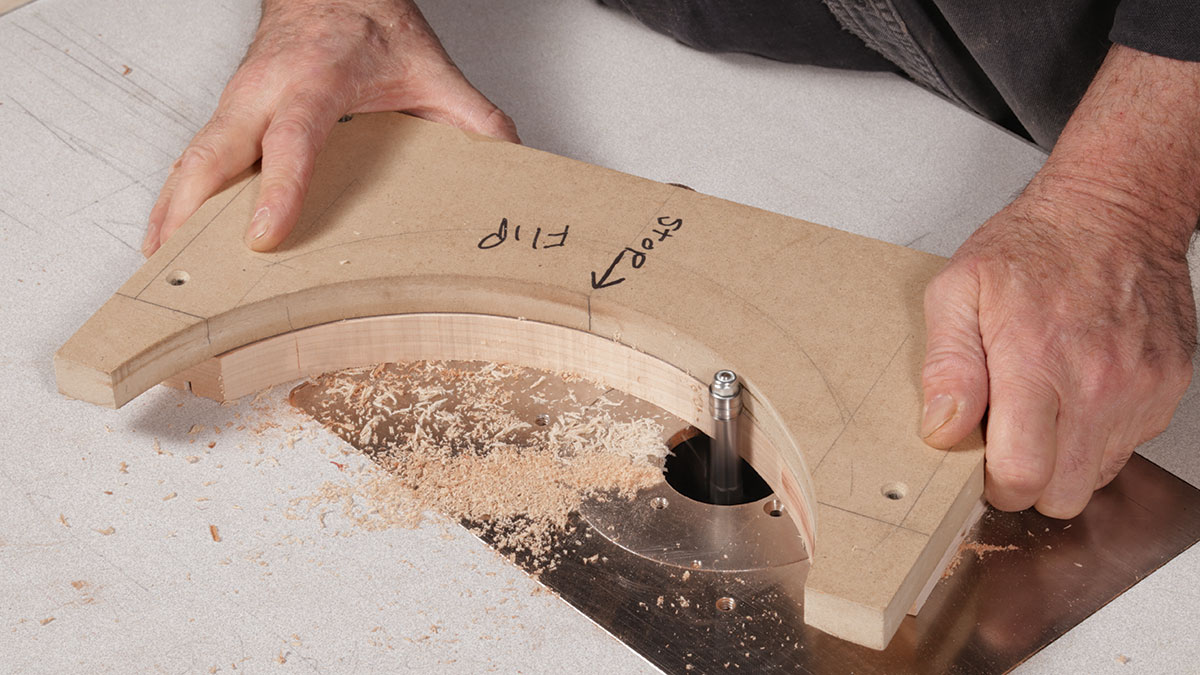
Use solid wood for the master pattern
Whichever jig you’re using, you’ll need a master pattern shaped to the part you need. This master generates the plywood jig that will be used to make the actual parts. While I prefer durable Baltic-birch plywood for the jig, I like thin pine or poplar for the master because these woods are easy to shape with hand tools. Refining curves with hand tools like a spokeshave or compass plane is usually better than using a spindle sander because, with the sander, it is all too easy to make parts that seem to have a fair curve but actually have lumps that will transfer to your furniture part. It’s much easier to produce a smooth, fair curve with a spokeshave or compass plane. Make sure to account for joinery locations in the master. When the master is done, turn to the actual shaping jig.
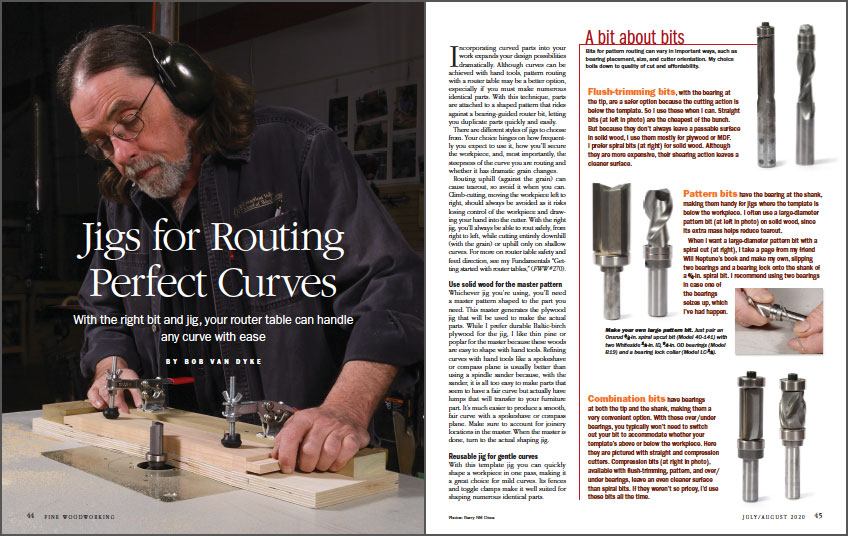
From Fine Woodworking #283
To view the entire article, please click the View PDF button below.
 |
The Best Bits for Pattern-Routingby Steve Latta |
 |
Router table basicsby Bob Van Dyke |
 |
Fine Woodworking Recommended Products
Woodriver Circle Cutting Jig
Milescraft 4007 6in Bench Clamp
Bosch 12V Trim Router


Comments
This article along with the companion video contain a huge amount of hands-on, practical information that significantly increases my productivity and safety awareness. I have watched the video several times so far and. I have saved many hours of trial and error and experimentation and am much more aware of the risks and how to mitigate. Thanks Bob!
Log in or create an account to post a comment.
Sign up Log in