Sharpen Jointer Knives in Place
Get better cuts and spend less time fiddling with your machine.
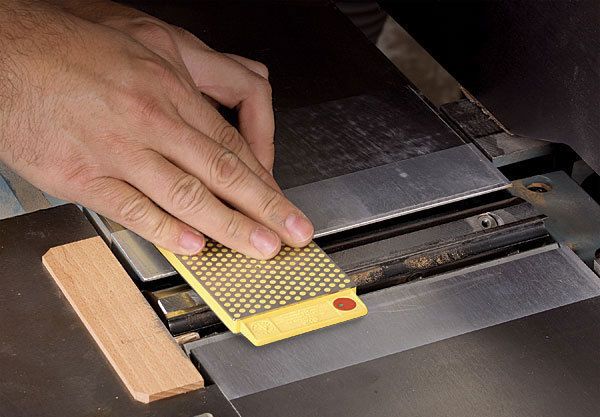
Synopsis: Sending jointer knives out for sharpening is inconvenient and the results are not always great. Also, re-setting the new knives in the jointer is a time-consuming and tedious job. So Hendrik Varju came up with a way to sharpen jointer knives without removing them from the cutterhead. A simple locking jig and his easy to understand instructions are all you need.
From Fine Woodworking #224
Sending jointer knives out for sharpening is inconvenient enough, but I’ve also been unhappy with the results. I’ve tried half a dozen sharpening services over the years, and the edges were rarely very fine and often quite coarse. Also, re-setting the new knives to perfection is a time-consuming and tedious task—time I’d much rather spend woodworking. For years, I’ve been trying to devise a reliable way to get really sharp knives without having to remove them from the cutterhead. Any freehand method wasn’t accurate enough. And then I came up with this jig. It is simple to make and can be adapted easily to your own machine’s dimensions.
This DIY sharpening doesn’t completely replace the need for a sharpening service. If your knives get large chips, it’s best to have a sharpening service do the heavy grinding work. However, a hobbyist who uses his machines carefully should get years of use before having to remove the knives.
1. Lock the head in place
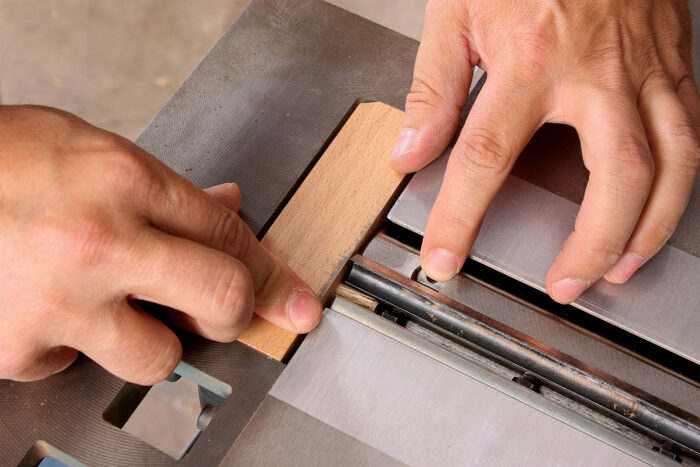
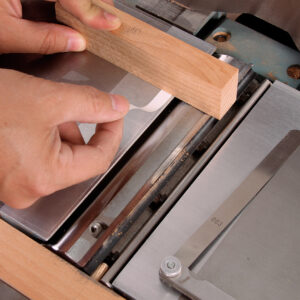
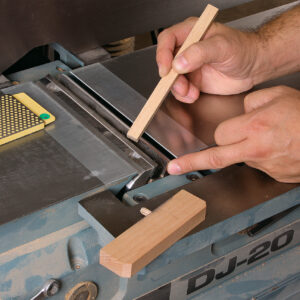
To ensure that each of the knives is sharpened at the same angle and left at the same height, it is critical that the cutterhead is locked in the same position when each knife is sharpened. The jig does that.
Make a jointer locking jig
The hardwood body goes into the opening in the rabbeting ledge adjacent to the cutterhead. The fit should be snug enough to avoid any slop but still be easily removable.
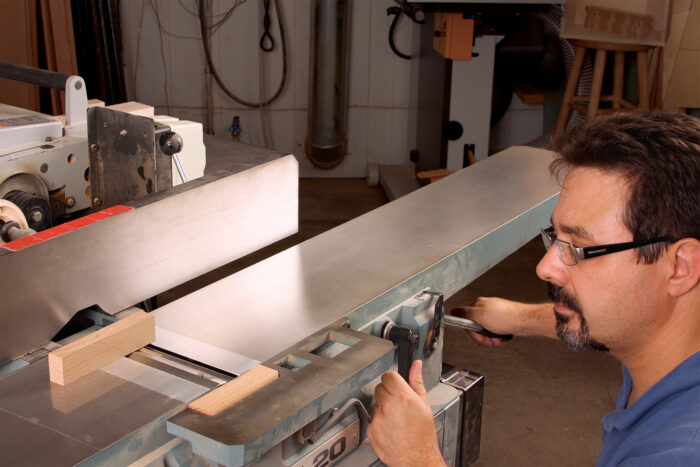
Lower the infeed table an 1/8 in.
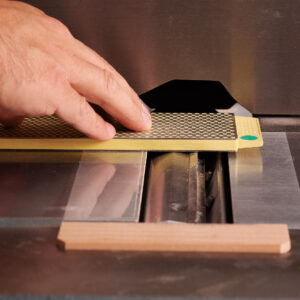
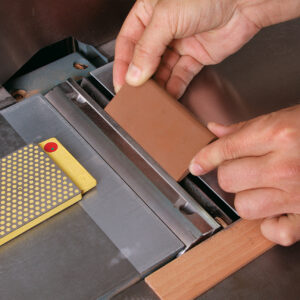
2. Hone a microbevel
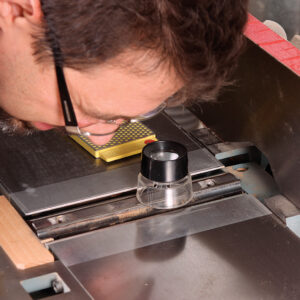
Your aim is to remove only enough metal to get rid of any small nicks in the knife. This secondary bevel should be much smaller than the main bevel.
 |
 |
 |
 |
 |
 |
For the full article, download the PDF below:
Fine Woodworking Recommended Products

Honing Compound
Rockler Silicone Sharpening Stone Tray


Log in or create an account to post a comment.
Sign up Log in