Tune Your Table Saw
A few key adjustments get your saw cutting smoothly.
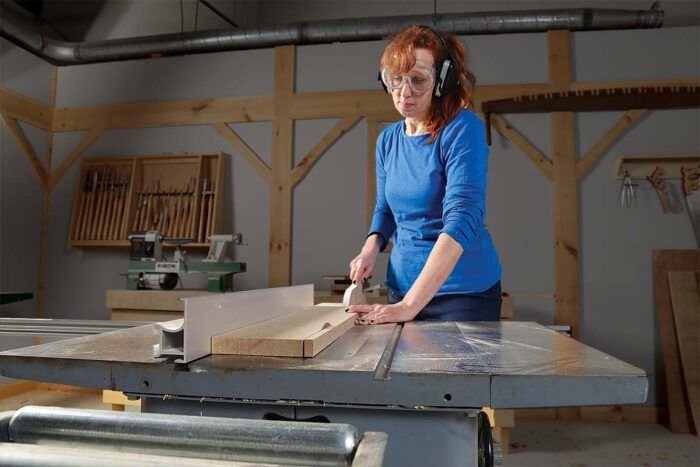
Most of my projects revolve around a tablesaw. When it’s working well, I can make accurate rips, crosscuts, and even coves. All are safe and efficient with a well-tuned saw. But a tablesaw needs regular maintenance; otherwise, using it is at best frustrating and at worst dangerous. If you run through three simple but crucial steps to tune your tablesaw, you’ll be back to accurate and safe woodworking in no time.
The goal of the tune-up is to make the blade, table slots, and fence parallel and square. All I need to set my cabinet saw are a reliable 12-in. combination square, a dial indicator, a socket wrench, and some brass shims.
Start at the blade and slots
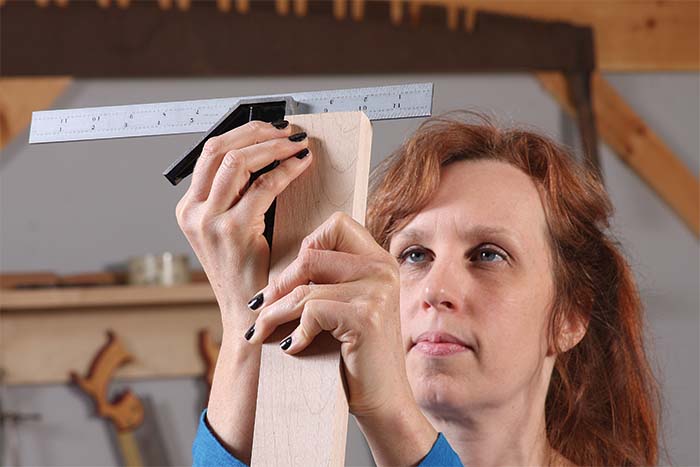
The tune-up starts with the blade at exactly 90°. Raise the blade as high as it will go, set the square against it, and look for any light between the ruler and the blade. If you see some, the blade’s not square. Adjust it until it is.
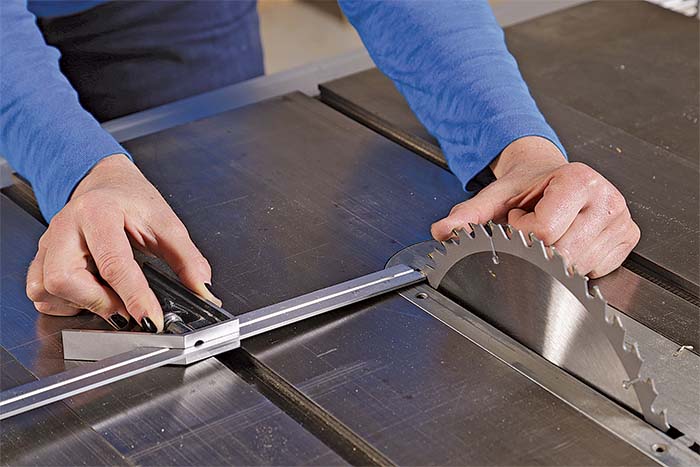
Now that the blade is at 90°, you’ll adjust the tabletop so the miter-gauge slots are parallel to the blade. Put the square’s head against the left side of the right-hand slot and the ruler at the front of the blade. Carefully slide the ruler out toward the blade until it lightly rubs a tooth. If you’re using a rip blade, pick any tooth. If the blade’s a crosscut or combination, pick a rip tooth or a tooth angling to the right. Once the ruler slightly touches the tooth, lock the square in that setting.
Move the square and the same tooth to the back. As before, the head of the square should be against the left side of the right slot. If the slot is parallel to the blade, the tooth will touch the ruler the same amount. If the tooth doesn’t touch or it rubs too much, you’ll have to adjust the table.
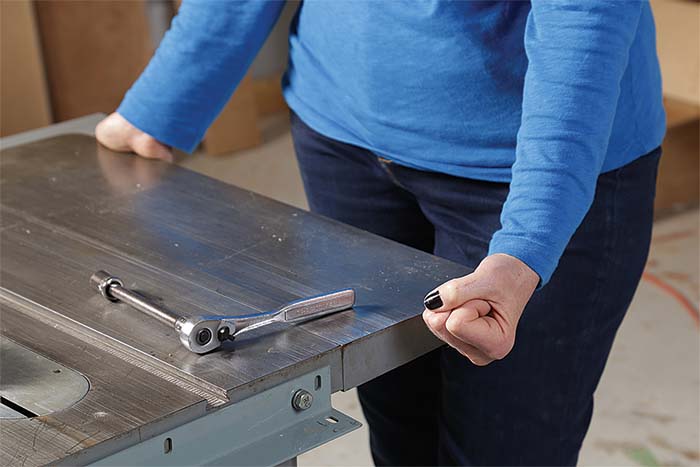
On cabinet saws, the tabletop can be adjusted independently of the blade because the two aren’t connected. To adjust the tabletop, loosen three of the four bolts that attach the top to the cabinet. The fourth bolt will serve as the pivot point. Tap the top until the miter slot is parallel to the blade. Retighten the bolts.
Now for the fence and miter gauge
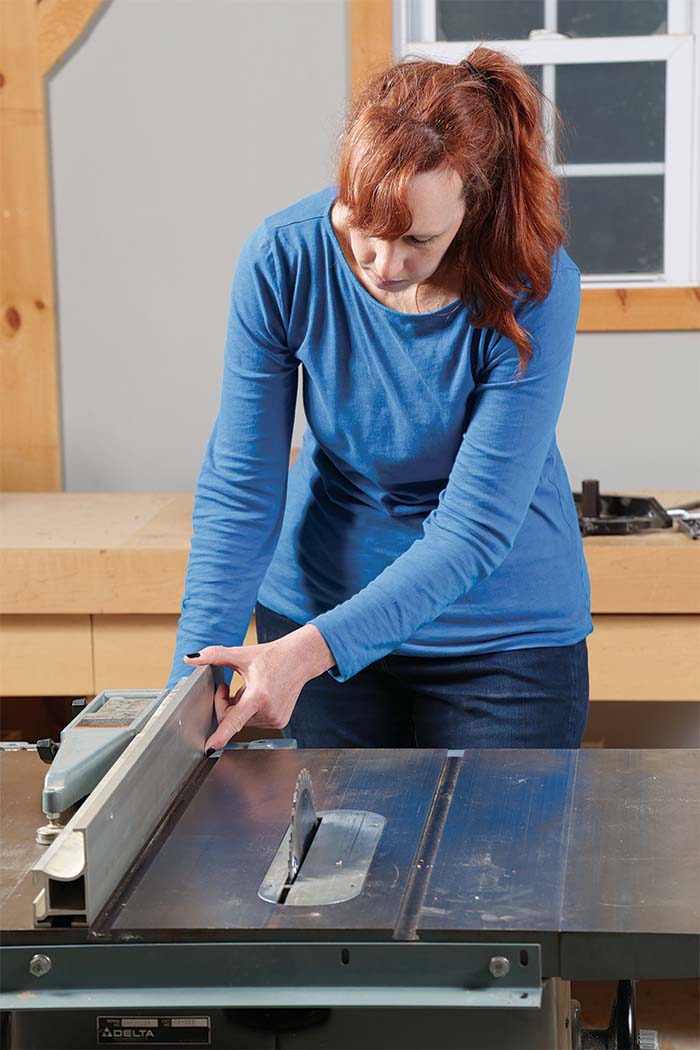
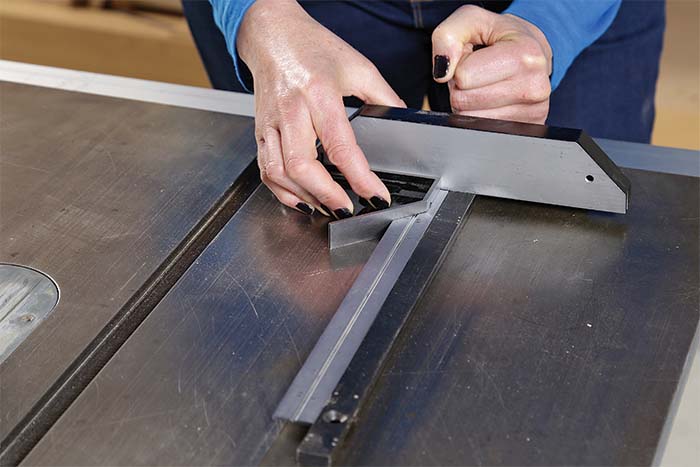
Now that the slot is parallel to the blade, set the fence parallel to the slot. I use the right-hand slot to set the fence parallel. Lock the fence down so it is flush to the right side of the right-hand slot at the front of the saw. Then check to see that the fence is flush to the slot at the back end, too. Use your fingers and verify with a straightedge. If both front and back are flush, the fence and slot are parallel and you’re good to go. If not, you’ll need to adjust the fence. A particular concern is if the fence toes in toward the blade at the back end. This is dangerous because a fence that approaches the blade as it runs front to back puts you at risk of violent kickback. Adjust your fence per the manufacturer’s directions and check again.
With the tabletop, blade, and fence parallel, you can true the miter gauge to make 90° cuts. Use your square to verify that the gauge’s rod and fence are square.
Dial in the top
Your saw is now set up for clean rips and crosscuts. Sometimes, though, things run awry with beveled cuts, so the last step in the tune-up is to verify that the saw’s top doesn’t slope up or down from front to back. You won’t notice if the table is sloped during 90° cuts, but when the blade is angled, a table that’s askew can cause burn marks, poor cuts, and kickback.
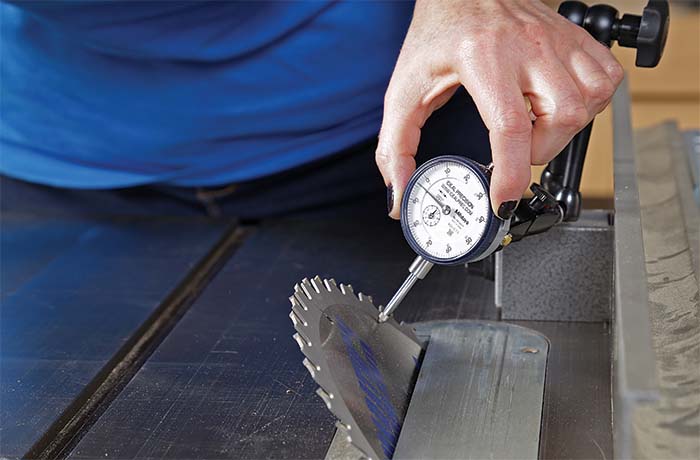
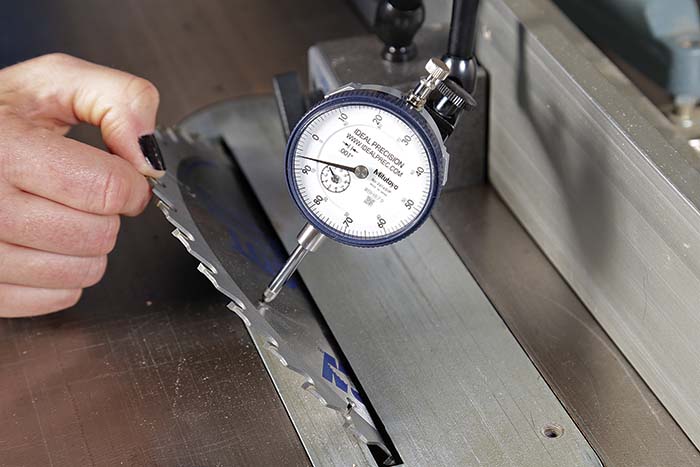
Lockdown the fence and angle the blade to 45°. You’ll need the fence to be exactly parallel to the blade for this procedure. Place a dial indicator against the fence and its plunger against the blade. Zero it out. Pull the plunger away and release it to the same spot to make sure it has been set correctly.
Move the indicator along the fence from front to back, rotating the blade so the plunger reads off the same part of the blade. If the needle moves more than 0.005 in., it needs to be addressed. If the needle moves clockwise, shim the back of the tabletop; if it moves counter-clockwise, shim the front.
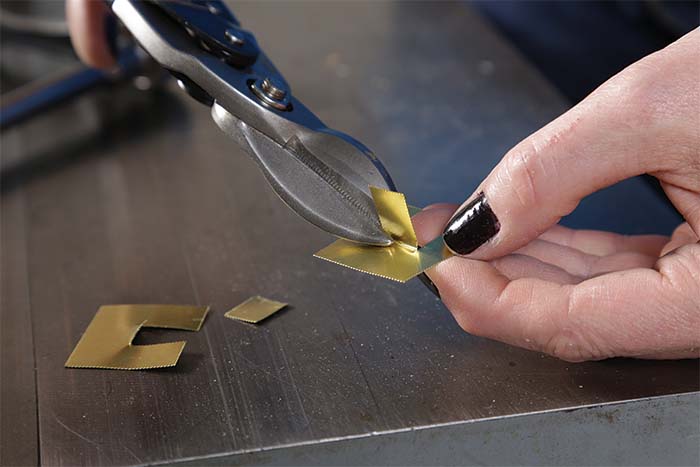
I use thin brass stock from MSC Industrial Supply. The shims go between the tabletop and cabinet. Notch the shims and place them around the bolts to avoid stressing the cast iron, which is very brittle. Use the dial indicator to check your results and reshim as necessary.
These steps may seem finicky, but they’re time well spent. After all, once your tablesaw is tuned correctly, you can turn up the volume on your projects to 11.
Cleaner rips, crosscuts, and miters
No matter the tablesaw, if it’s not tuned properly, it won’t be capable of fine woodworking—and worse, it could very well be dangerous. But with just a handful of common tools, you can tune up your saw for all manner of cuts in a couple of hours. Let a North Bennet Street School teacher show you how.
 |
 |
Align the top and fence for clean rips
1. Align the top to the blade
 |
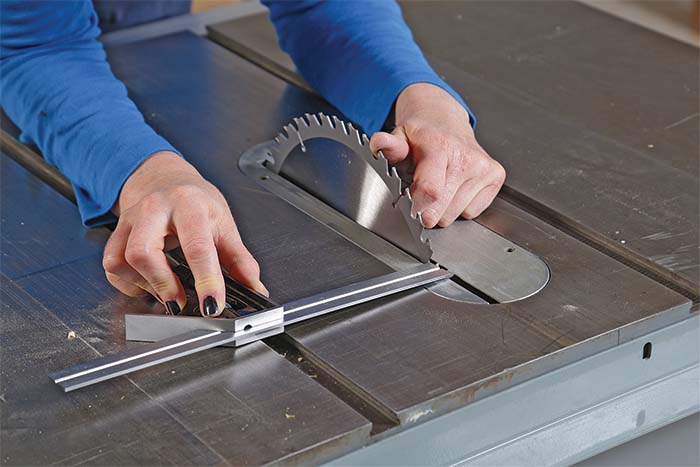 |
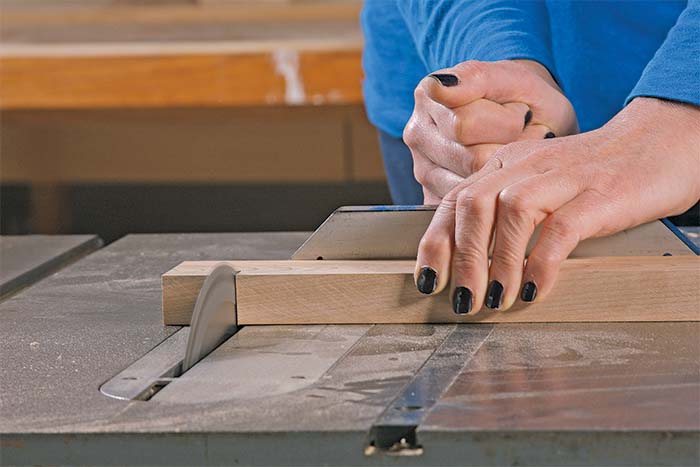
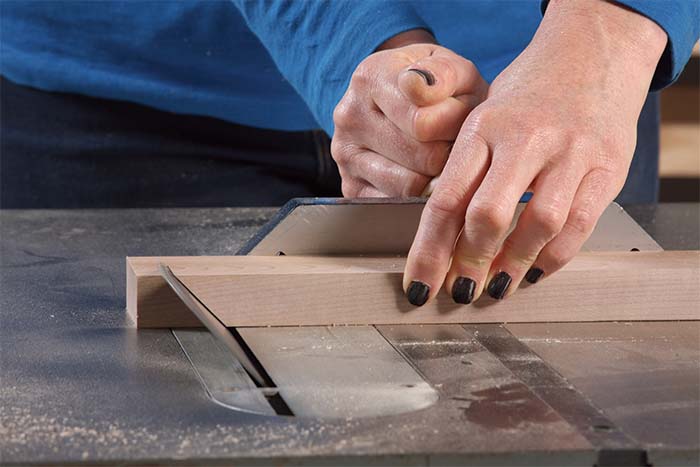
Check the blade at the front and back. With the square’s head against the left side of the right slot, slide the ruler until it gently rubs a tooth. Kaspern moves the blade slightly so the tooth rubs the end of the ruler. Lock the ruler here. Rotate the blade and register off the same tooth at the back. You want the tooth to rub the ruler the same amount as it did at the front. If it doesn’t, you need to loosen and rotate the top.
2. Align the fence to the top
Adjust the gauge for square crosscuts

Level the top for burn-free bevels

 |
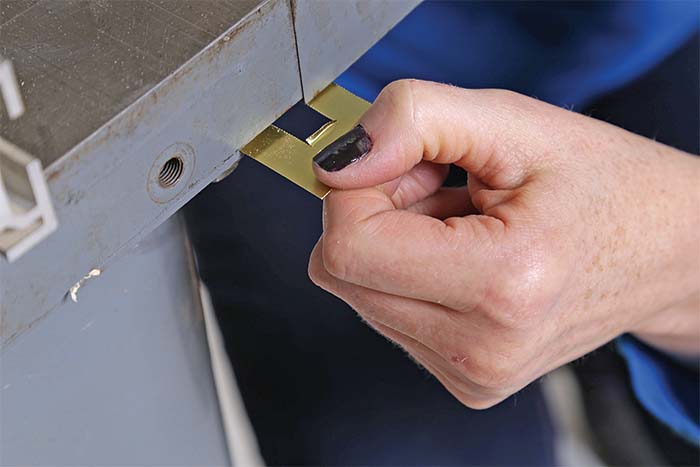 |
Shim with brass to align the top. To adjust the top, place one or more notched brass shims around the bolts that secure the tabletop to the base. Remember to retighten the bolts afterward.
For the full article, download the PDF below:
Fine Woodworking Recommended Products

Starrett 12-in. combination square
Shop Fox W1826


Comments
"The last push stick you’ll ever need?
Learn why Kaspern is such a fan of
hers at fineWoodworking.com/265 ---- this from pg 50 of the article."
But wheres the info? Wheres the push stick?
Yes, where is the push stick?
Waiting to get a reply back from Ben Strano, web editor.
I too am looking for the link to the "last push stick you'll ever need." Surely there is one if Ellen says there is.
It's coming. The issue has only been out a few days and the video got caught up and is a bit behind. I didn't want to hold the release of the issue for the one video as you can understand.
Not sure I understand.... Seems that Finewoodworking would have everything ready when the magazine is published
Tough crowd! Yup, things can and do go wrong in any endeavor, and I for one am glad you released the issue, so I could drool over its all its other contents while waiting for the push stick video! I can reasonably estimate its general characteristics by looking at the article photo, and my current push stick will get me by until then. Thanks for the great issue!
Thanks Ron. We try and get everything as buttoned up as possible. Not worth releasing something that isn't ready. Thankfully, it is ready here!
Log in or create an account to post a comment.
Sign up Log in