Upgrading a Planer With a Segmented Cutterhead, Part 1
The first steps in the upgrade are to remove the cutterhead and gearbox.
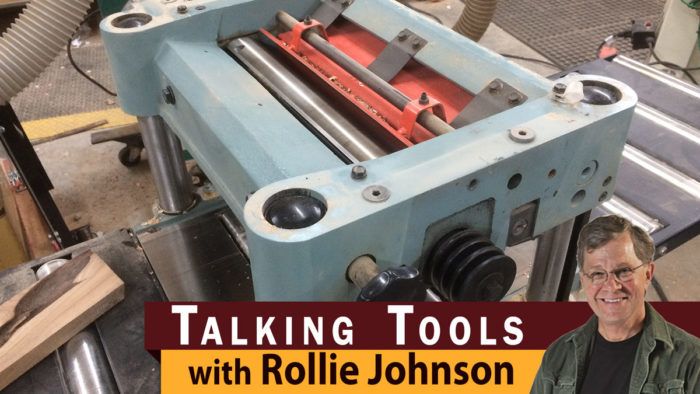
One of the best upgrades we can do for our planers is to install a spiral segmented cutterhead, and the Byrd Shelix head that we’re installing in a buddy’s Delta DC-380 15-inch planer will revolutionize the old beast. These heads offer a shearing cut that virtually eliminates tear-out, even in really difficult wood. Lower noise levels and easier to collect small shavings are added advantages, and the big one: you never have to suffer through a knife change again! Hallelujah.
Before you start make sure you have the correct bearings for the new cutterhead. Some of the cutterheads will re-use the original bearings while others will need unique bearings. Check with the manufacturer of the cutterhead you’re using for assistance determining exactly what you need so you can have the bearings on hand before you start the project. You might also consider ordering a new cutterhead shaft seal for the gearbox, it’s easy to install one when you’ve got everything dismantled. Good insurance against leaking lube. In part 2 of this series you’ll see what the seal is and where it goes.
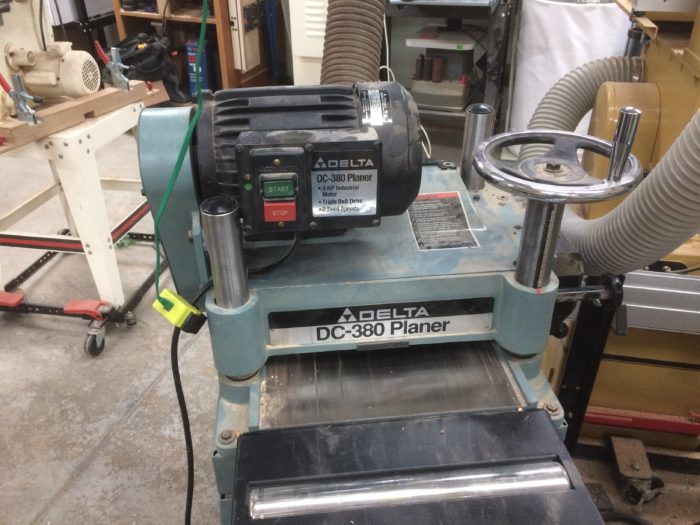
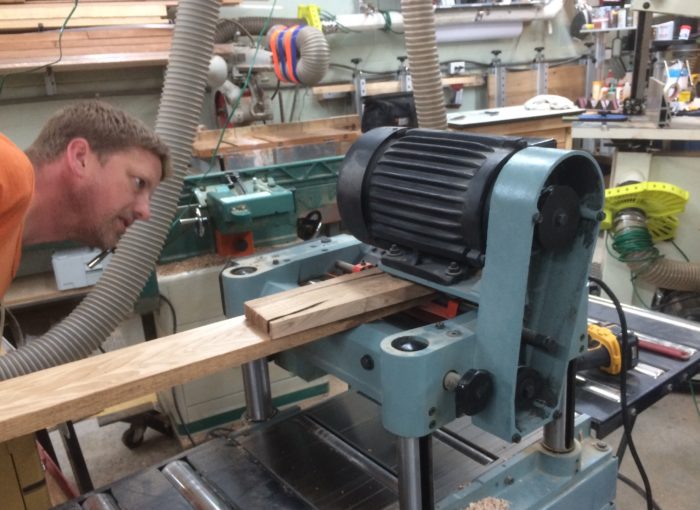
Changing out a typical planer cutterhead is really pretty straightforward and doesn’t require a ton of tools or vast expertise. A basic set of sockets, box end wrenches, a couple of long handled screwdrivers (or light prybars), Allen wrenches, a hammer (I like hammers) and possibly a gear puller and you’re off and wrenching. Now a little disclaimer, this isn’t a nuanced, fussy overview. I may gloss over some details that you’ll be able to figure out, and not every planer will be exactly like this one but the basics will be the same and there’s enough information here that you can easily get the job done.
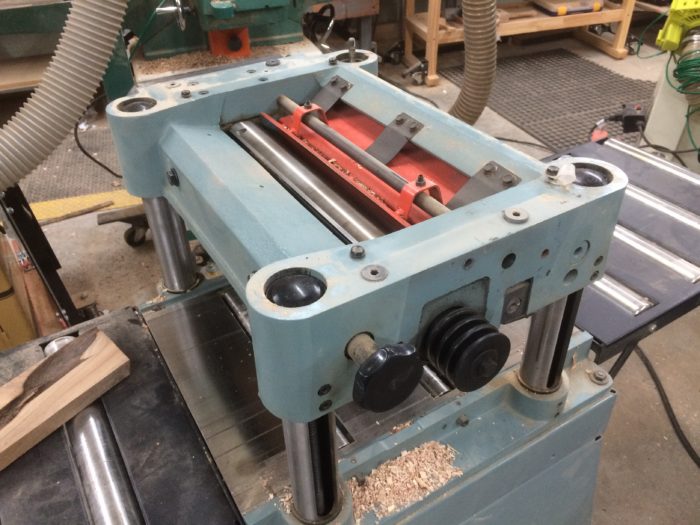
To start the project we needed to remove the drive belts, and in the case of the DC-380, the motor assembly. The motor and its mount is a heavy unit so it’s a good idea to stack some off-cuts under the motor to support the weight as you remove the bolts. You’ll use the same method for reinstalling the assembly. Changing knives in one of these beasts was never much fun with that monster motor hovering over the cutterhead.
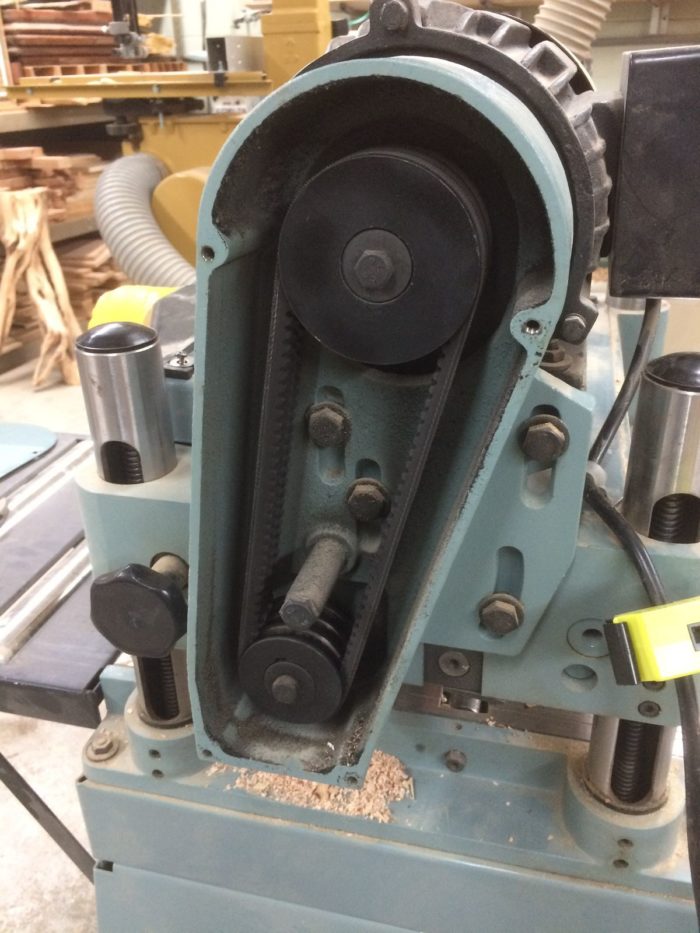
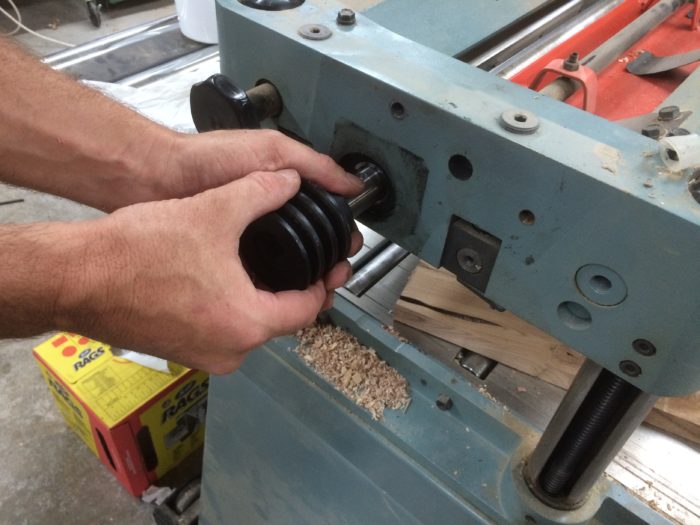
Next up take the drive pulley off the end of the cutterhead assembly. You might need to use a gear puller here but this pulley simply slid off the shaft once we removed the retainer bolt and washer.
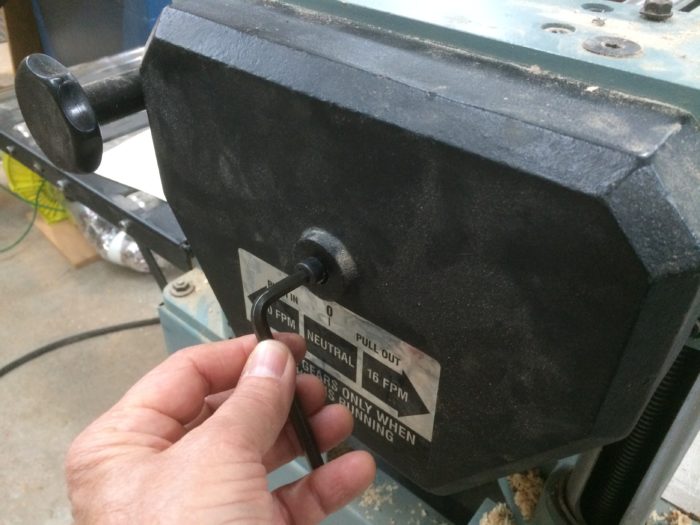
On the other end of the cutterhead resides the chain drive assembly that powers the feed rollers and behind that assembly is the two-speed gearbox that powers the chain drive. Start by removing the chain guard and the little filler covers on the backside of the chain guard.
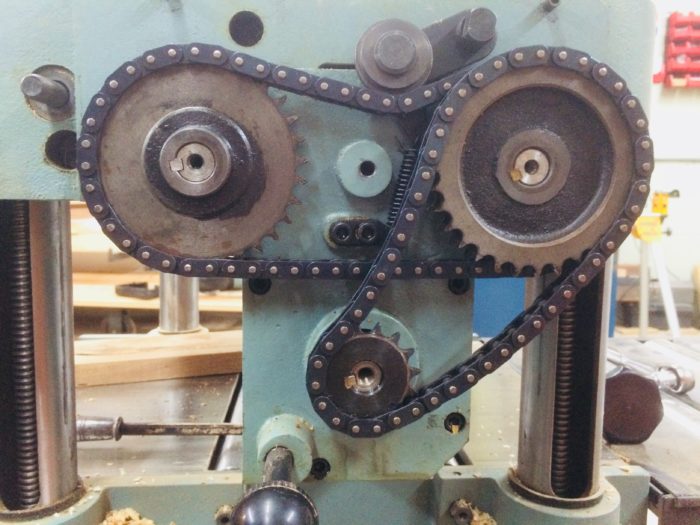
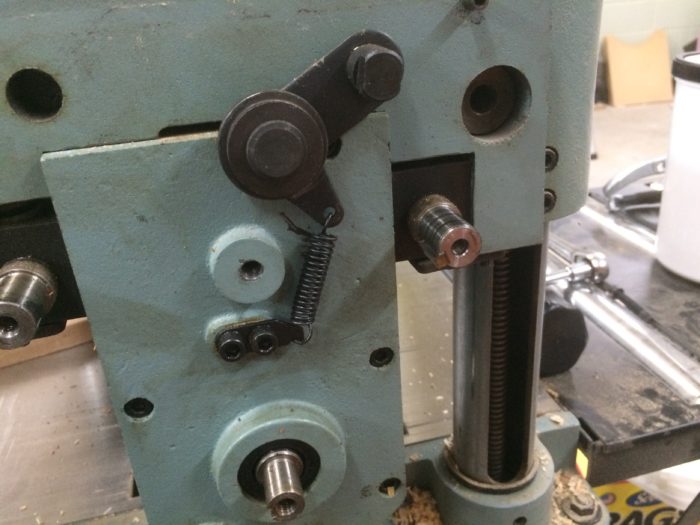
The feed rollers are powered by a sprocket on the end of the cutterhead and a spring-loaded tensioner keeps the chain tight between the feed roller sprockets. Take a photo for reference, it’s easy to forget exactly how all the parts fit. I’ve already removed the retainer bolts and washers on the sprockets.
I’m sure I’ll get some grief for my methodology but I typically use a long handled screwdriver or slim pry-bar to GENTLY pry the sprockets off their shafts. Pry lightly alternating from side to side on the sprocket, or simply use two screwdrivers. It’s a good idea to use a little penetrating oil on old machinery that has been allowed to get a bit dry and rusty, makes life much easier. It’s also nice to have a second pair of hands to help hold the assembly together as the sprockets slide off the shafts.
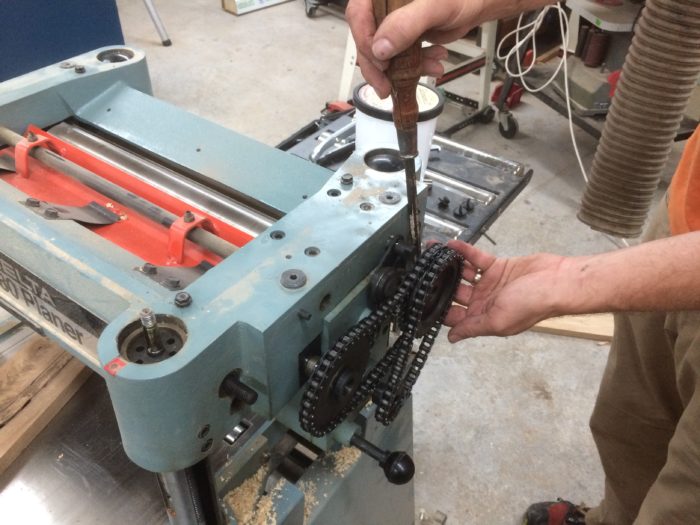
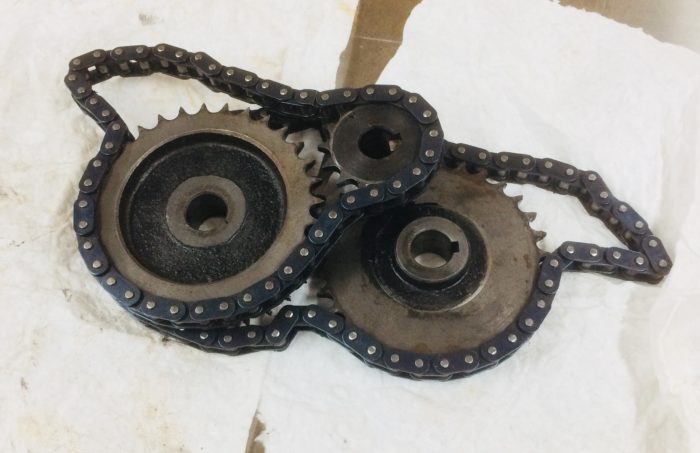
Keep the sprockets and chains together as an assembly.
The idler pulley’s spring can simply be released and the assembly pivoted out of the way of the gearbox.
Take the knives out, it’s much safer dealing with an unloaded cutterhead, and the clearance for removal of the head is tight.
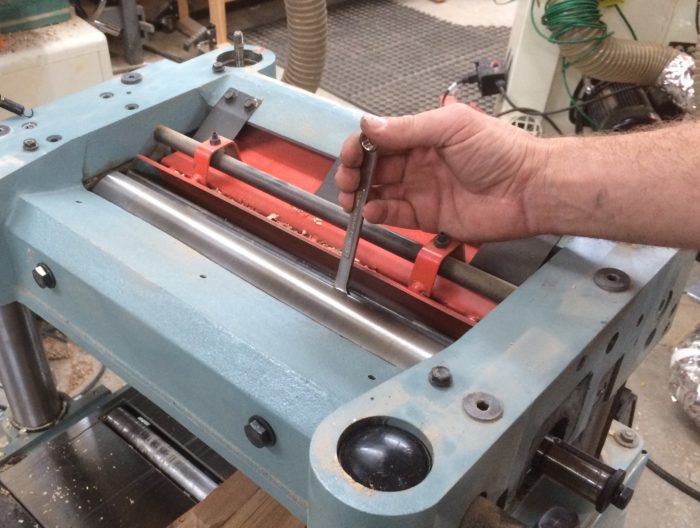
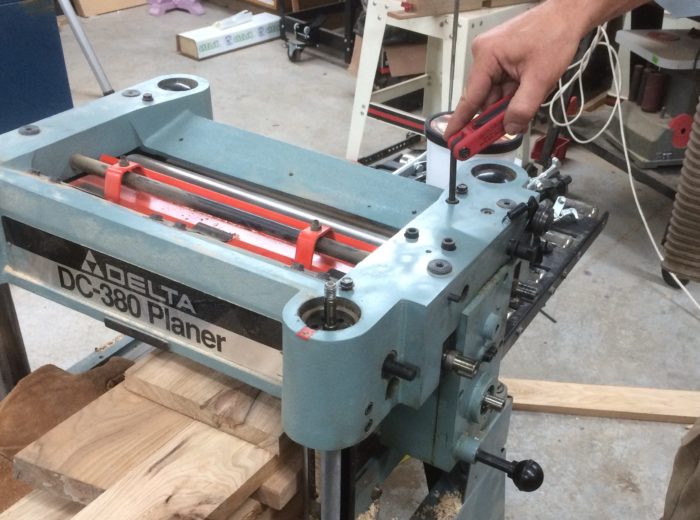
Remove the four socket-head screws that hold the gearbox in place. It’s essential that the cutterhead assembly is supported, in this case by offcuts, or damage to the casting at the bearing end of the cutterhead could result. Allow the gearbox to drop just slightly to ease removal.
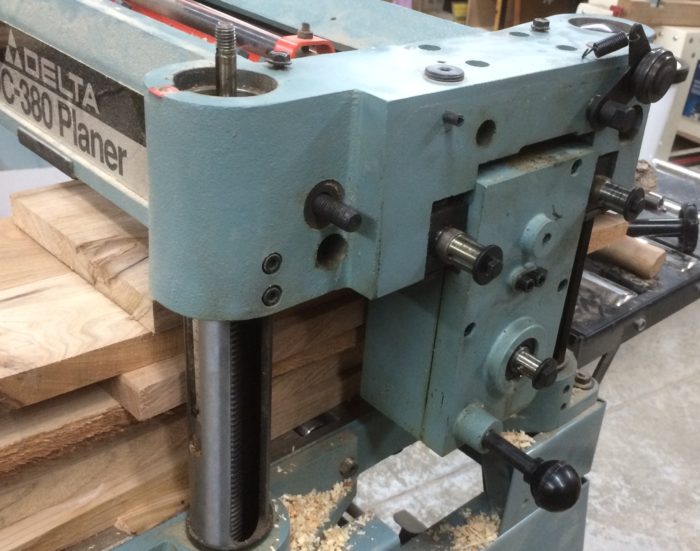
Now it’s simply a matter of gently pulling the gearbox/cutterhead assembly straight out of the machine. The bearing on the cutterhead should easily slide out of the casting but a light tap on the end of the cutterhead (put the pulley retainer bolt back in before doing this) should help things along.
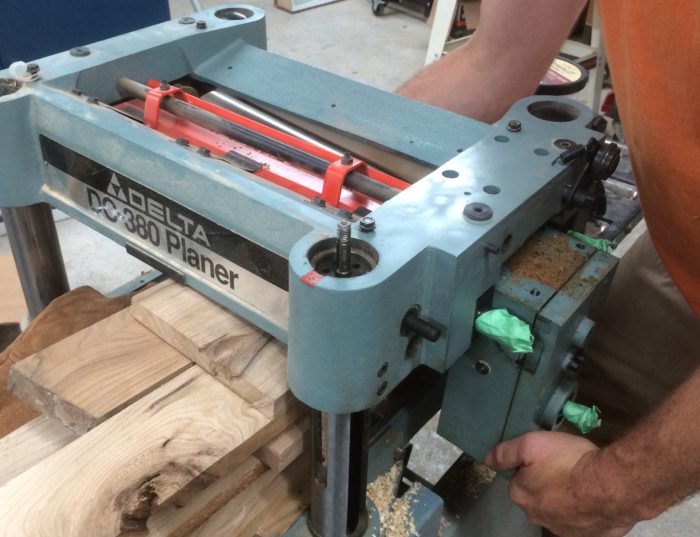
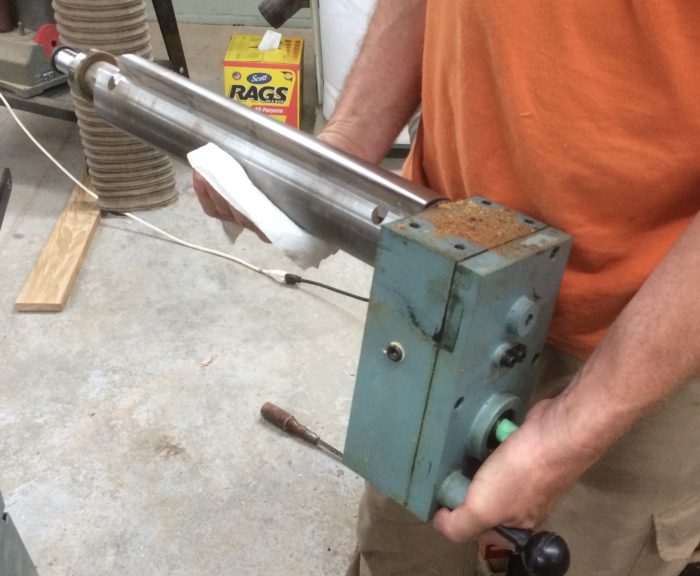
The gearbox and cutterhead assembly ready for the next step.
In the next installment I’ll show you how to pull the gearbox apart, remove the old cutterhead, and install the new Shelix. Stay tuned.
More on FineWoodworking.com
- Segmented Cutterheads Change the Game – Plane hundreds of feet of lumber with no tearout and no knife changes
- Upgrade Your Jointer with a Segmented Cutterhead -Step-by-step techniques for upgrading a jointer with a segmented cutterhead
- Bottom Line on Segmented Cutterhead Cost – Is the cost of upgrading your planer’s conventional cutterheads with a segmented model worth it?
Fine Woodworking Recommended Products
Rockler Dust Right 1250 CFM
Rockler Dust Right 650 CFM
Freud Super Dado Saw Blade Set 8" x 5/8" Bore


Log in or create an account to post a comment.
Sign up Log in