Work More Safely with Featherboards
They keep workpieces on track and your hands out of harm's way.

Synopsis: Whether shopmade or manufactured, a featherboard is a valuable third hand that keeps workpieces tight to the fence or tabletop as they pass a blade or bit. Not only do featherboards add accuracy and consistency to cuts made on the tablesaw, router table, or bandsaw, they also help you keep your hands away from cutters and prevent kickback. Learn the basics of how to choose the right featherboard for the job and correctly position it for consistent, safe cuts.
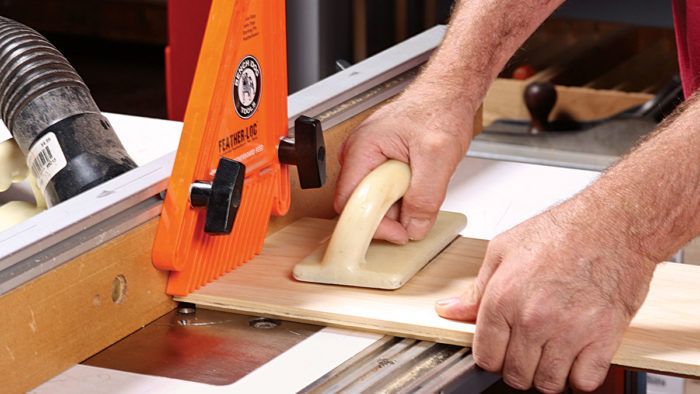
A woodworker’s third hand is often a featherboard —an accessory that guides workpieces through woodworking machinery. Featherboards are made of plastic or wood with thin fingers cut into an angled end. Mounted to a fence, they push a workpiece snug against the table. Mounted to a tabletop, they keep a workpiece tight against the fence. Like a hand moving over a bird’s feather, a workpiece fed past a correctly positioned featherboard will only move easily toward a blade or bit, and is prevented from kicking back.
Featherboards add accuracy and consistency to many types of cuts made on a tablesaw, router table, or bandsaw. They also allow woodworkers to keep their hands away from the blade or bit— and that makes for safer and cleaner cuts.
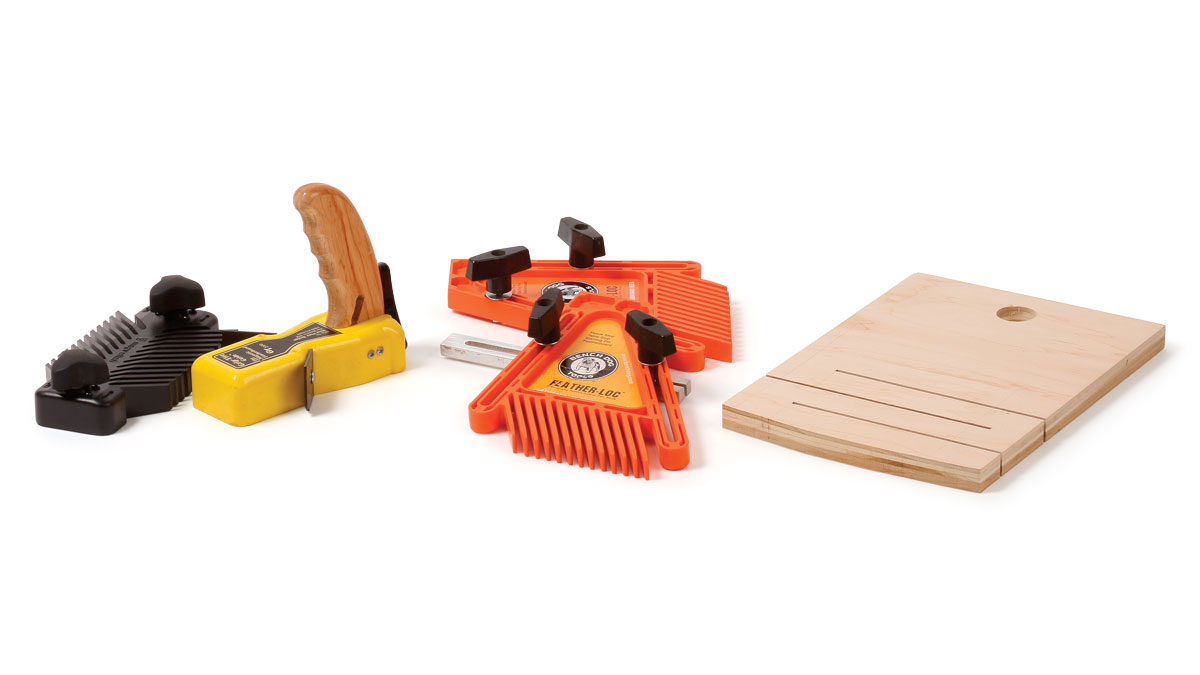
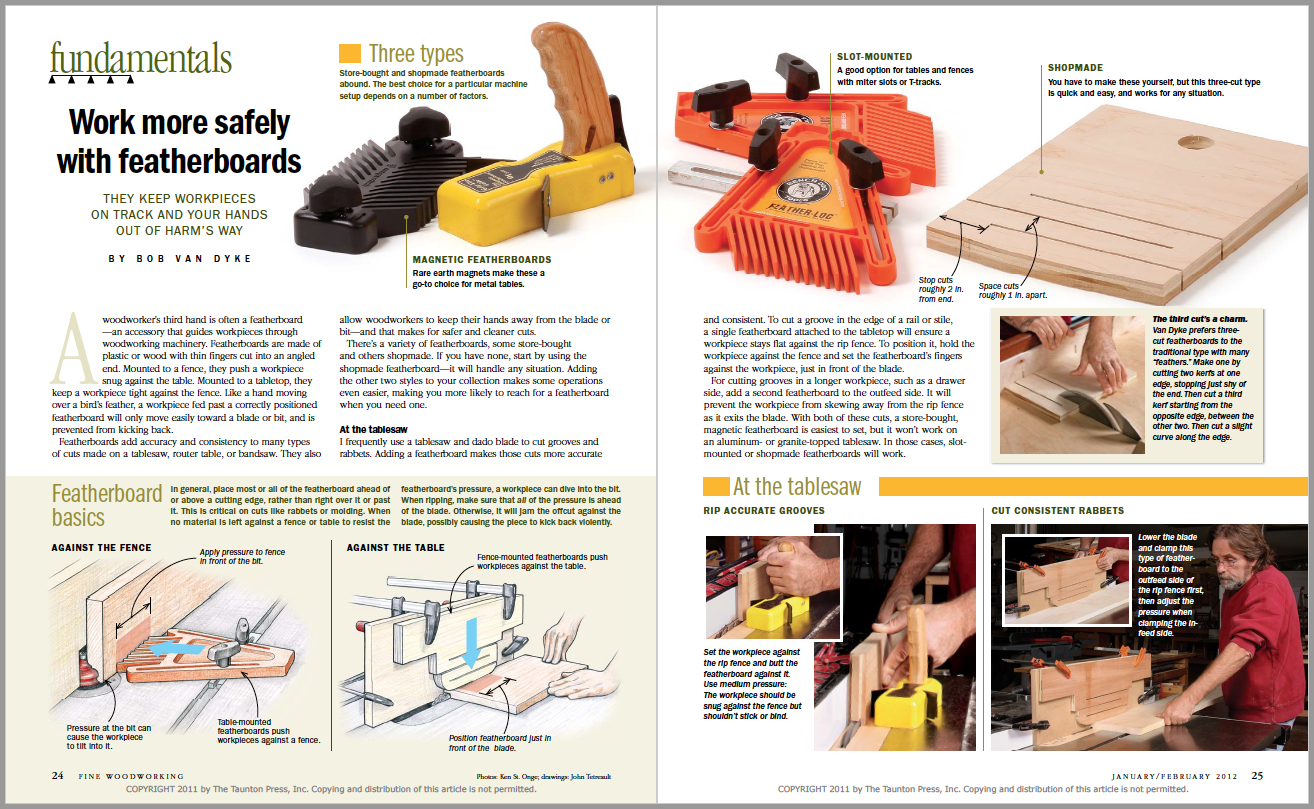
There’s a variety of featherboards, some store-bought and others shopmade. If you have none, start by using the shopmade featherboard—it will handle any situation. Adding the other two styles to your collection makes some operations even easier, making you more likely to reach for a featherboard when you need one.

At the tablesaw: I frequently use a tablesaw and dado blade to cut grooves and rabbets. Adding a featherboard makes those cuts more accurate and consistent. To cut a groove in the edge of a rail or stile, a single featherboard attached to the tabletop will ensure a workpiece stays flat against the rip fence. To position it, hold the workpiece against the fence and set the featherboard’s fingers against the workpiece, just in front of the blade.
For cutting grooves in a longer workpiece, such as a drawer side, add a second featherboard to the outfeed side. It will prevent the workpiece from skewing away from the rip fence as it exits the blade. With both of these cuts, a store-bought, magnetic featherboard is easiest to set, but it won’t work on an aluminum- or granite-topped tablesaw. In those cases, slotmounted or shopmade featherboards will work.
When cutting rabbets—where the depth of cut must be consistent—clamp a shopmade featherboard to the rip fence to keep the workpiece snug against the table as it moves. In this case, I prefer a featherboard made with just three cuts—a technique I learned from renowned teacher Will Neptune. Set the featherboard just in front of the lowered blade and place the first clamp on the outfeed side of the fence. Then pivot the featherboard into the workpiece using medium pressure. Use a second clamp on the infeed side. Position the featherboard over the blade and the infeed side of the fence, with the bulk of the pressure just before the leading edge of the blade. This assures an even cut and prevents the workpiece from pivoting.
 From Fine Woodworking #224
For the full article, download the PDF below:
Fine Woodworking Recommended Products

Veritas Wheel Marking Gauge

Starrett 12-in. combination square

Suizan Japanese Pull Saw


Log in or create an account to post a comment.
Sign up Log in