Build a Thoroughbred Shaving Horse
This elegant design delivers a strong, stable structure and a powerful grip.
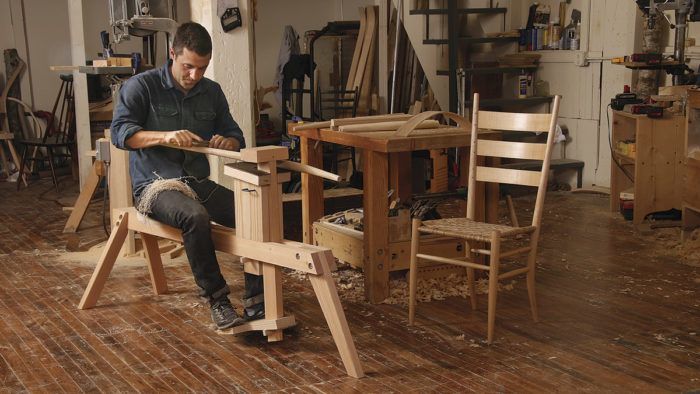
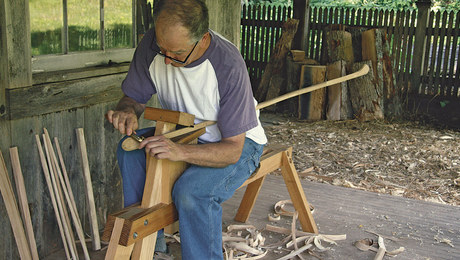
The first woodworking I ever did was on a shaving horse. I had just turned 20, and a 12-year-old sat me down at a shaving horse with a drawknife and taught me how to make a spatula from a piece of red maple firewood. I was hooked. The simple elegance and intuitive feel of the horse and drawknife completely drew me in as shavings piled up around my feet. Since then I’ve had the good fortune to spend countless hours on shaving horses and to work extensively with other shaving horse aficionados.
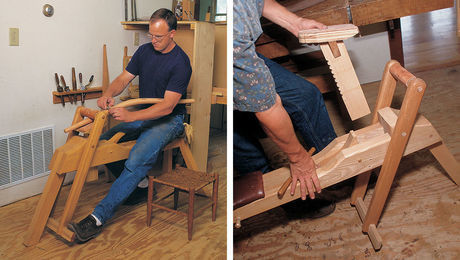
My current horse is the offspring of great horses built by two of my mentors. The base comes from Curtis Buchanan’s horse, and the clamping mechanism is a simplified version of Carl Swensson’s. By crossbreeding these two steeds I got a strong, simple-to-build shaving horse that adjusts easily for different-size workpieces and has a very powerful grip. It looks similar to traditional dumbhead-style horses, which grip the work with a block-shaped head rather than a clamping bar, but it offers increased holding power and better ergonomics. For me, the horse starts with a single 16-ft. 2×10 of clear southern yellow pine. With thoughtful layout and a blemish-free plank, this is enough material for the entire horse. In New England, where I live, southern yellow pine can be hard to find. But I discovered that OSHA-approved walkboard planks for scaffolding are made of it, and a good construction-lumber supplier should have them in stock. In the absence of yellow pine, a medium-soft hardwood like tulip poplar would work, or, in the Northwest, clear Douglas fir.
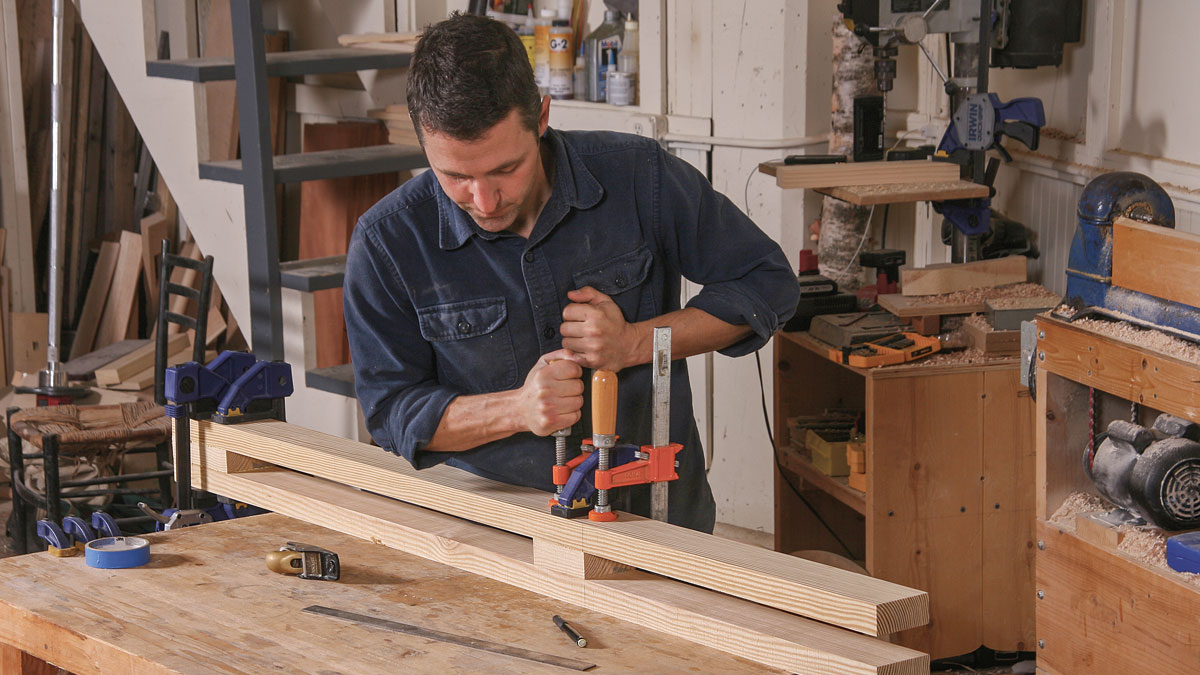
The base of a shaving horse needs to be extremely solid. If the base can flex, your horse will creak, moan, and trot across the floor as you work—undesirable traits for a horse of this sort. The laminated-beam construction I use makes for a very rigid base that won’t flex under the heaviest use. To make the beam, start by milling the spacer blocks and the front leg to the same thickness, and then glue the spacer blocks between the rails. Wait to glue the front leg in place until after the spacer blocks have cured. This lets you true up the beam by passing it through the planer after the initial glue-up. It also lets you take your time to get the front leg aligned just right at glue-up.
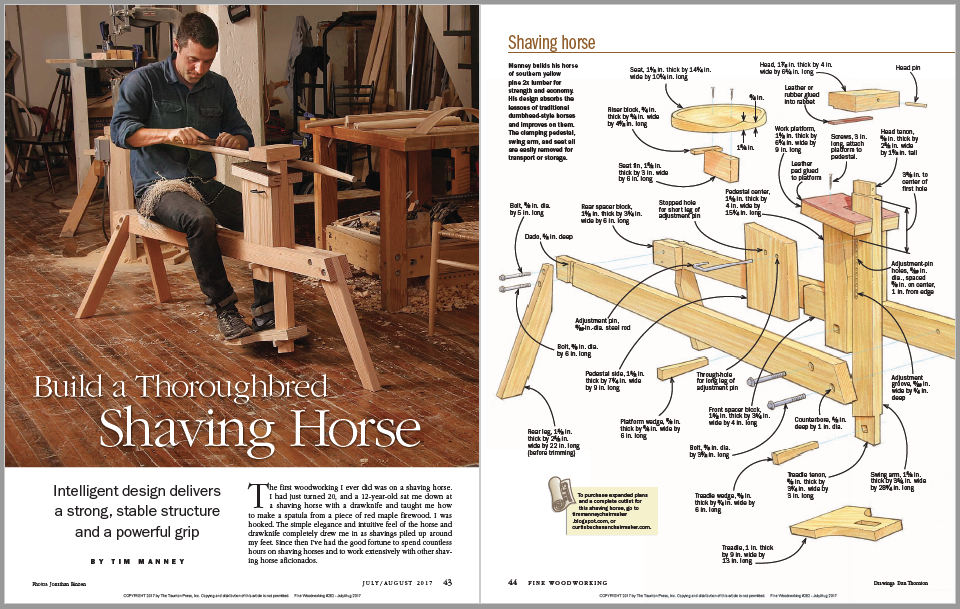 From Fine Woodworking #262
For the full article, download the PDF below:
Fine Woodworking Recommended Products
Double Sided Tape
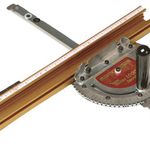
Incra Miter 1000HD
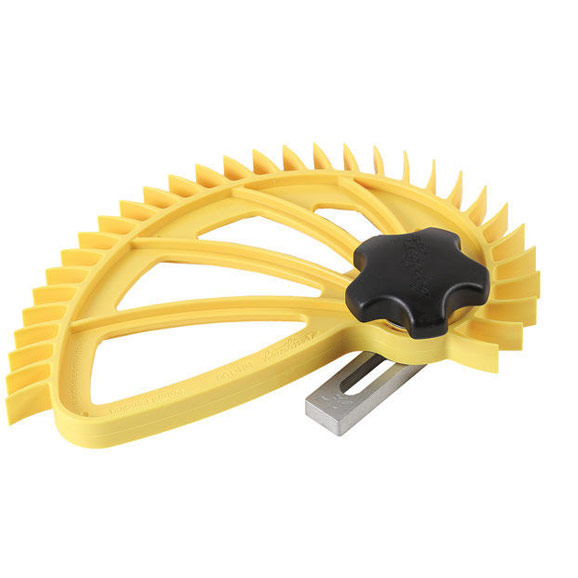
Hedgehog featherboards



Comments
Hey there and thanks for this very nice article !
However I can not figure out what the distance is supposed to be between the front of the center piece of the pedestal and the rear end of the swing arm. In the drawing there is a space, but no measure of it.
I assume that the distance and the height of the swing center are related somehow.
Any recommendation where to drill the swing center hole, and how much space to reserve between the two peaces will be appreciated.
Log in or create an account to post a comment.
Sign up Log in