Making Dividers for the Toolbox
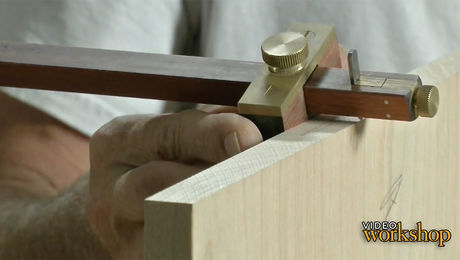
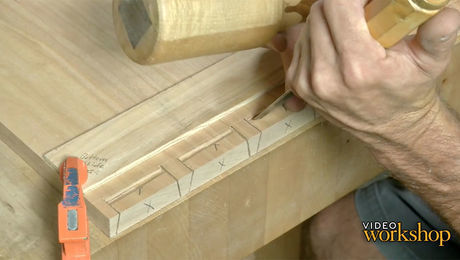
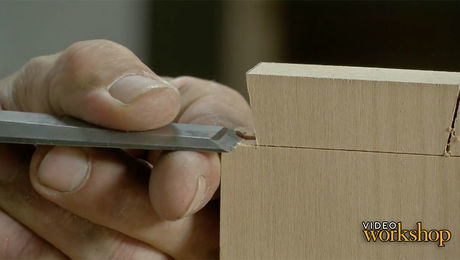
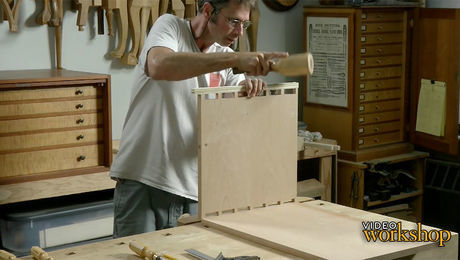
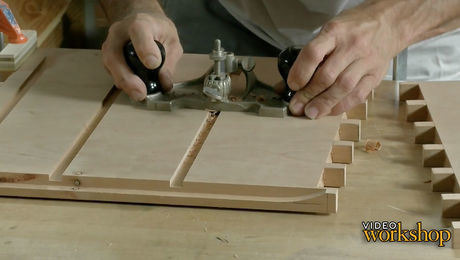
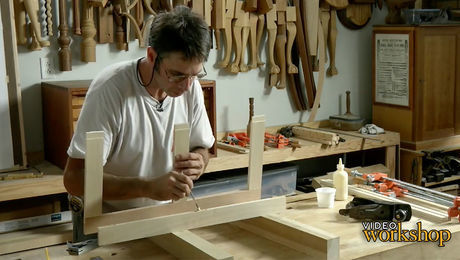
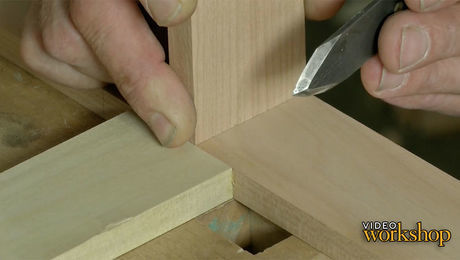
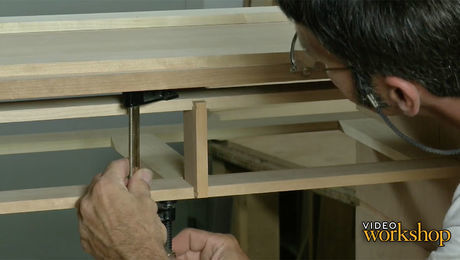
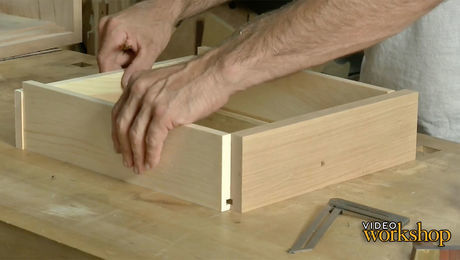
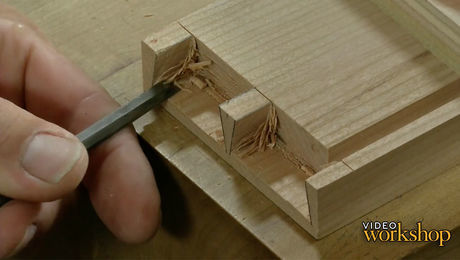
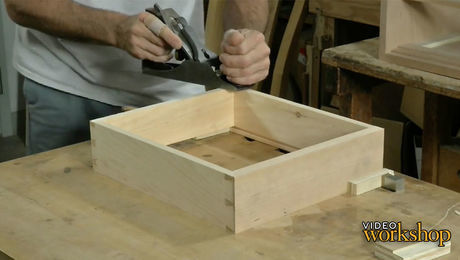
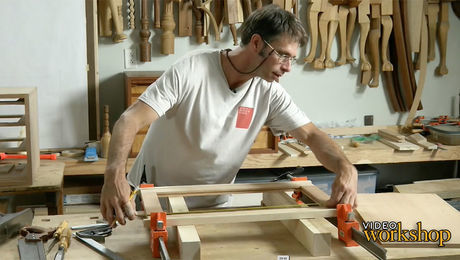
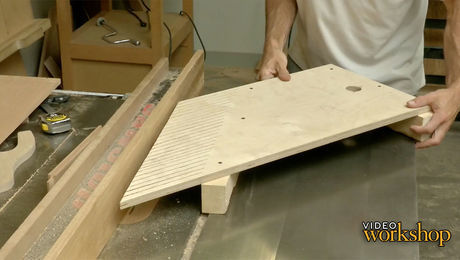
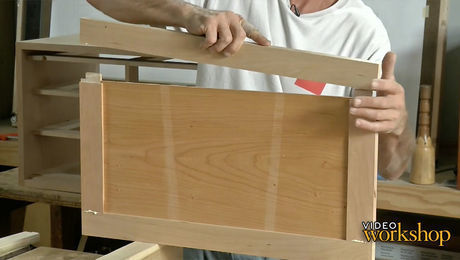
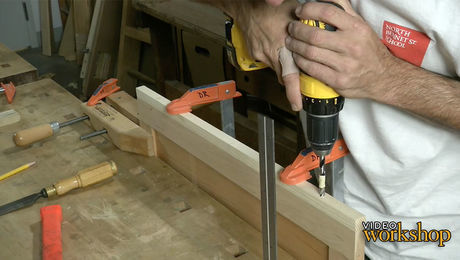
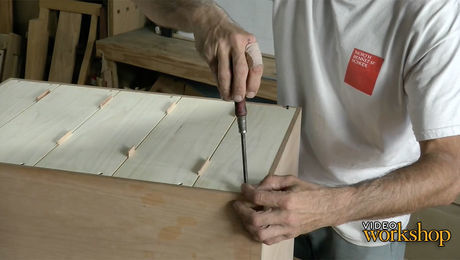
The dividers are joined using bridle joints and mortise and tenons cut perfectly on the tablesaw.
Start your 14-day FREE trial to watch this video
Plus, access more than 500 video workshop episodes when you become a member
In this video workshop you’ll get a taste of what it’s like at the North Bennet Street School. So sit back, grab a notebook, and learn how to build a toolbox, the North Bennet Street way.
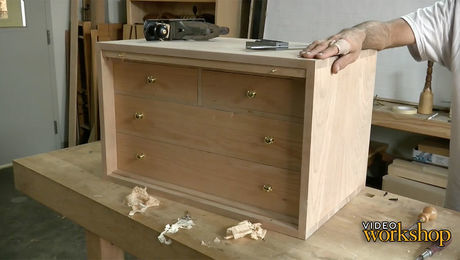
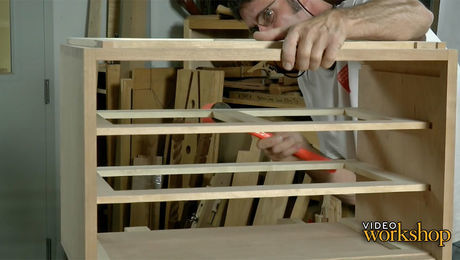
In this episode, Matt Wajada begins working on the case dividers.
Videos in the Series
-
All About the North Bennet Street ToolboxJanuary 24, 2017
-
The History of the North Bennet Street ToolboxJanuary 24, 2017
-
Easy Way to Glue up PanelsJanuary 24, 2017
-
Dovetailed Toolbox Case Needs Careful LayoutJanuary 31, 2017
-
Hand-Cut Dovetails: Pins FirstFebruary 7, 2017
-
Hand-Cut Dovetails: Tails SecondFebruary 14, 2017
-
Finessing the Fit of Case DovetailsFebruary 14, 2017
-
Cutting Joinery for the Toolbox CaseFebruary 21, 2017
-
Gluing Up a Toolbox CaseFebruary 28, 2017
-
Making Dividers for the ToolboxMarch 7, 2017
-
How to Attach Dividers to the CaseMarch 14, 2017
-
How to Make Dovetailed Drawer Partitions: Dado FirstMarch 14, 2017
-
How to Make Dovetailed Drawer Partitions: Dovetail SecondMarch 14, 2017
-
Laying Out Dovetail Joinery for the DrawersMarch 21, 2017
-
Cutting Half-Blind Dovetails for DrawersMarch 28, 2017
-
How to Fit DrawersApril 4, 2017
-
Cutting Joinery for a Frame-and-Panel DoorApril 11, 2017
-
Make a Raised Panel for a DoorApril 11, 2017
-
How to Assemble a Raised-Panel DoorApril 11, 2017
-
How to Hang the Door and Add a LocksetApril 18, 2017
-
How to Make a Shiplapped Back PanelApril 25, 2017


Comments
Just came across an article from #216 that described a similar build of a NBSS tool chest - using it as a backup reference.
Great series, thanks.
Great series thanks for posting in its entirety. There are many little tricks shown that would be missed if it was condensed
What a great series!
please continue with more videos of this quality and detail great job!!
Everything is fine here in general. But why spend all that time fussing with the trimming of tenon cheeks using a dado set? Cut once with a tenoning jig, slightly large, then quickly achieve perfect fit with a few strokes of the shoulder plane or rabbet block plane. Also, placing fingers that close to the dado head is scary business indeed. I would never pass my fingers directly over the head, even with a push block as shown. A miter gauge with extended fence would seem a much better choice for that operation
This is a great video series. A lot to observe and learn from watching the detail and method. More of the same please.
Excellent! Matt has a very concise style. A pleasure to watch. Keep it up!
Awesome series, learning so much!
Really hated to see this series end. Matt did a great job, very interesting and enjoyable. Thanks Matt and FWW.
Don't agree with user49358 comment above. "A few strokes of the shoulder plane or rabbet block plane" also takes time. The greater the number of tenons one has to make, the more inefficient the use of hand tools becomes. And, as for using a push block instead of a miter gauge, it's his prerogative not to pass a push block over the dado blade. Personally, I've done that many, many times very comfortably and successfully. But, I understand how someone else would not feel comfortable using a push block. Either way gets the job done, but I feel that I can apply pressure to the work uniformly with my left hand, while my right hand supplies the force necessary to move the work through the cut. Even pressure applied throughout the cut assures that the tenon will be of equal thickness.
This is a job interview, yes? To see if one can be a contributor to FWW? No. Love and share the enthusiasm, but this isn't captivating material. Not engaging...to be kind.
Log in or become a member to post a comment.
Sign up Log in