Build a Plane Till and Gallery
Learn how to build a custom home inside the cabinet for all of your handplanes.
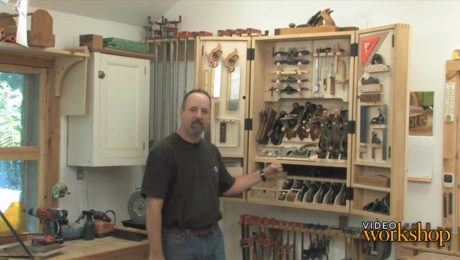
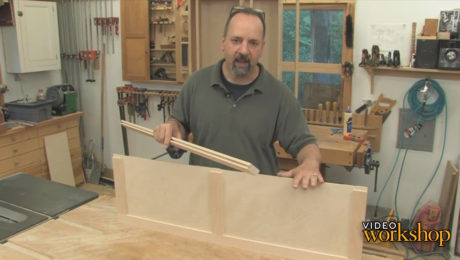
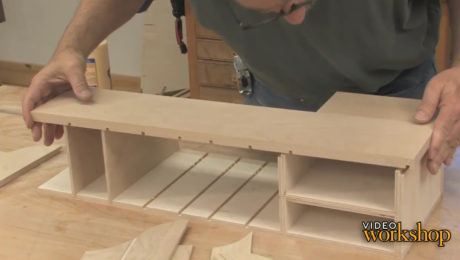
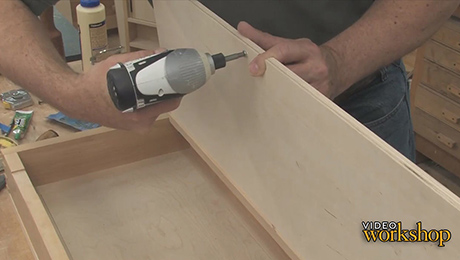
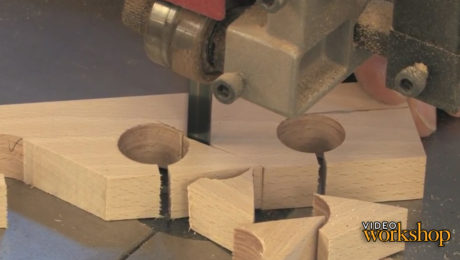
In this episode, Michael is moving on to the interior of the cabinet. Specifically, he’s working on handplane storage. Above, there will be a handplane till for the longer planes. Below there will be a cool gallery where you can park handplanes in head first.
Read the accompanying article here.
Videos in the Series
-
Build a Hanging Tool CabinetSeptember 26, 2012
-
Designing a Custom Tool CabinetSeptember 26, 2012
-
Tool Cabinet Case JoinerySeptember 26, 2012
-
How to Glue up the Case and DoorSeptember 26, 2012
-
Easy Frame-and-Panel Cabinet DoorsSeptember 26, 2012
-
Build a Plane Till and GallerySeptember 26, 2012
-
Build Shelves and Swing-out Panels for Your ToolsSeptember 26, 2012
-
Make Custom Holders for Hand ToolsSeptember 26, 2012



Comments
I'm building this cabinet and finding it a lot more difficult than Mike makes it look. I am constructing the plane till but am having an issue with it fitting to the supports. the hypotenuse of the supports is 15.1" but the till length is given to be 16 5/16". Even allowing for the apparent bevel, there is no way to get it to fit.
I just watched this episode again because I was hoping that maybe there would be a correction on the measurement. You're right, Jim. There's no way the piece fits at 16 5/16". I would add that if the angles were 30 and 60 degrees, cutting the bevels on the edges would also have been simpler. Alas...
In response to the two previous comments, I just pulled out the plan and the CAD file the plan is based on. The dimensions given are correct to the nearest 1/16 in. You'll note there is clearance under the upper case for the sloped panel. The gap measures about 5/16 in.
I can't speak for Mr. Pekovich regarding the angle of the till but I can think of two possible reasons for the angle he chose. One, he got the maximum length for his hand planes. (At 60°, the plane till's height would be reduced.) B. Linear dimensions are typically easier to measure with accuracy in the shop.
The bevel angles on the till panel aren't critical. In the plan they are drawn so there are no gaps top and bottom. If you find it's easier, feel free to make the panel shorter. In the video it appears Mr. Pekovich didn't bevel the top edge of the till panel. If you opt to omit the bevel, you can cut the panel shorter. If you want to bevel the bottom edge and leave the top edge square, make the panel about 15-3/8 in, instead.
Thank you for your prompt and detailed reply.
I went back and finished cutting out the till panel, beveling its top and bottom. I also traced out alternate angles on the triangular panel supports and agree that 60° would compromise the space available.
But the original 16 5/16" is just too long to allow it to rest on all four surfaces (cabinet back, shelf and two triangular supports) at the dimensions called for in the plans.
But sky hasn't fallen yet, and I'm enjoying the build.
In the CAD file, the actual length is 16.291185 in. This is based on the plane till panel being exactly 1/2 in. thick and the triangles being exactly the dimensions provided. The difference is less than the thickness of a credit card.
Sounds like you have it working, though. That's cool.
I built one a couple of years ago and love it. I found it important to check the plans to the video so you didn't miss a few things like the importance of insetting the inner doors by 1/4" or so for clearance on the plane knobs. Regardless, you need to make small adjustments for the tools you have. Here's a pic!
And here's another. Cherry, walnut and baltic birch for the most part. A little quilt maple on the drawer fronts.
Log in or create an account to post a comment.
Sign up Log in