Expand Your Workholding with a Spoon Mule
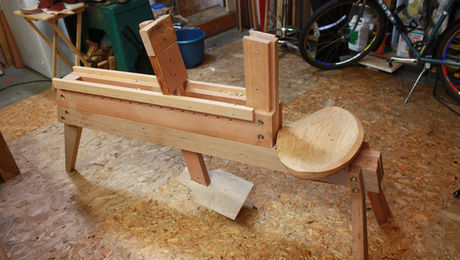
Dawson Moore's spoon mule clamps workpieces low and from the sides, making it perfect for narrow parts, spoon bowls, and other workpieces.
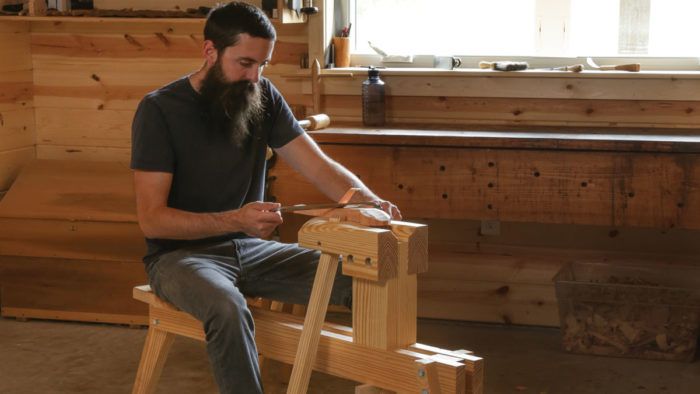
Synopsis: The shaving horse, as demonstrated by Tim Manney in FWW #262, is a great tool for green woodworkers. But it’s less useful for shorter and more sculptural pieces than it is for long, thin parts. That’s where the spoon mule comes into play. Used in conjunction with the shaving horse, it clamps the workpieces low and from the sides, making it perfect for narrow parts, spoon bowls, and other workpieces.
If you’re into green woodworking, you’ve likely heard of a shaving horse. Mine, based on Tim Manney’s split-rail design in FWW #262 (“Build a Thoroughbred Shaving Horse”), is invaluable, particularly when shaping long, skinny parts, like for chairs. However, as your workpieces get shorter and more sculptural, the shaving horse becomes less helpful because its clamping head is more likely to get in the way. Unfortunately, this precludes using it for a number of green woodworking projects, like spoons, cups, and bowls, that are a struggle to hold to begin with. Enter the spoon mule.
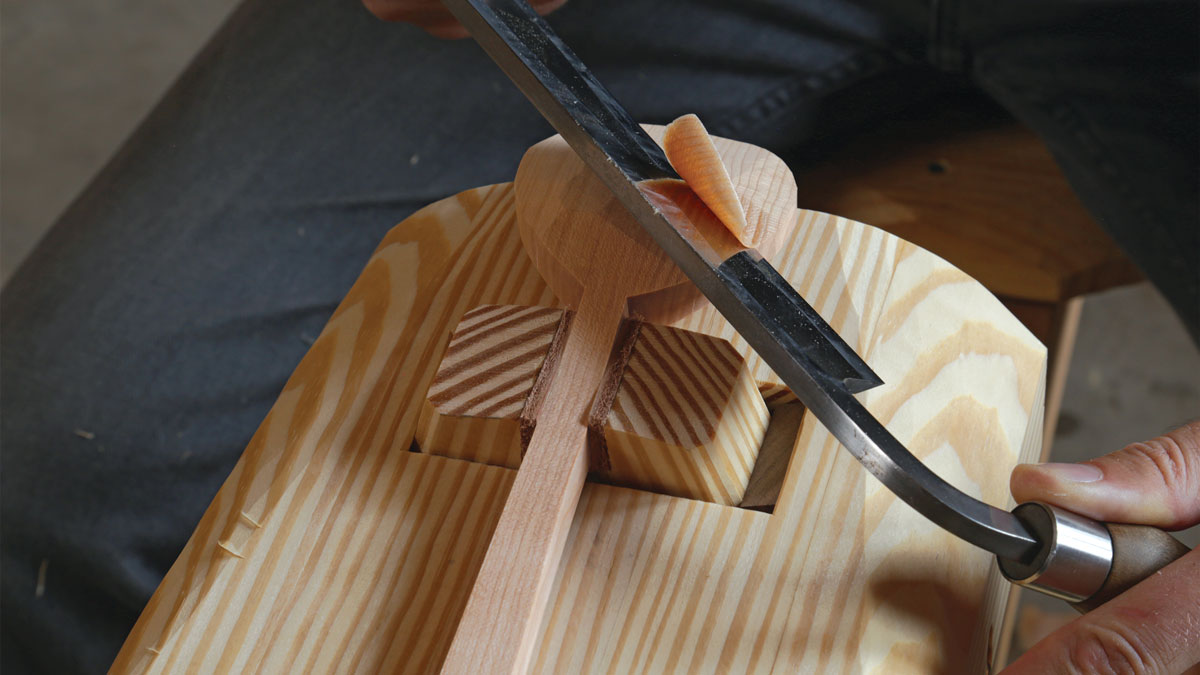
While a shaving horse clamps from above, a spoon mule clamps low and from the sides. You still use your feet to apply clamping pressure—using them to push out at the bottom of long, levered jaws—leaving two hands free for the drawknife and spokeshave, powerful and efficient tools. My mule, adapted from one built by fellow green woodworker Jarrod Dahl, has a removable head that fits into the base of a split-rail horse; the mule head can be swapped in and out for a typical head. For more details on making the horse, see Manney’s article. These jaws bite The heart of the mule is its long pincer jaws, which, with just a bit of outward pressure, clamp narrow pieces tightly and quickly—great for sculptural pieces, where you’re constantly moving the workpiece around to work a different edge, shape a facet, or feel a thickness. For maximum leverage, I run these jaws all the way to the floor. At rest, their top ends sit about 5⁄8 in. above the head. Don’t be shy to test different shapes at the top of the jaws; they’re sized to be a 2×4 ripped in half so they’re cheap and easy to experiment with. Different profiles will let you better clamp different projects.
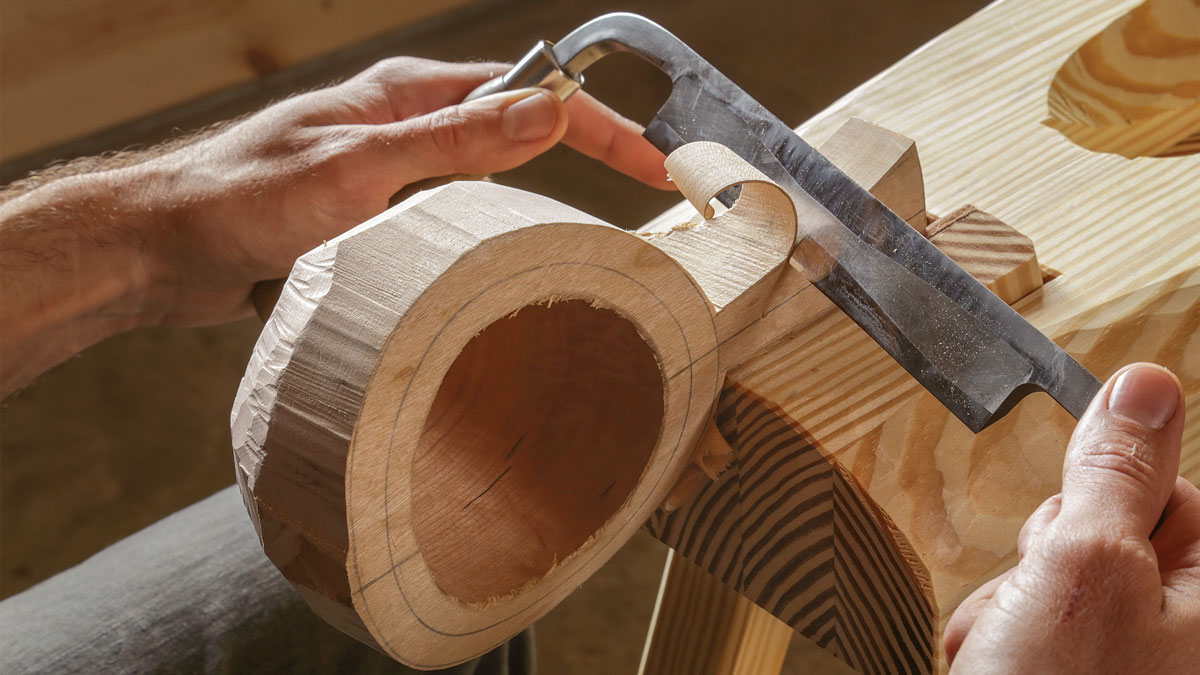
Plenty of support. The flat areas in front of and behind the jaws offer good support in a variety of circumstances. On this wooden cup, for example, the spoon mule can handle everything from the handle to the backside of the bowl, a tricky place to work.
See it in action:

From Fine Woodworking #286
To view the entire article, please click the View PDF button below.
 |
|
 |


Log in or create an account to post a comment.
Sign up Log in