Build an Heirloom Tool Chest
This classic storage chest offers a lesson in efficient woodworking.
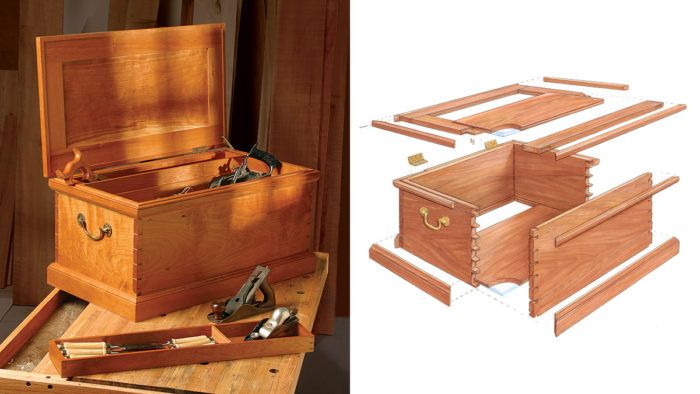
Synopsis: The tool chest described in this article is practical, enduring, and simple. Building it with hand tools can be a bridge to an era when woodworkers had an abundance of skill, but no power tools. Practicing the techniques will make you more confident with your hand tools and afterward, you may find them an indispensable resource in your day-to-day shop tasks. From dovetails to pins and finish options, Chris Gochnour shows you how to build an admirable chest.
A cabinetmaker’s tool chest embodies a certain nostalgia and charm for modern woodworkers. It speaks of a time when craftsmen had few tools but an abundance of skill. Tool chests often served as a calling card to display a craftsman’s talents. However, some were utilitarian, built simply to house tools.
The tool chest described in this article is of the latter kind—practical, enduring, and simple. But in a time when woodworkers have an abundance of power tools at every turn, making this tool chest with traditional hand-tool techniques can be a bridge to an era past. I recommend using this project as a hand-tool exercise, though power tools could be substituted for any of the operations. Practicing the techniques involved in the chest’s construction will make you more confident with hand tools, and you may find them an indispensable resource in your day-to-day shop tasks.
Choose and mark the material
Select a medium-density hardwood that is worked easily with hand tools. Because the tool chest is intended to be carried, choose wood that is lightweight yet durable. For this box I chose cherry, which is easy to work and attractive; however, woods such as red alder, poplar, and white pine also are appropriate.
To reduce the likelihood of warp and twist, select clear, straight-grained wood for the lid frame. This type of wood also is good for the moldings because it will make them easier to work with molding planes. Knots are fine on panels, but keep them away from the edges so that they will be out of the way of the joinery.
Once you’ve dimensioned the lumber for each part, mark them with cabinetmaker’s triangles. These triangles clearly identify the face and the inside and outside edges of each part. And they are helpful for identifying the orientation of the pieces when you begin cutting joints.
From here, follow a sequential pattern of construction: Join the box using dovetails; build the frame-and-panel lid with mortise-and-tenon joinery; shape and apply moldings; and install the hardware.
Practice and plan the carcase dovetails
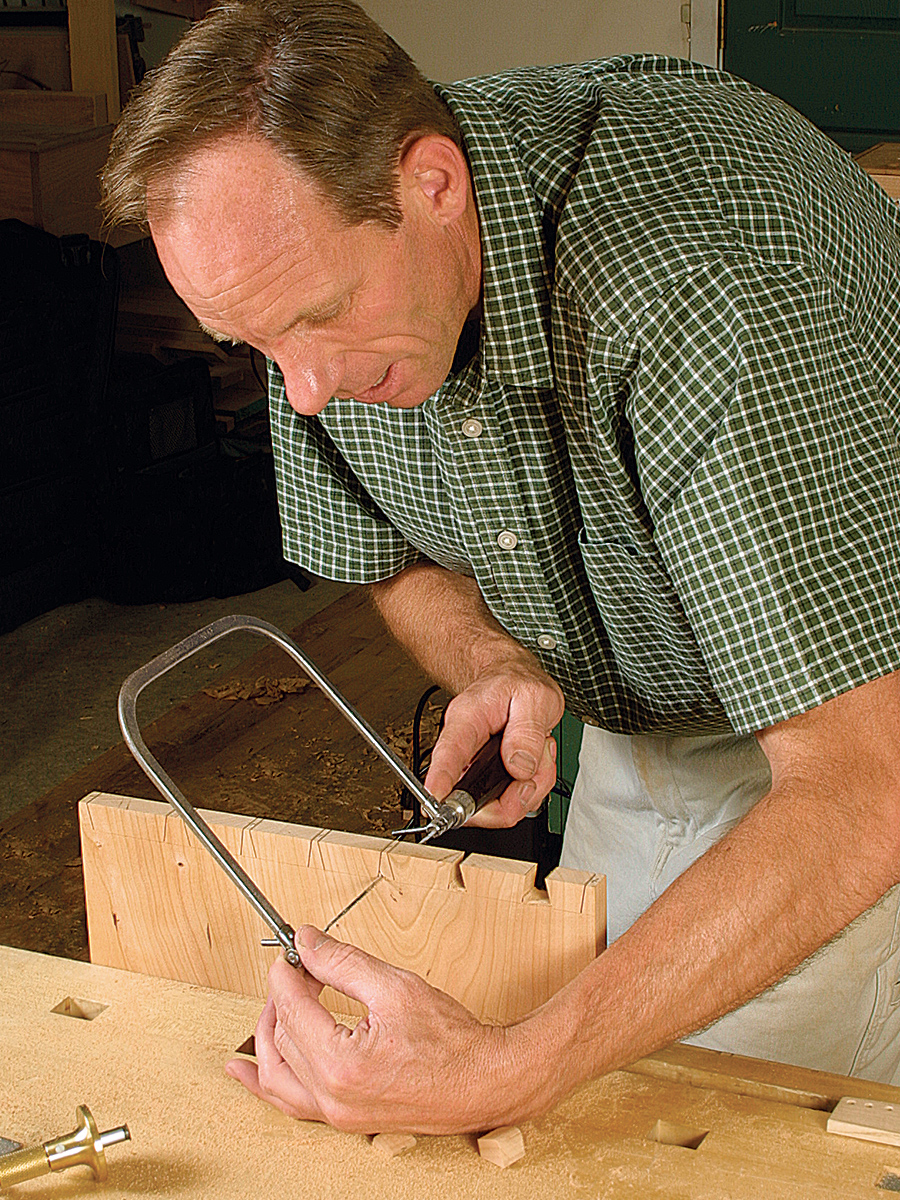
I tell students that making dovetails is easy, but controlling a handsaw can be difficult. Get comfortable using a handsaw before you undertake the dovetails, and practice dovetail-like cuts on scraps of wood to improve your skill.
Clear and accurate layout is essential to hand-cutting dovetails. Much of your success will come down to your layout and your ability to work to the lines and never cut beyond, which comes with practice. The objective is to cut precisely to the layout lines each step of the way. This will greatly minimize cleanup and fitting, making the entire process more efficient and enjoyable.
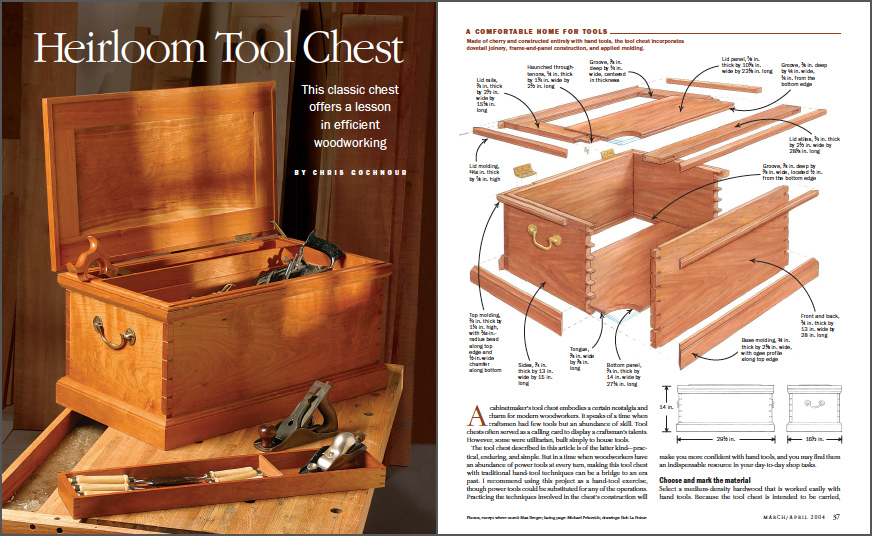
From Fine Woodworking #169
To view the entire article, please click the View PDF button below.
Fine Woodworking Recommended Products

Veritas Precision Square
Tite-Mark Marking Gauge

Woodriver Rechargeable Desiccant Bag

Get the Plan
CAD-drawn plans and a cutlist for this project are available in the Fine Woodworking store.



Log in or create an account to post a comment.
Sign up Log in