Open Rack for Hand Tools
Keep your essential tools within easy reach.
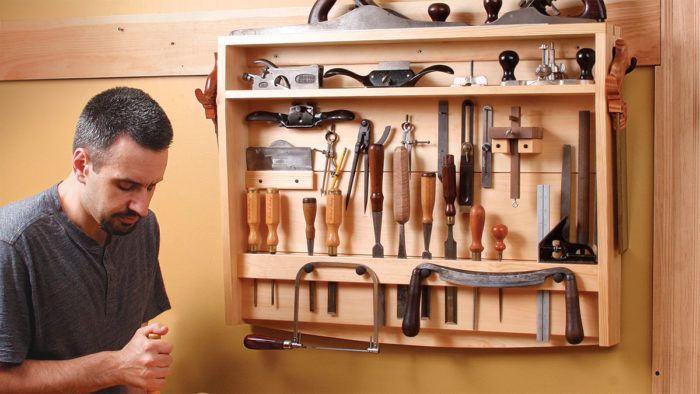
Synopsis: Making tools easier to access not only makes work easier but also encourages you to put them away. One great way to keep them accessible is in a rack right next to the bench. Dan Faia’s rack holds all the essential hand tools for a modern furniture maker, and he makes it with hand tools only. The joinery is traditional, strong, and straightforward. Through-dovetails join the case sides to the top, with the tails located on the sides to resist the weight pulling downward. The lower stretcher ties the case sides together with wedged through-tenons. The shelf sits in simple stopped dadoes, and the back is made of shiplapped boards, placed horizontally.
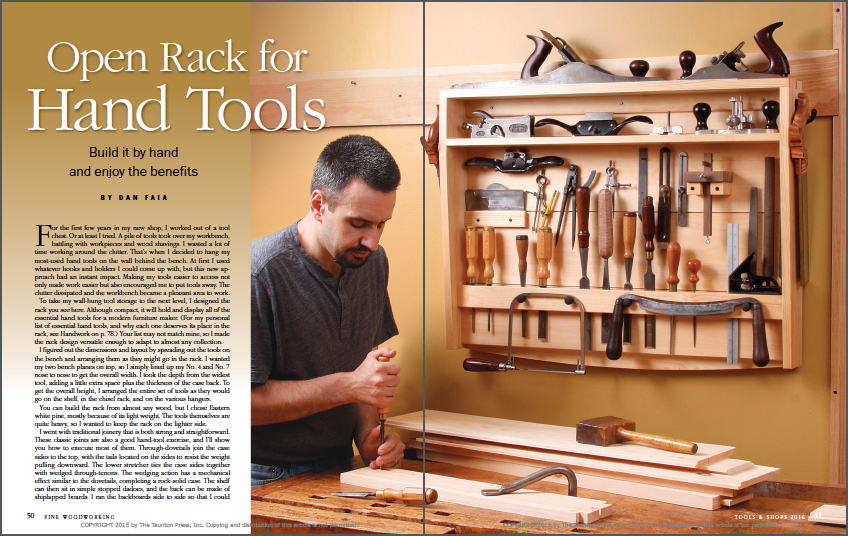
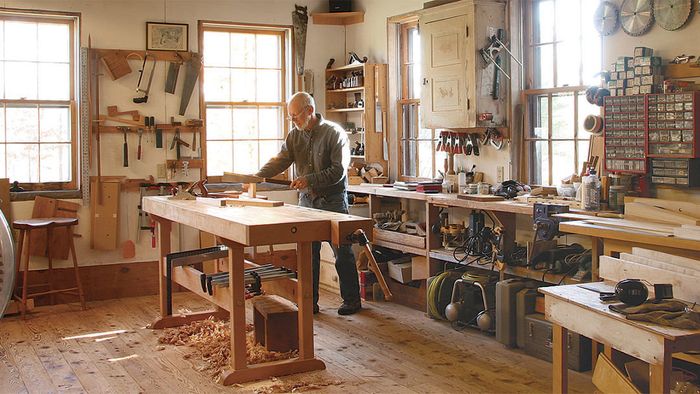
For the first few years in my new shop, I worked out of a tool chest. Or at least I tried. A pile of tools took over my workbench, battling with workpieces and wood shavings. I wasted a lot of time working around the clutter. That’s when I decided to hang my most-used hand tools on the wall behind the bench. At first I used whatever hooks and holders I could come up with, but this new approach had an instant impact. Making my tools easier to access not only made work easier but also encouraged me to put tools away. The clutter dissipated and the workbench became a pleasant area to work.
To take my wall-hung tool storage to the next level, I designed the rack you see here. Although compact, it will hold and display all of the essential hand tools for a modern furniture maker. Your list may not match mine, so I made the rack design versatile enough to adapt to almost any collection.
I figured out the dimensions and layout by spreading out the tools on the bench and arranging them as they might go in the rack. I wanted my two bench planes on top, so I simply lined up my No. 4 and No. 7 nose to nose to get the overall width. I took the depth from the widest tool, adding a little extra space plus the thickness of the case back. To get the overall height, I arranged the entire set of tools as they would go on the shelf, in the chisel rack, and on the various hangers.
You can build the rack from almost any wood, but I chose Eastern white pine, mostly because of its light weight. The tools themselves are quite heavy, so I wanted to keep the rack on the lighter side.
I went with traditional joinery that is both strong and straightforward. These classic joints are also a good hand-tool exercise, and I’ll show you how to execute most of them. Through-dovetails join the case sides to the top, with the tails located on the sides to resist the weight pulling downward. The lower stretcher ties the case sides together with wedged through-tenons. The wedging action has a mechanical effect similar to the dovetails, completing a rock-solid case. The shelf can then sit in simple stopped dadoes, and the back can be made of shiplapped boards.
I ran the backboards side to side so that I could glue in the topmost one, which holds the long screws that attach the rack to the wall.
Start with the dovetails
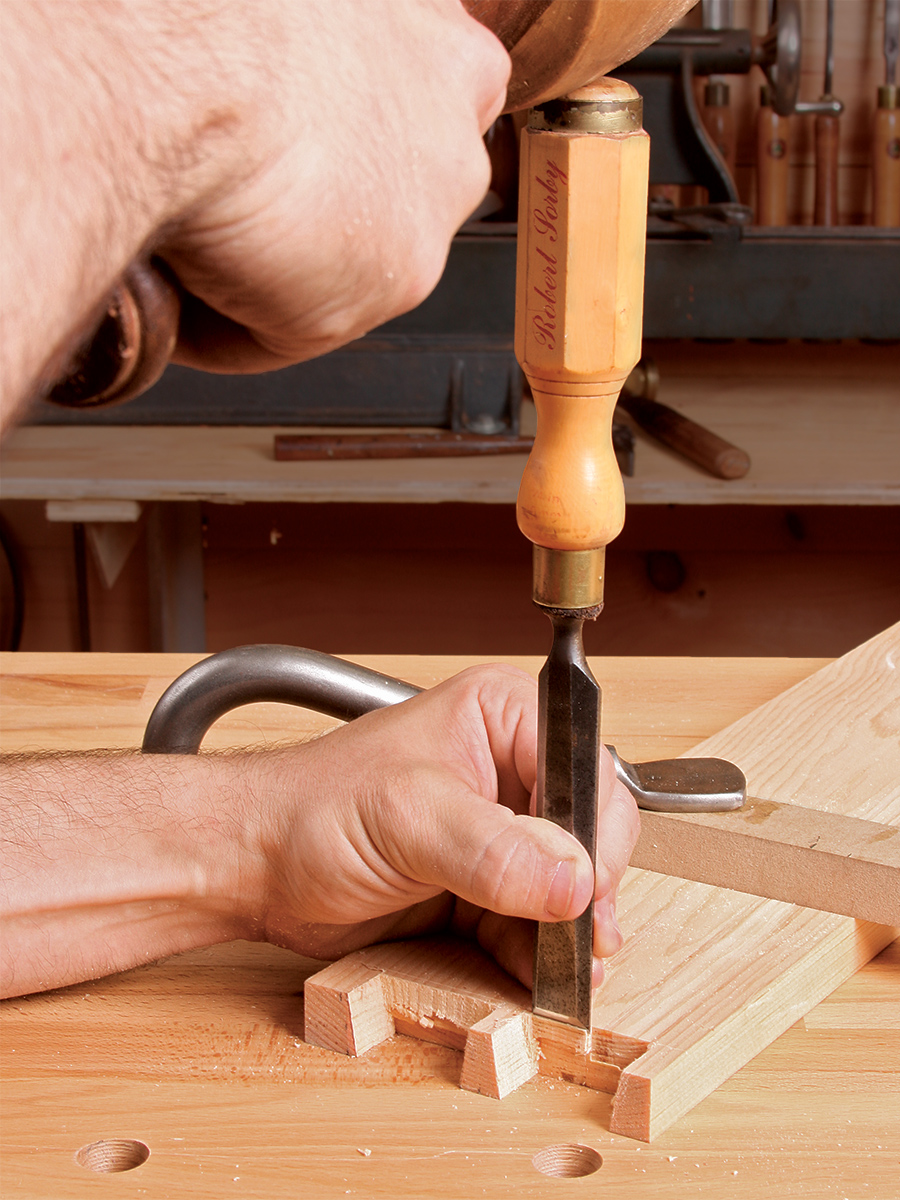
Mill the sides, top, and stretcher to thickness and cut them to length. The stretcher should be left 1/8 in. to 1/4 in. longer than the top to allow some extra material for its tenons to be wedged. (Afterward the tenons are planed flush to the sides.) This is a good time to rabbet the sides to accommodate the backboards later.
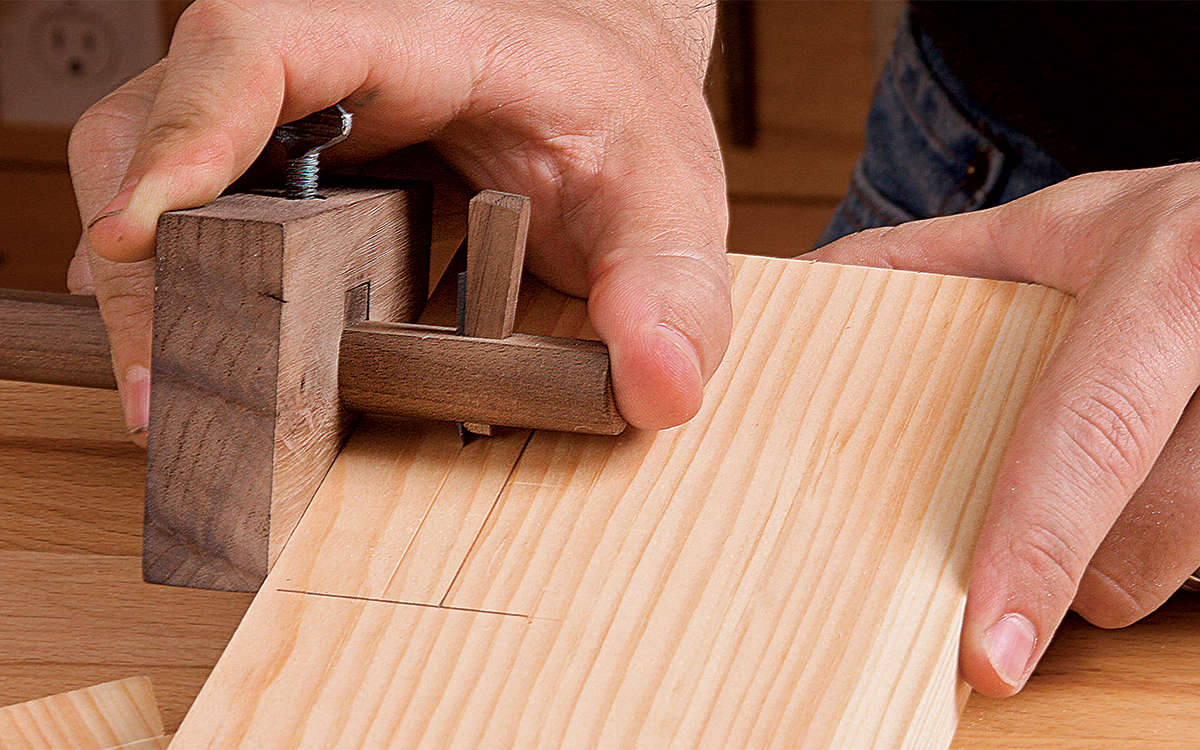
Construction starts at the top. I cut the dovetails pins first and used hand tools throughout. I set a marking gauge to the thickness of the stock and scribed the dovetail shoulders on both the top and sides. I used a pencil to lay out the pins on the end grain and then squared them to the shoulders.
After sawing the pins, coping out the waste, and paring the shoulders, check that the cheeks and shoulders are flat and square to the face of the board, and pare them if they’re not. Next, transfer the pin locations on the top board to the case sides using a sharp pencil with hard lead (No. 3). Continue the square pencil lines across the end grain. Now saw, chop, and pare the tails to fit.
From Fine Woodworking #251
To view the entire article, please click the View PDF button below.
Fine Woodworking Recommended Products

Suizan Japanese Pull Saw

Starrett 4" Double Square

Marking knife: Hock Double-Bevel Violin Knife, 3/4 in.


Log in or create an account to post a comment.
Sign up Log in