Simple-to-Make Tool Holders for a Cabinet
These holders can be adapted to fit any cabinet and can be made in no time.
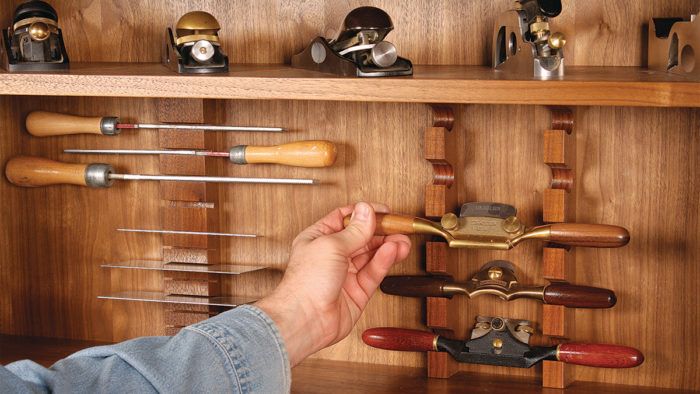
In this year’s Tools & Shops issue (FWW #223), Chris Gochnour built a great-looking tool cabinet for his hand tools. The piece looks like a million bucks, yet it was built with simple materials and joinery.
To make the most of the space, Gochnour made a few tool holders for chisels, scrapers, files, spokeshaves, squares, and the like. We didn’t have enough space talk about them in the magazine, but we’ll take you through the process here.
The holders are clever and simple to make and can be adapted to any cabinet—you could even use them to hold tools on a wall.
Here’s how Gochnour made them:
Chisel holder
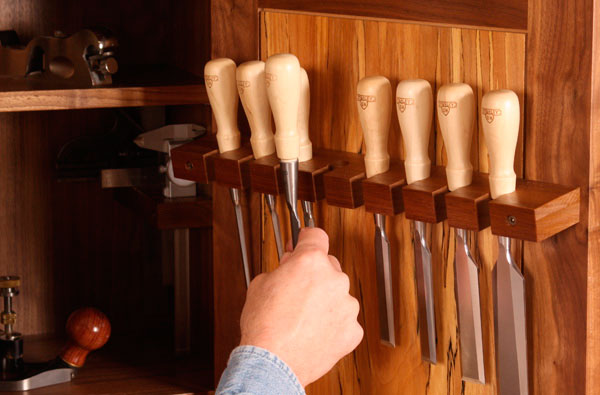
The door-mounted chisel holder takes advantage of what’s typically unused space. It’s easy to make using a tablesaw and drill press. Cut the blank to size and then lay out the slots and holes for the chisels.
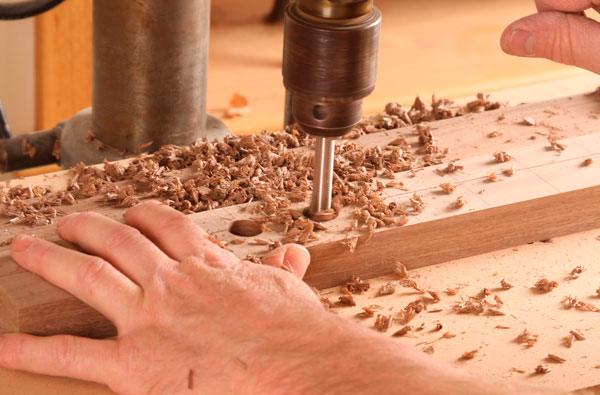
For clean results, drill the holes on the drill press using a Forstner bit. The hole diameters are based on the chisel handles (designs vary).
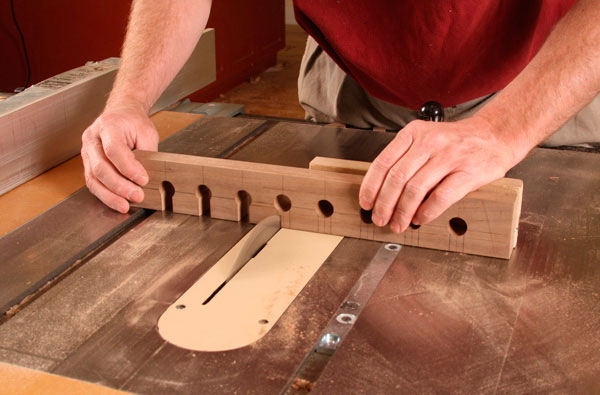
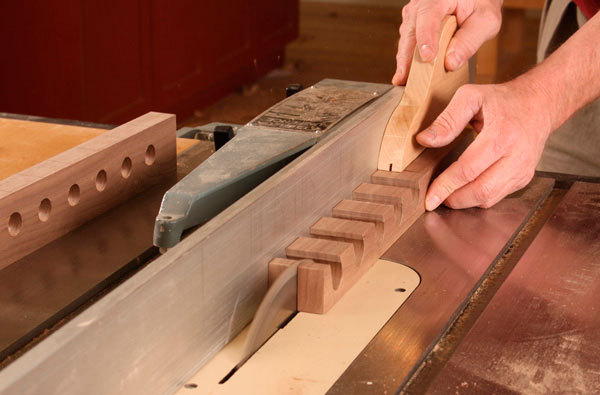
Cut the slots at the front of the holder using a tablesaw and miter gauge. You can use a dado set for the job, but it’s faster to use a combo blade and nibble away at the waste.
Once the slots and holes are done, drill holes for the mounting screws and then bevel the back of the holder slightly (about 10 deg.). The bevel allows the tips of the chisels to point inward, which makes it a little easier to grab the handles of the chisels. After some sanding, the holder is ready for finish and mounting.

Spokeshave holder
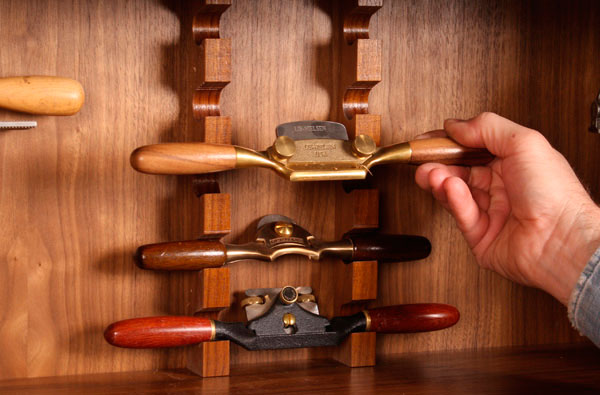
Spokeshaves are hard to hold because of their design, and designs vary greatly, especially among the wood shaves. Gochnour’s two-post design will hold any type. This holder is made using a tablesaw, a drill press, and a bandsaw. Cut the blank to thickness and width, leaving it long for now, and then lay out the angled slots.
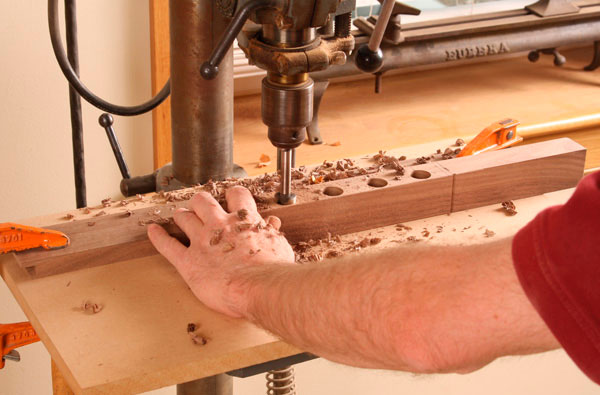
Drill the base of each slot on a drill press using a Forstner bit.
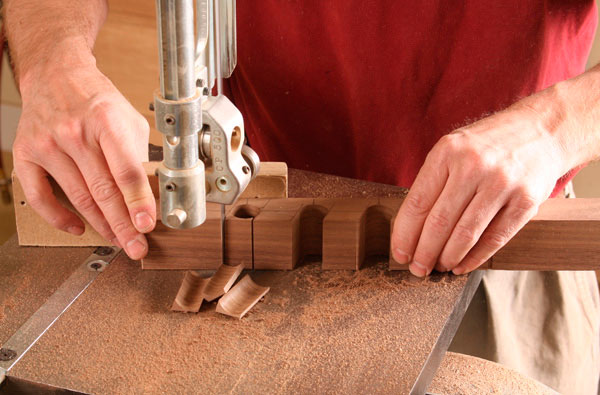
Use a bandsaw to remove the waste. Adjust the miter gauge to the appropriate angle and cut to the lines. Clean up the slots with files and sandpaper.
Cut the blank to length, and then rip it in half.
Now sand, finish, and mount the holders. Be sure you don’t space them too far apart.
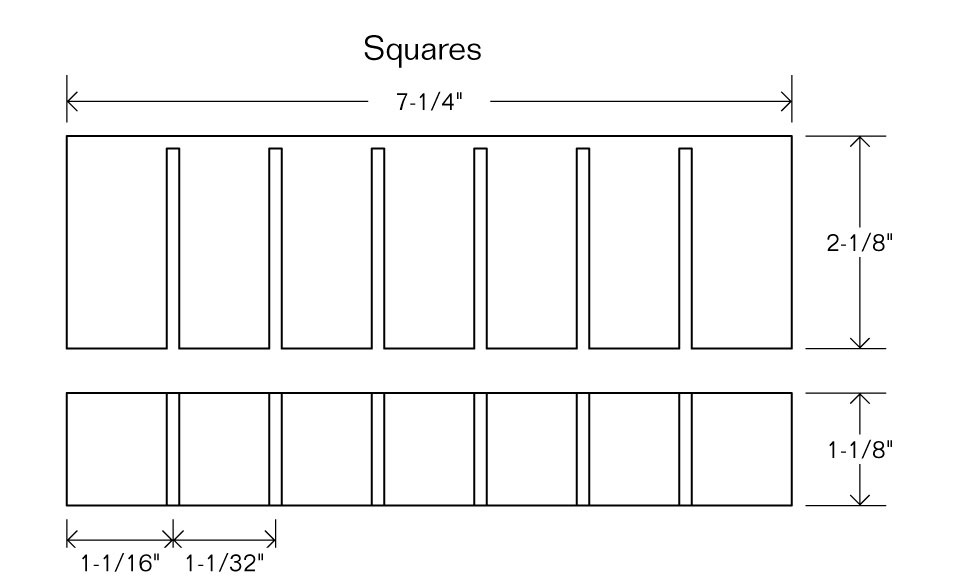
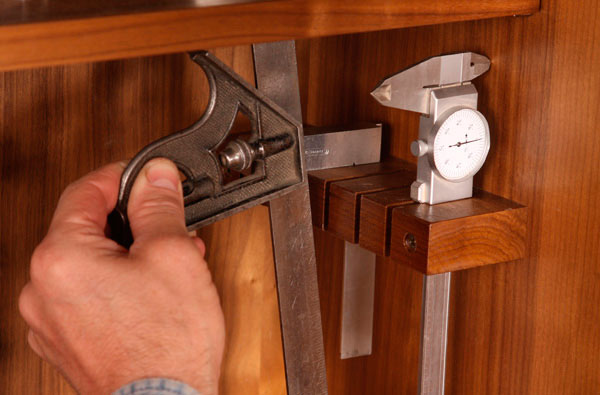
Square holder
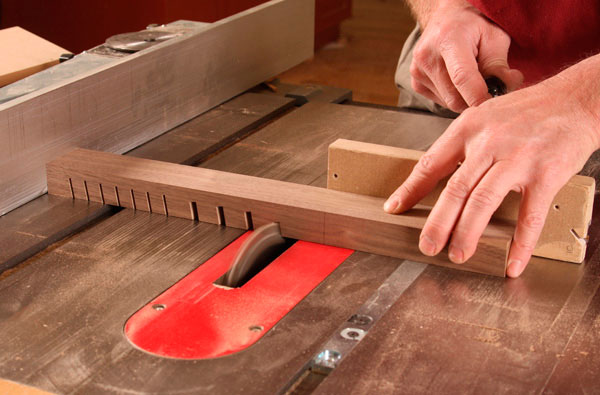
The square holder is the easiest of the bunch to make using just the tablesaw. Cut the blank to thickness and width, but leave it long until all the slots have been cut.
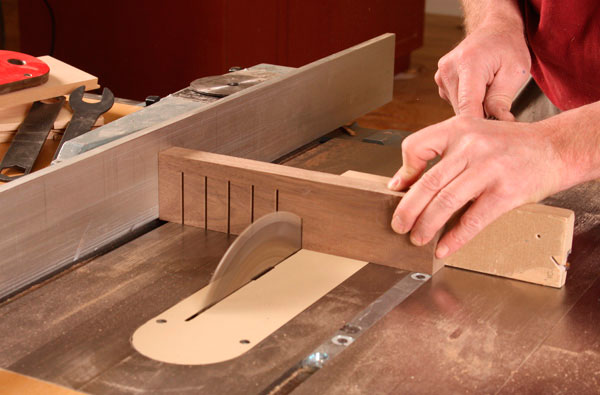
Lay out the slots and cut them on the tablesaw. After, cut the holder to length, then sand it, finish it, and mount it.
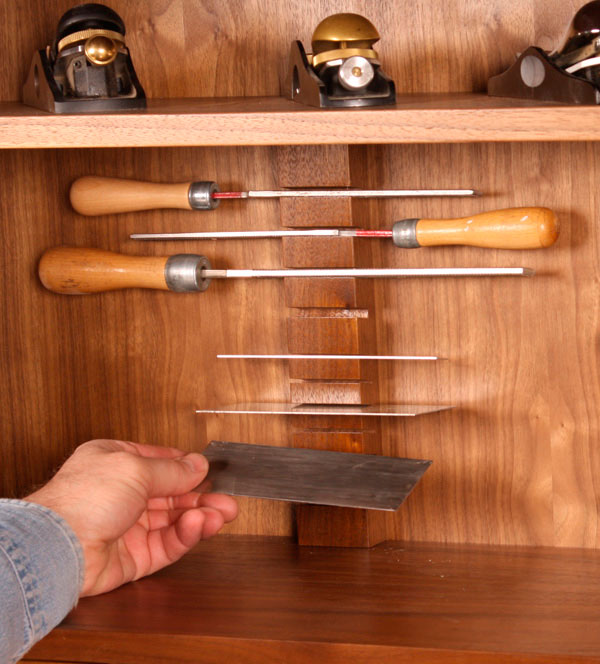
File and scraper holder
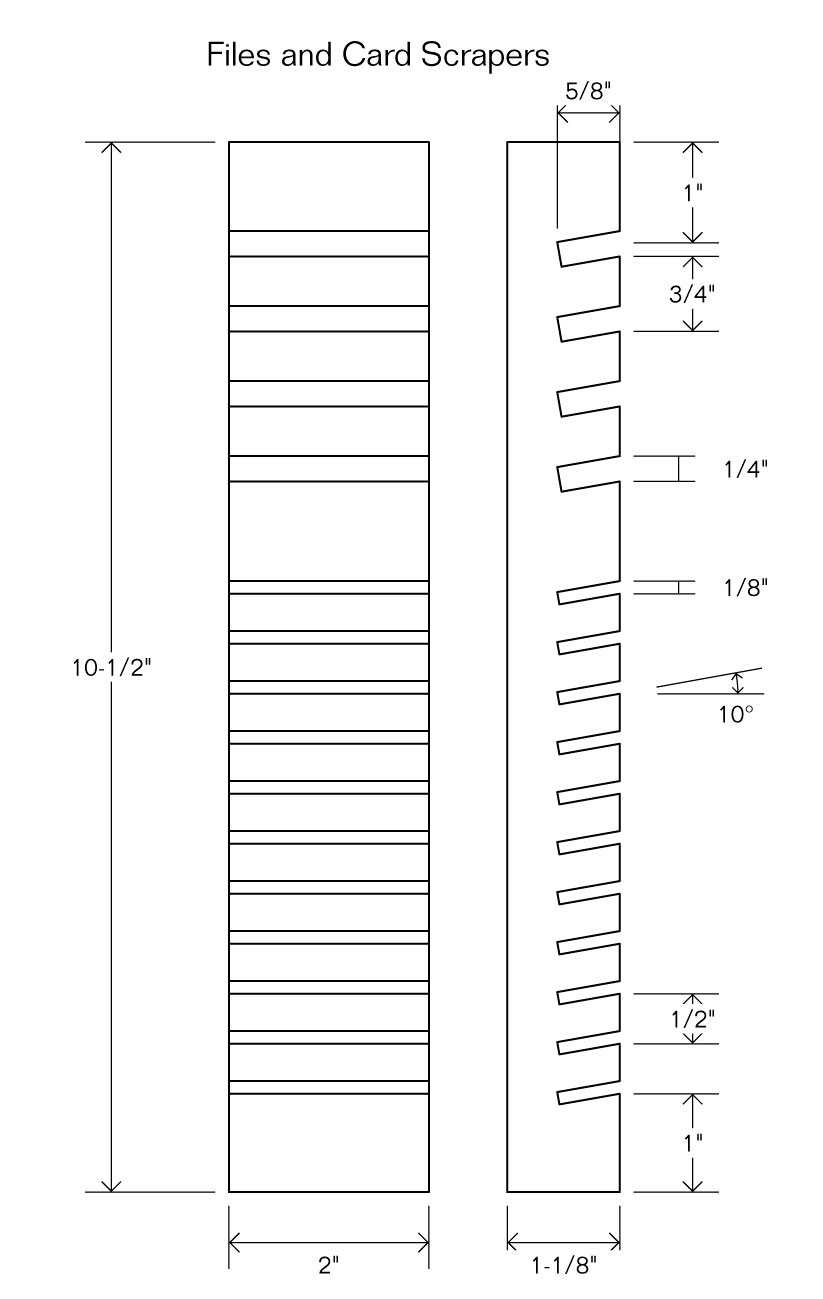
This holder requires angled slots of two different sizes: narrow for the scrapers, wider for the files. All cuts are made on the tablesaw with the blade angled 10 deg. Cut the blank to thickness and width, but leave it long until all the slots have been cut. Then lay out the slot locations.
First cut the angled slots for the scrapers using a combination blade. Then, without changing the angle, switch to a 1/4-in. dado set to cut the slots for the files.
After, cut the holder to length, then sand it, finish it, and mount it.
| GET THE FULL-SIZE PLANS
Digital plans, a cutlist, and a SketchUp drawing for this project are available in the Fine Woodworking store. |
Fine Woodworking Recommended Products

Woodriver Rechargeable Desiccant Bag
WoodRiver Router Bit Storage Case

Get the Plan
This tool cabinet blends practicality and great aesthetics, giving your shop a useful place to house tools in a beautiful package. What’s more, it can be built with the most basic shop tools in a short amount of time. The carcase is simple dado joinery cut with a tablesaw. The six interior drawers employ a similar setup. The doors feature stub-tenon and groove joints for the frame, a veneered plywood panel glued in place, and divided glass panes that can be done in no time at all.



Comments
Hello and thanks for all the great website content. The images for this article seem to have broken links. Any chance it can be fixed? Thanks!
Fixed, and you win the award for nicest comment about a broken link. It really is appreciated!
Thanks again!
The spokeshave rack section has the diagram for the chisels, and there is no actual diagram for the spokeshave rack. This feels like a mistake. Especially since I'm looking for the diagram for the spokeshave rack. :)
Log in or create an account to post a comment.
Sign up Log in